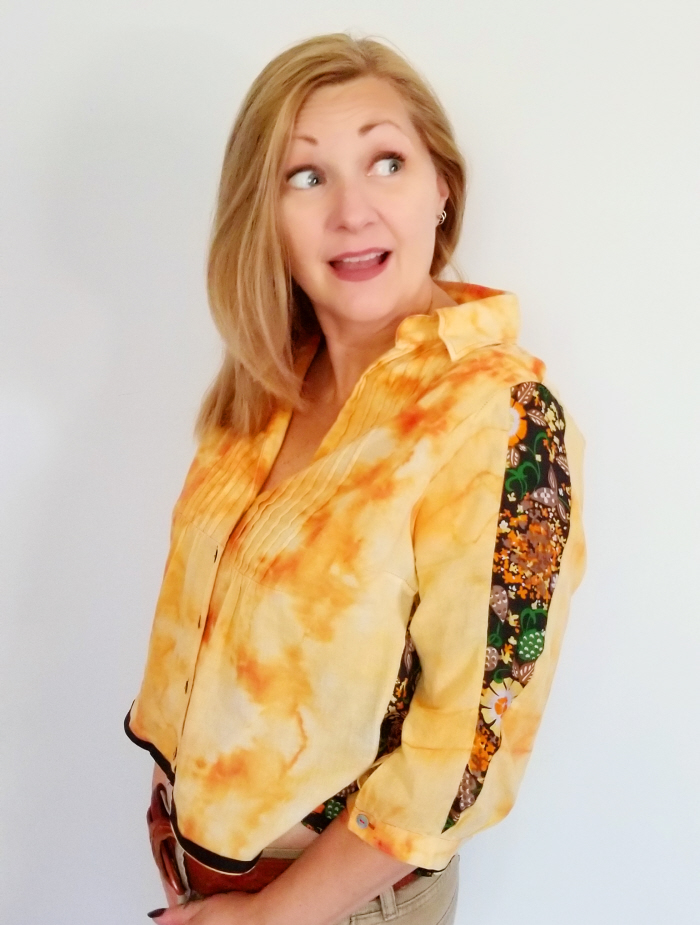
What do you do when a groovy refashioned blouse doesn’t fit anymore?

Sort through your stash and upsize it with side panels & sleeve inserts! Here’s how:
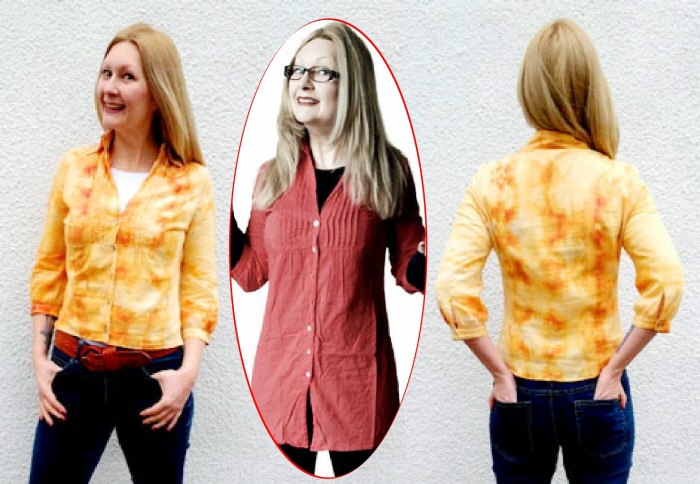
This reverse dye refashion from 2015 still looked awesome but was simply too tight.
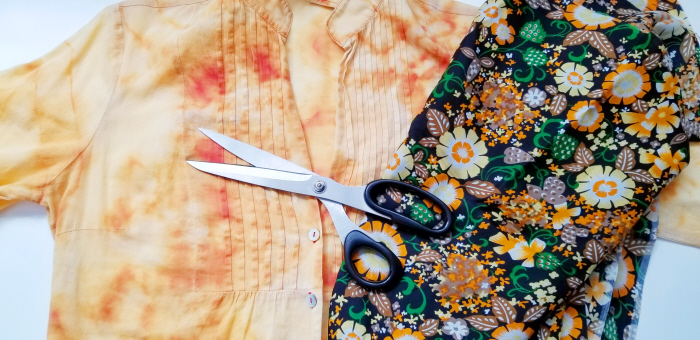
Luckily I had the perfect vintage upsizing fabric lurking in my stash!
By simply removing the darts in the back I’d already increased the size a bit!
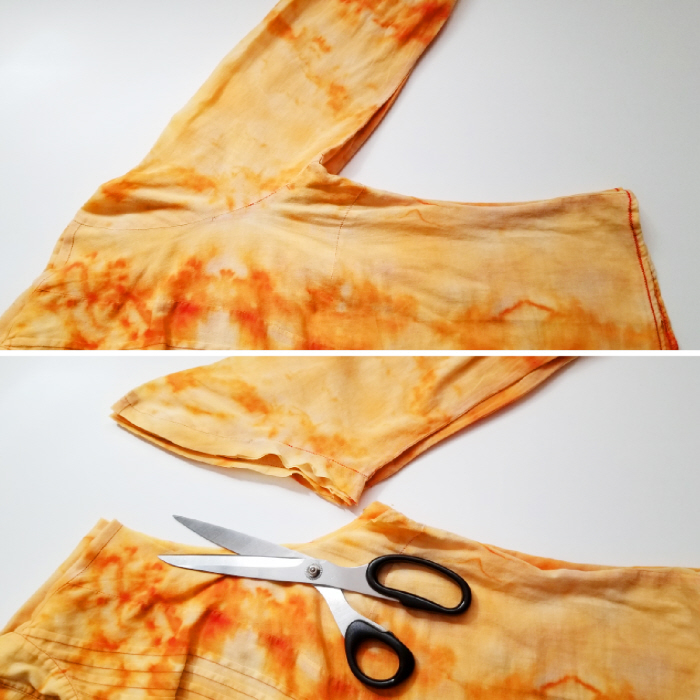
Next, the sleeves got the chop and were set aside for later.
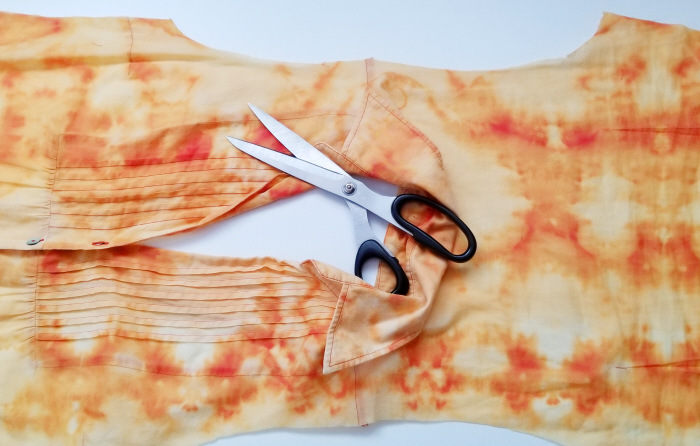
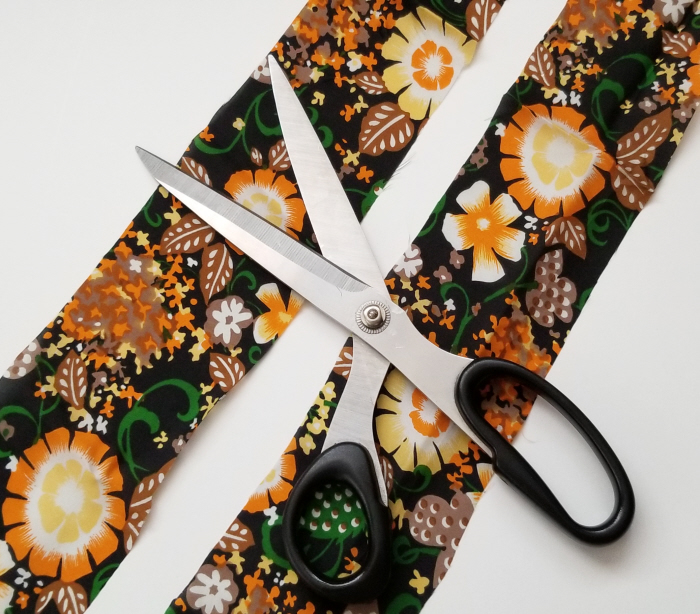
Then, I sliced straight up each side of the blouse.
Cut 2 equal-ish lengths of fabric for the side panels.
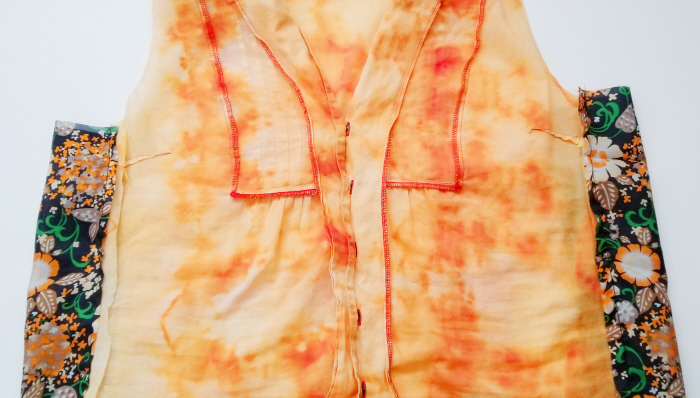
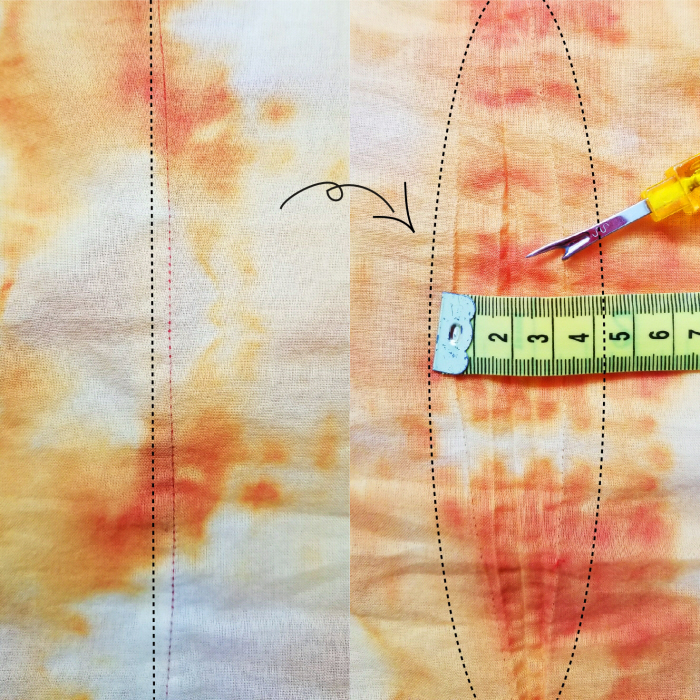
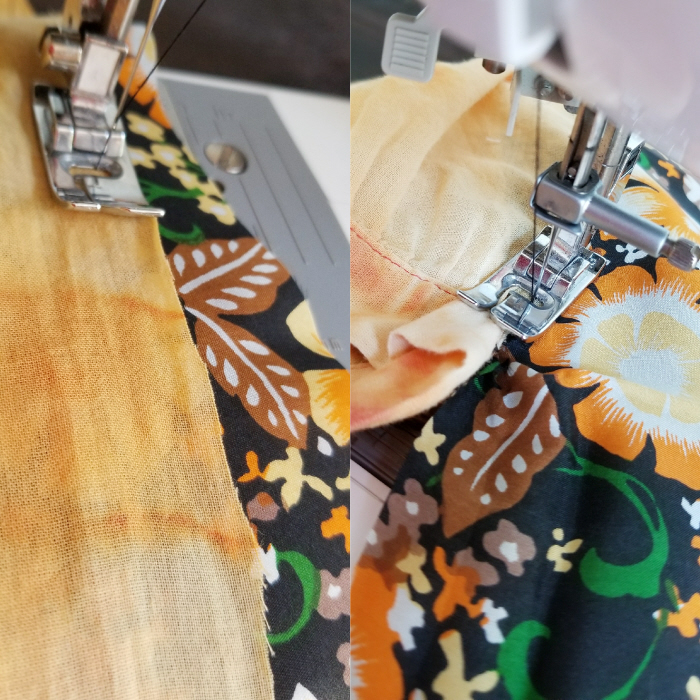
And stitched them to the sides of the blouse using this easy technique.
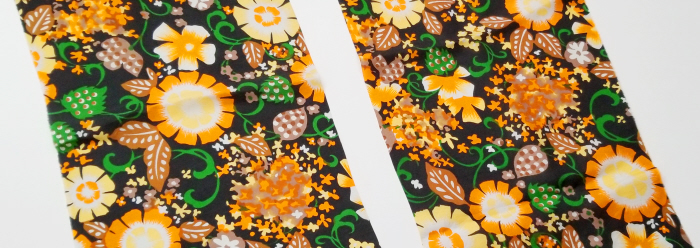
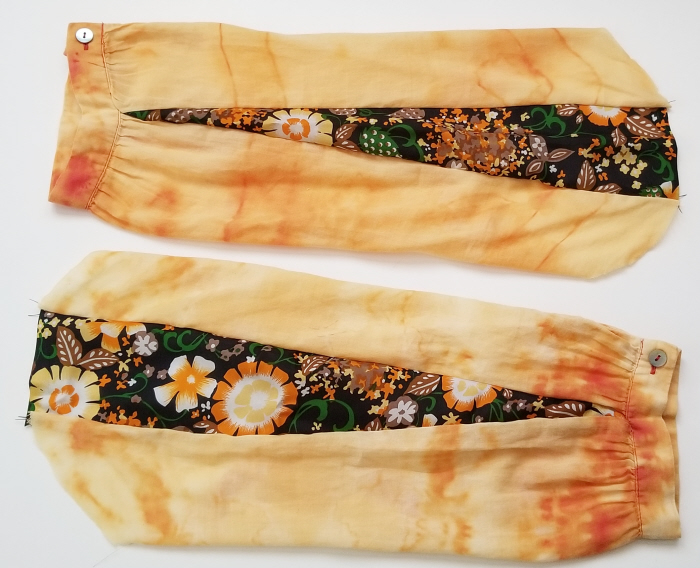
Once the side panels were done I measured the arm holes then snagged the sleeves and measured the chopped ends to find out how wide the sleeve inserts needed to be to fit into the upsized arm holes.
Then chopped 2 fabric lengths to size + a bit extra for seam allowance.
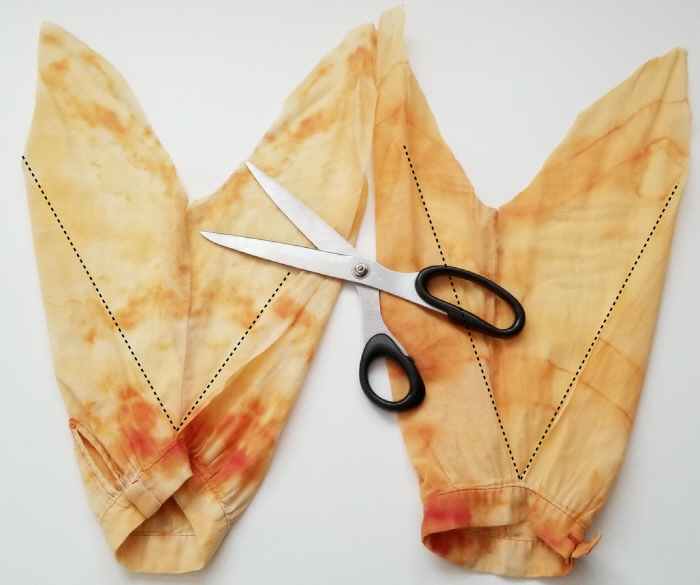
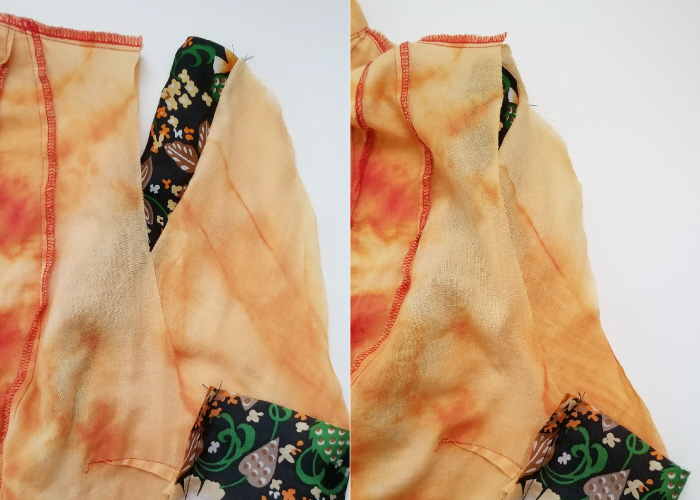
I then cut straight down from the top of each sleeve down to the cuff to create a V-shaped opening for the inserts.
Then put the inserts into the sleeves with right sides facing and stitched them together.
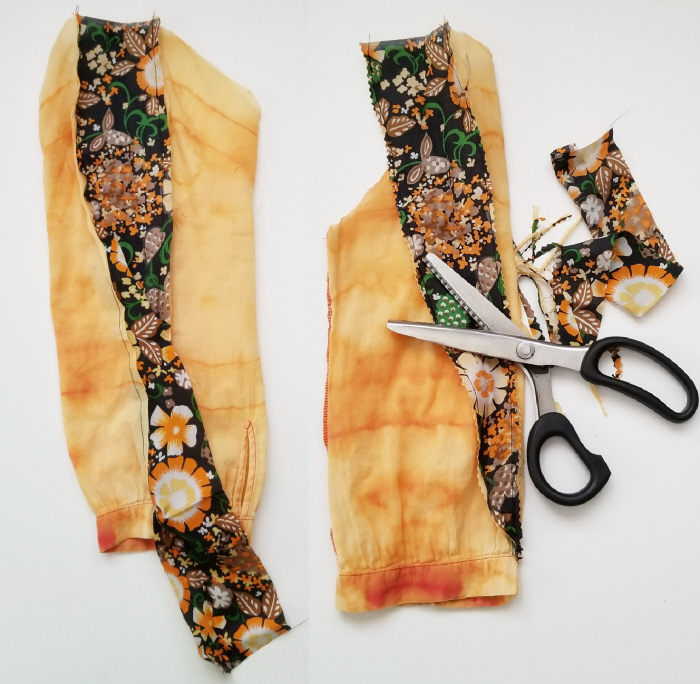
Cut off all of the excess fabric.
Flipped my fancy upsized sleeves right side out.
Popped them into the armholes with right sides facing and stitched them together.
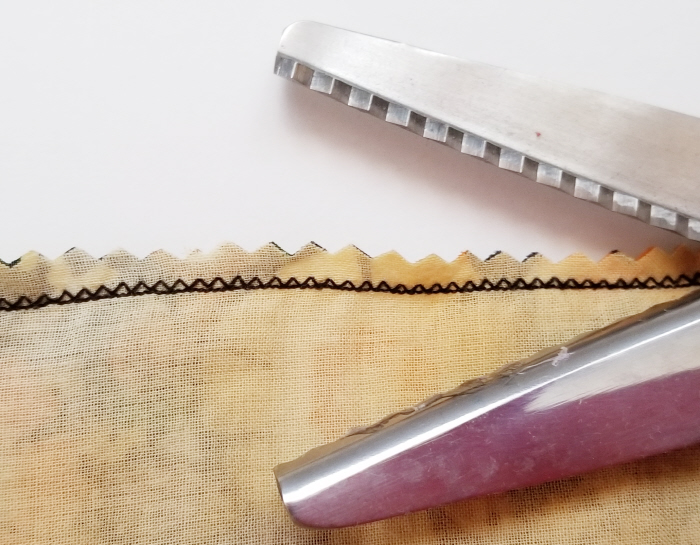
As I don’t have a fancy serger/overlocker I finished off all of my interior seams by zigzagging over them and then cut the raw fabric edges with pinking shears to help prevent fraying.

I then finished off the the blouse with some vintage trim on the bottom hem.
Enroll my awesome eCourses right over here!

Transform your entire wardrobe for pennies with my groovy CoaR tutorial collections right here: