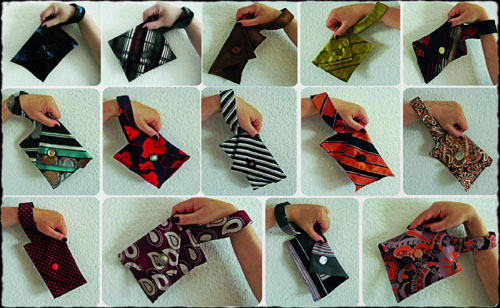
Remember those necktie wristlets I made? Well, they’re so quick & easy that creating them became a bit addicting:
I think there’s a more than a few gals I know who’ll be receiving a wristlet or 2.
But what to do with all of the leftover bits & pieces?

Why not cute-up some plain shirts…

or stitch them together & make a groovilicious bag!
Here’s a couple of scrapbusting necktie tutorials:
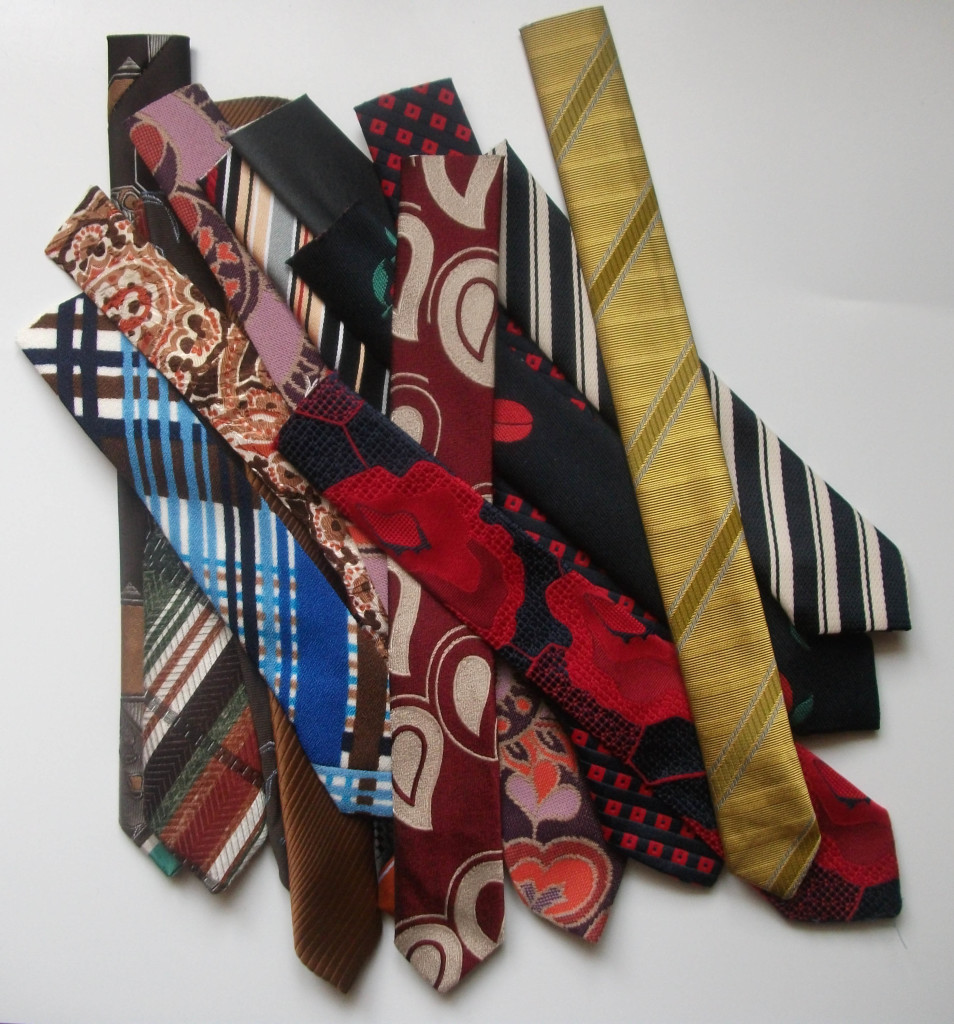
Those leftover skinny-end-tie-points make adorable embellishments:
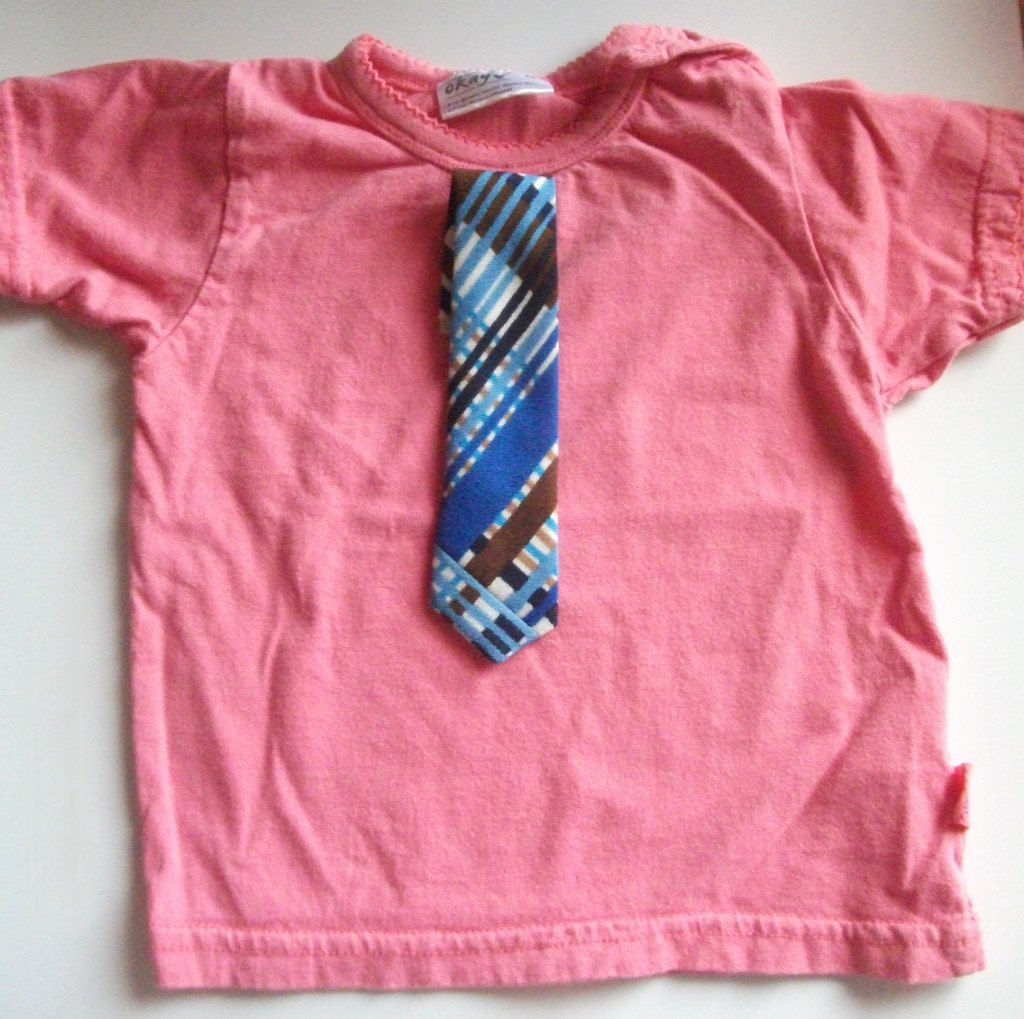
Grab a kidlet shirt + one of the leftover tie-ends.
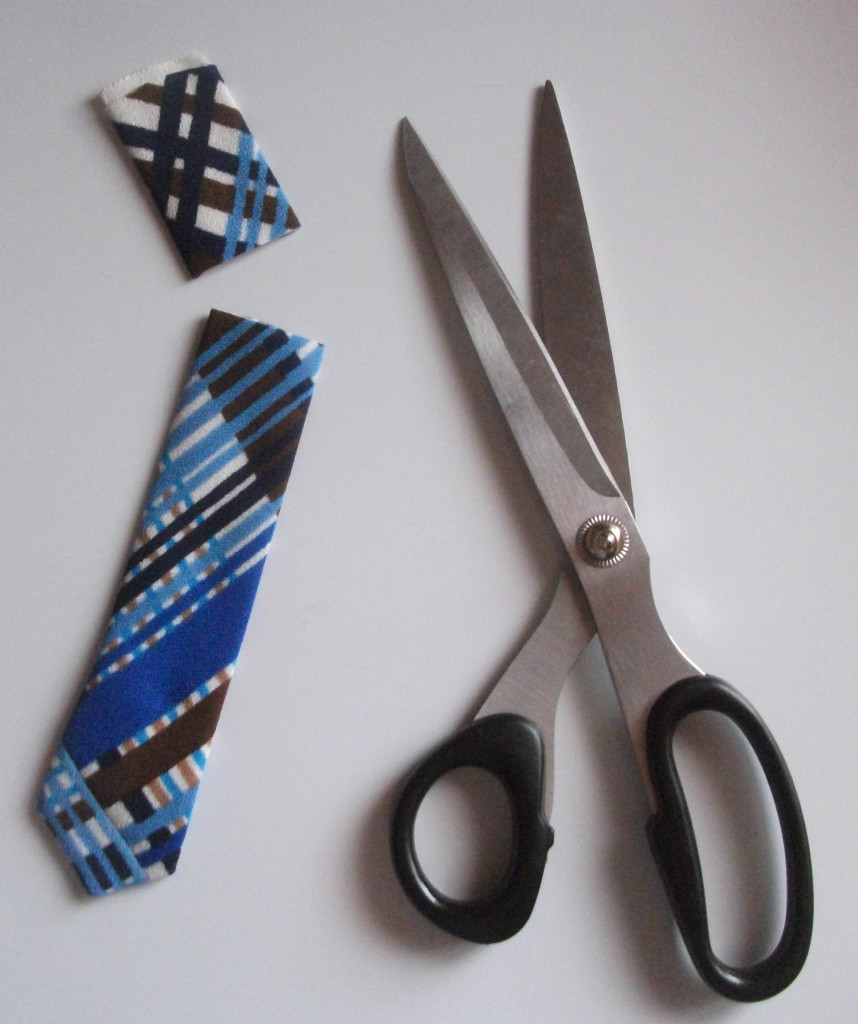
Chop the tie 1 – 2cm longer than your desired length & a small piece to wrap around the top of the tie (this will be the ‘knot’) *my shirt is size 12 months, tie length is 16cm & knot length 6cm
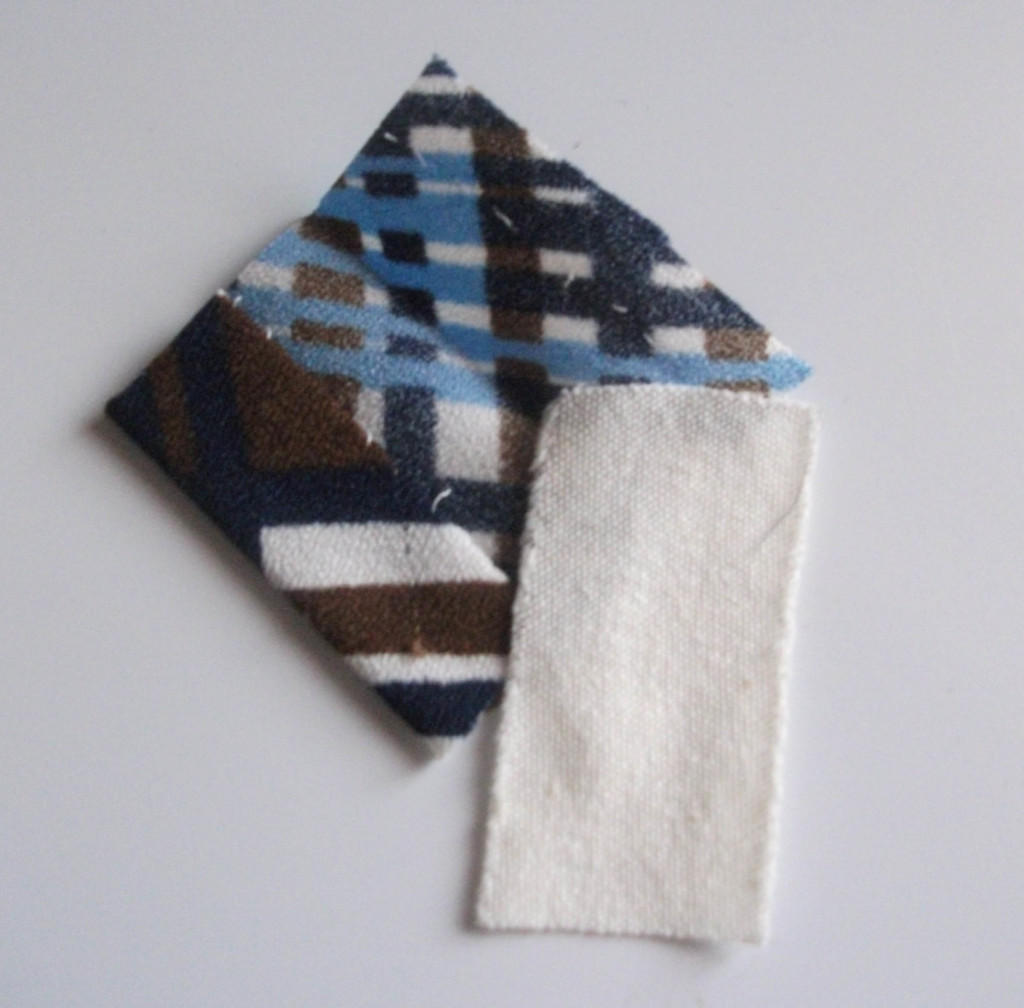
Open & remove the lining from the knot-piece.
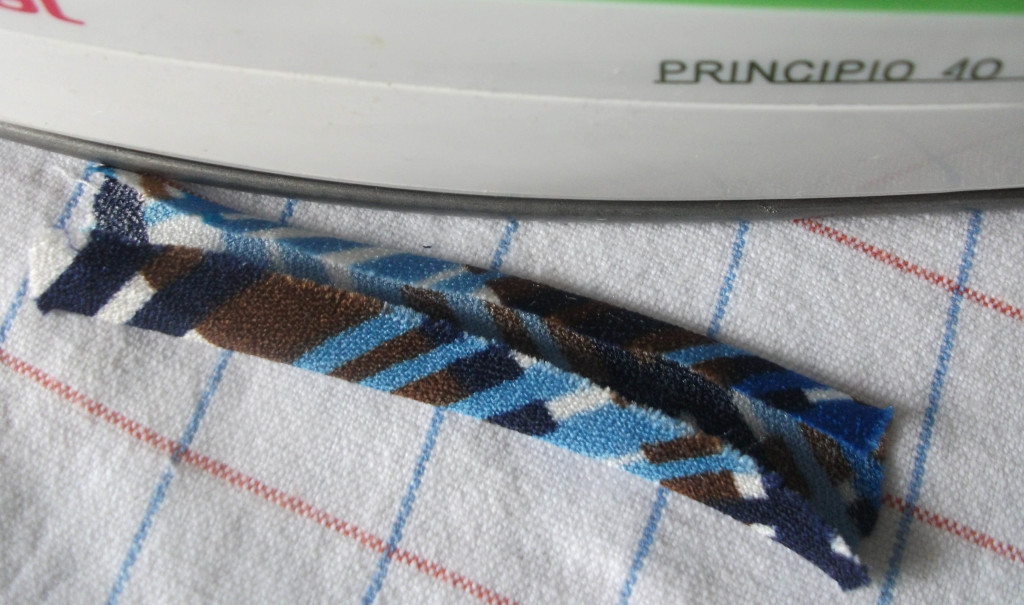
Fold over the edges lengthwise & press.
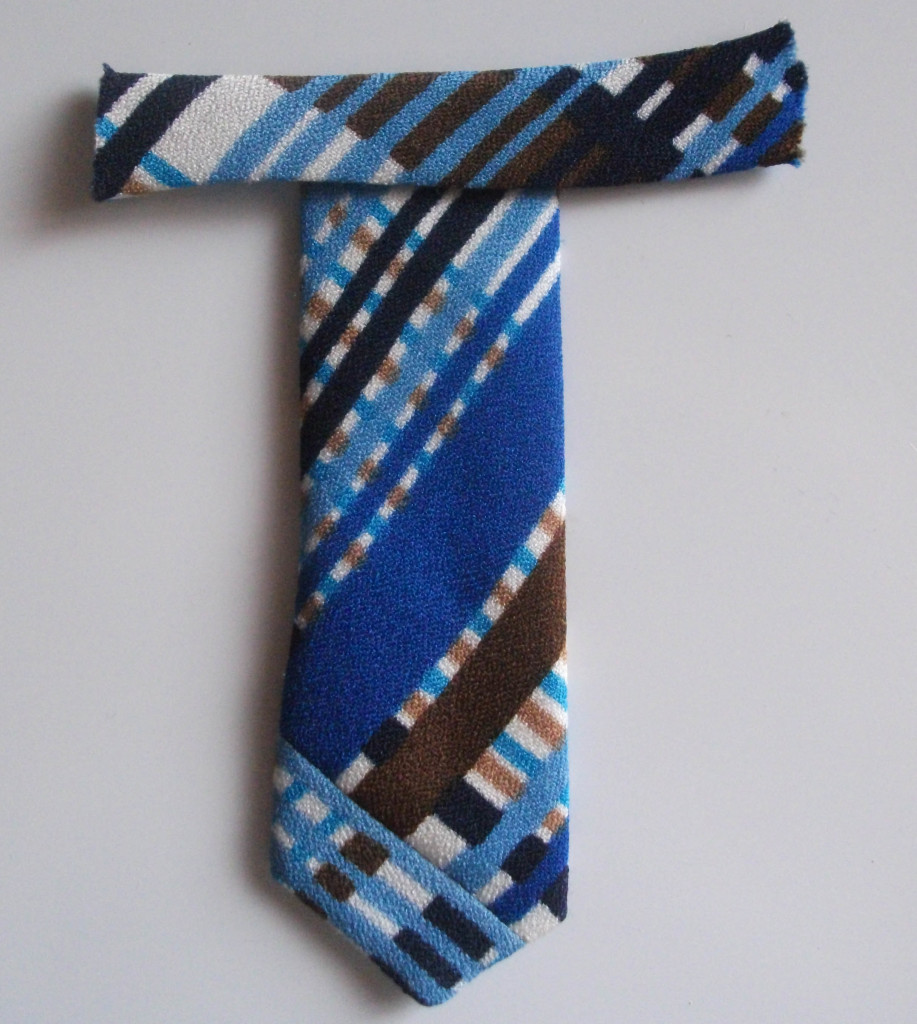
Position the knot at the top of the tie.
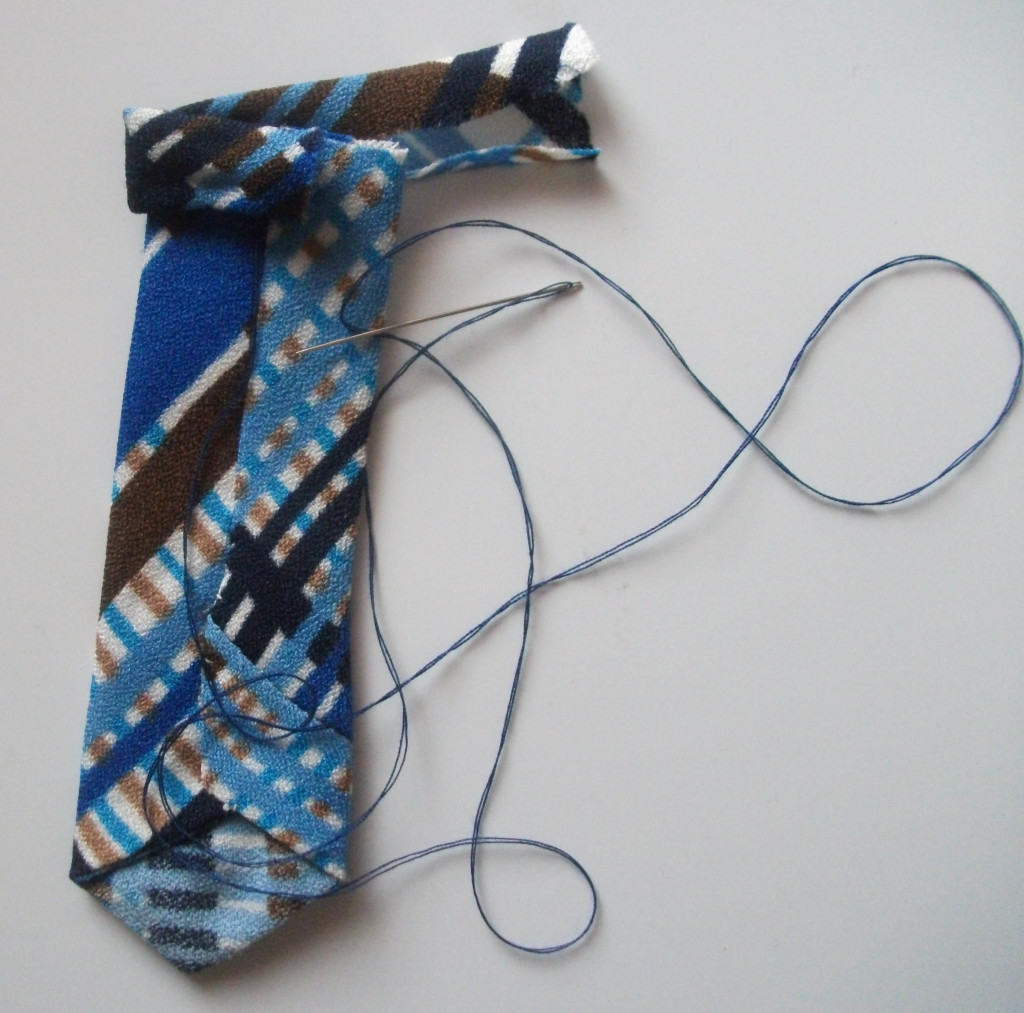
Wrap it around & hand stitch together.
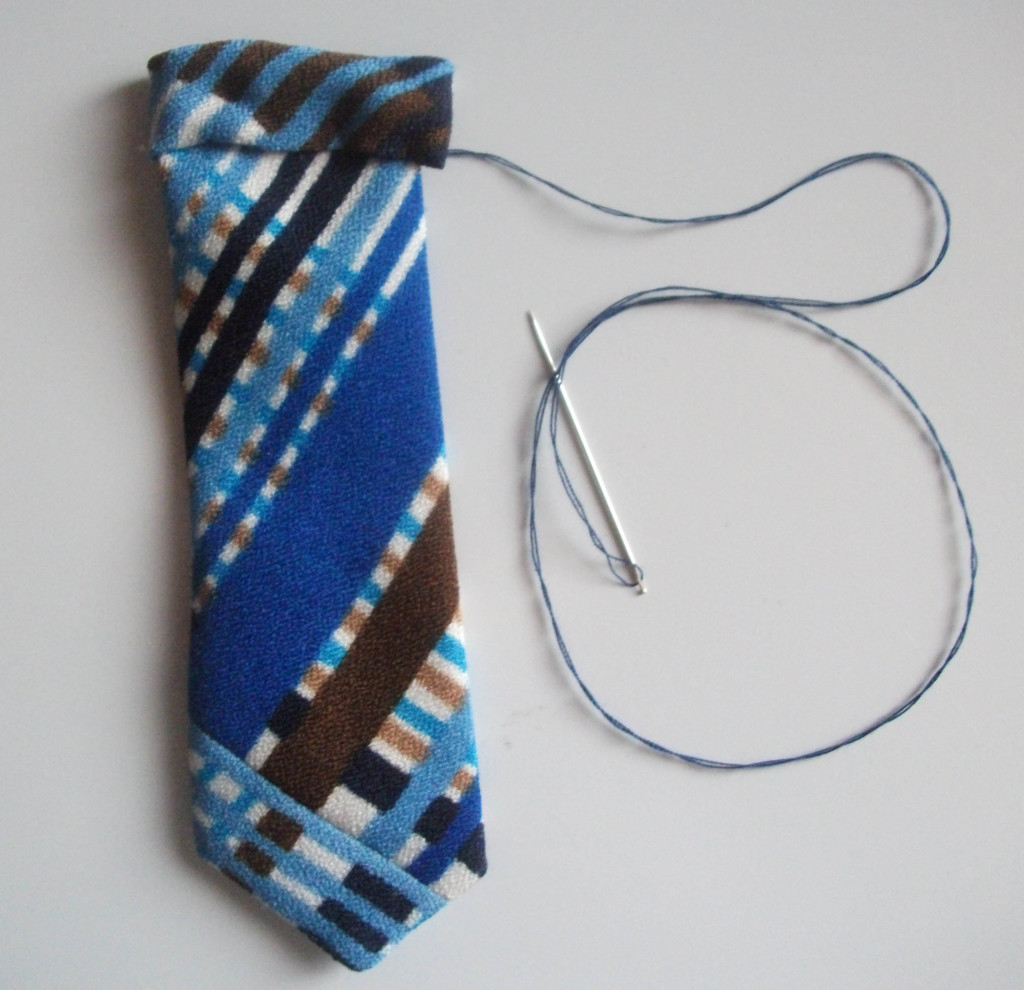
Yay! a knotted (looking) mini tie!
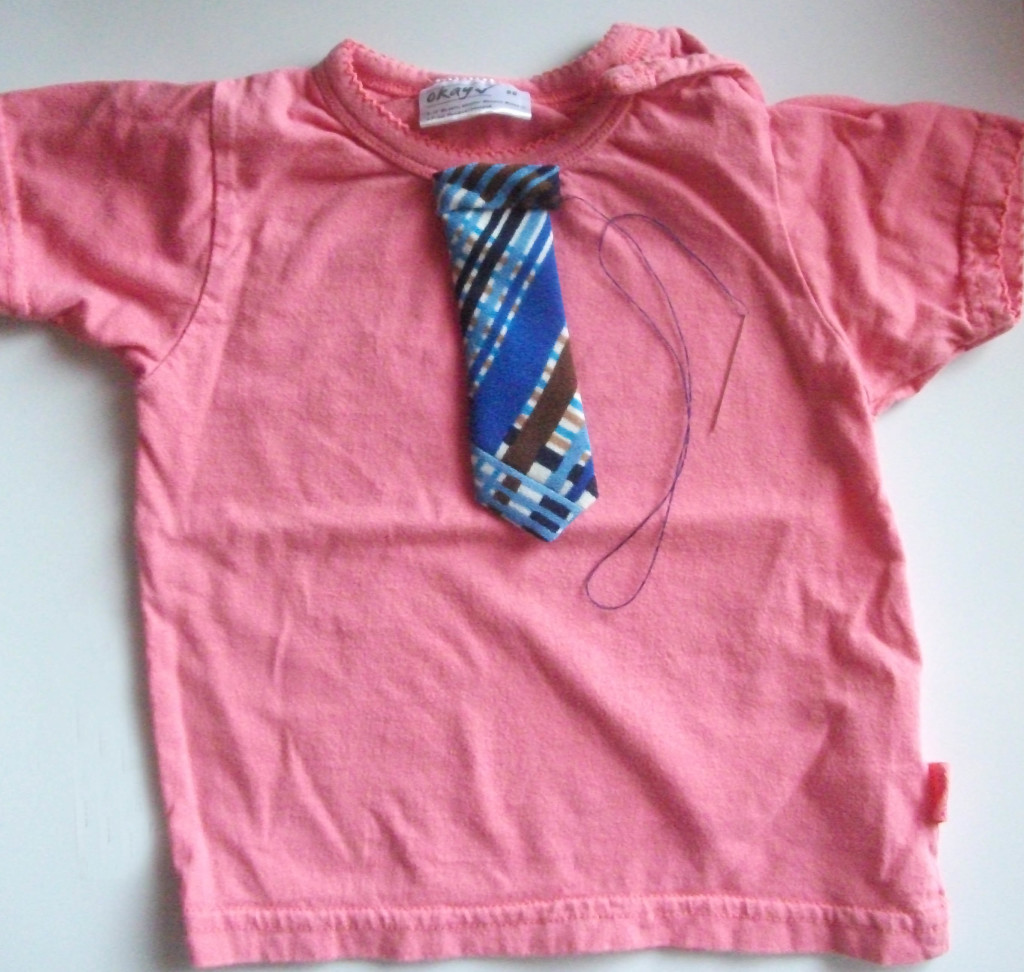
Center it on the neckline & hand stitch it on. I also sewed the point-end of the tie to the shirt so it wouldn’t flop around or be a temptation for the munchkin to pull on.
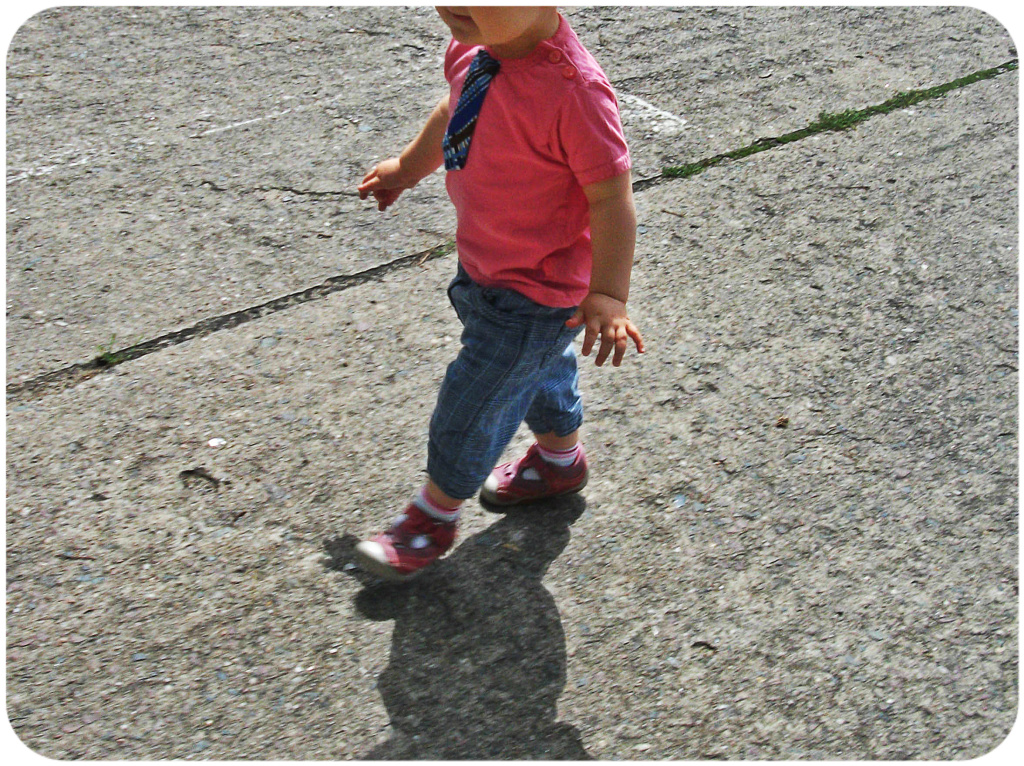
Off to the office!

Next up: those odd-lengthed-weird-shaped rest of the ties.
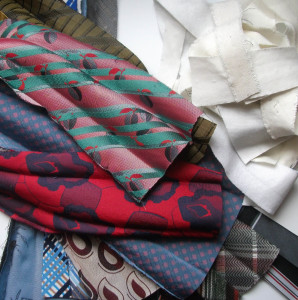
I opened them all up & removed the linings.
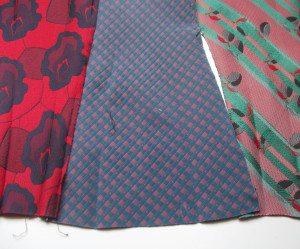
Ironed them flat & arranged them in a line – wide end to thin end.
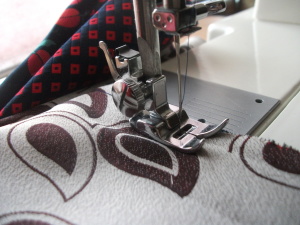
Zipped over to the machine & stitched them all together.

Whew! Now that I had a long piece of funky patchwork I just had to decide what to do with it.

Once I trimmed-up the edges of the fabric & folded it in half a light bulb appeared above my head & the idea for a simple tote bag was born.

The fabulous back!
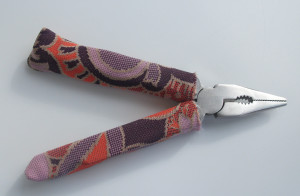
And with a couple of the very last scraps I made some snazzy new handle covers for my pliers!

One more look at that adorkable tot!
Want more upcycling goodies? Visit RefashionistaSheri.com
