Do you have fairies in your garden?
My kiddo and I often have fairy picnics in our yard but as we weren’t lucky enough to spot any before they moved on to their summer homes for the winter I thought I’d create a cozy fairy light to keep her company at night until they return in the springtime.
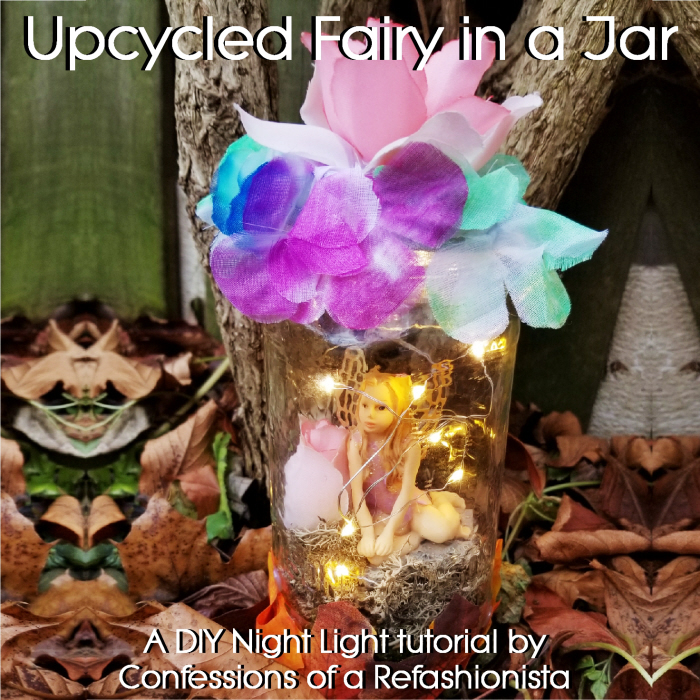
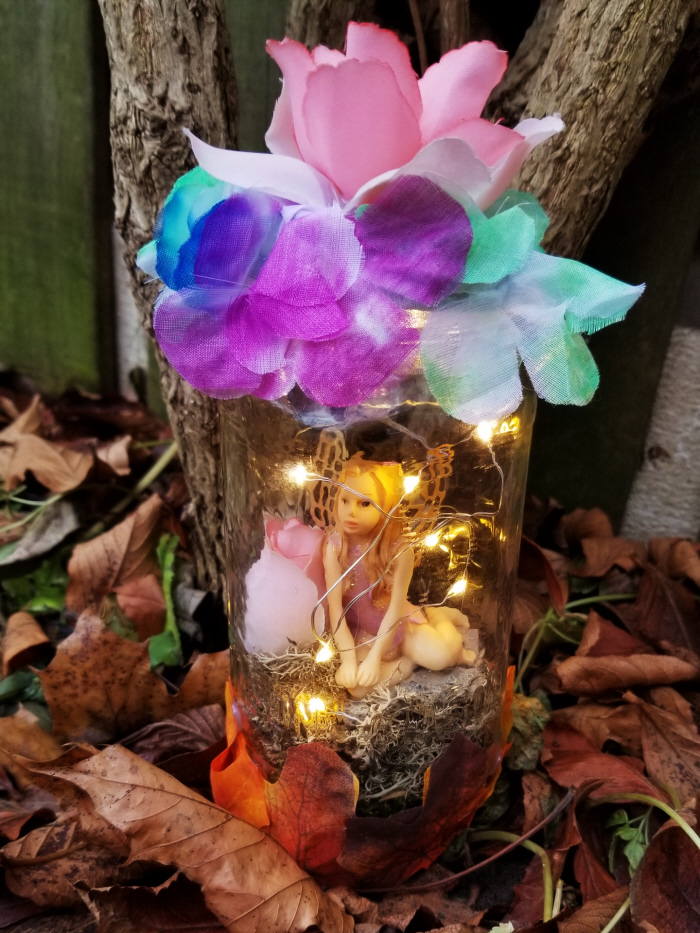
Create an adorable Upcycled Fairy in Jar Night Light from bits you may already have around the house with my quick step by step tutorial below:
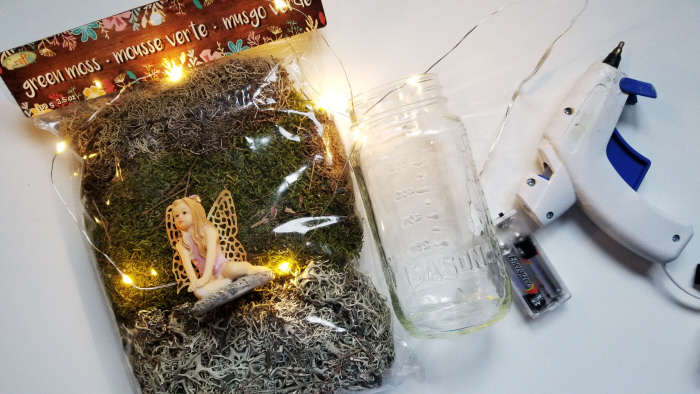
You’ll need: a fairy figurine (I scored mine at the free market), an empty jar, moss or greenery, battery operated LED wire fairy lights (stores are full of them during the holiday season) and your trusty glue gun.
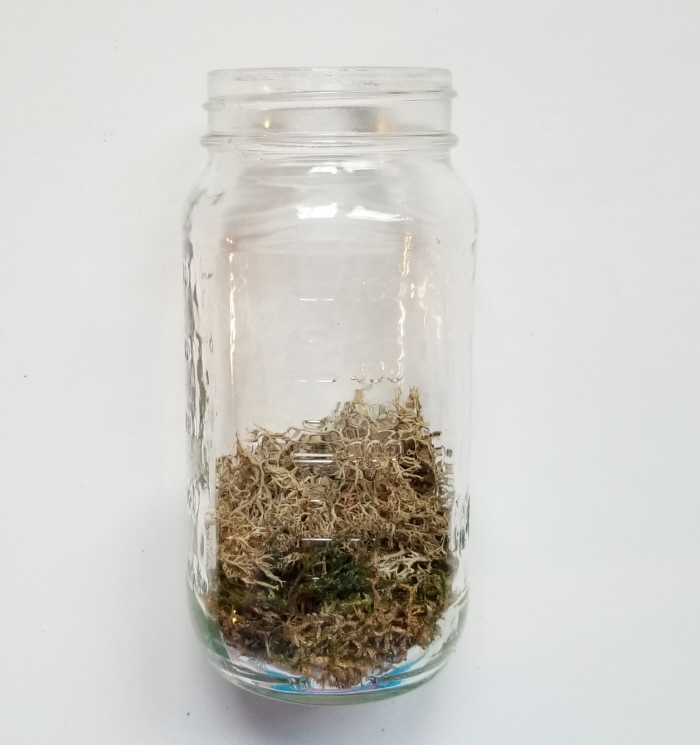
Layer some moss in the bottom of the jar.
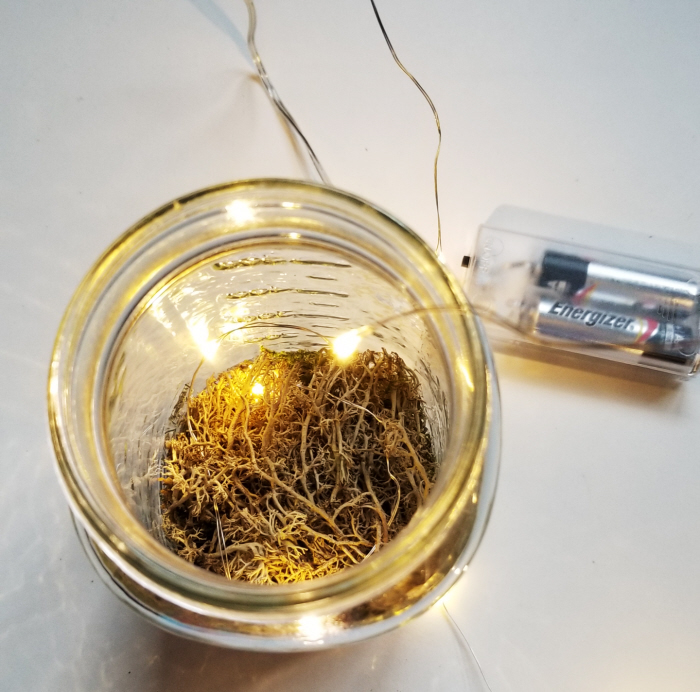
Arrange the end of the fairy lights in and around the moss.
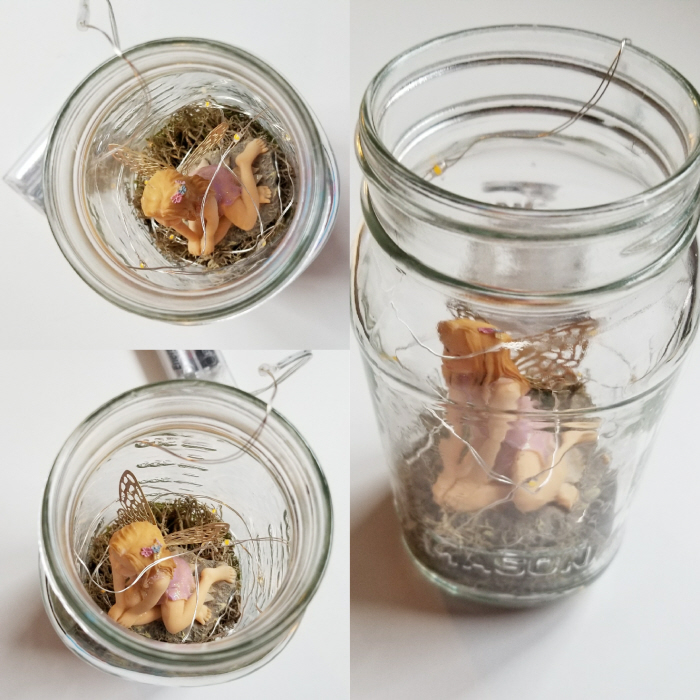
Place the fairy in the center of the moss and weave the lights around her.
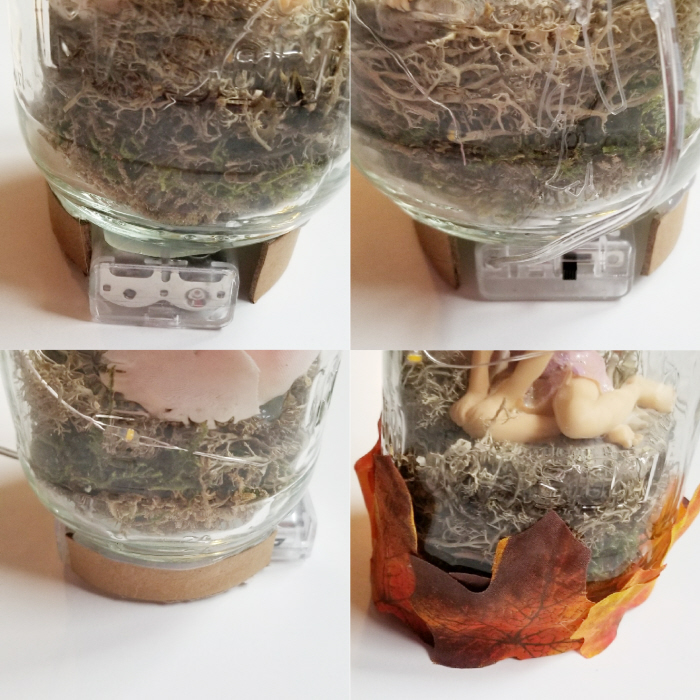
You could leave the battery pack loose or attach it to the side of the jar but I decided to glue it to the base, add some sturdy cardboard around the edges for extra stability and then conceal it all with a few fabric leaves.
quick tip: make sure you glue the back of the battery pack to the base so you can still change the batteries when needed.
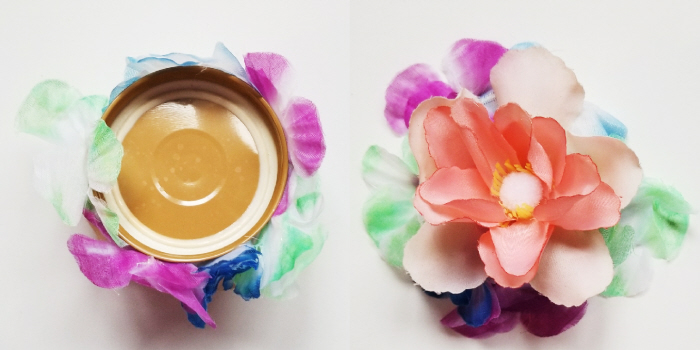
Decorate the lid with scrappy floral bits.
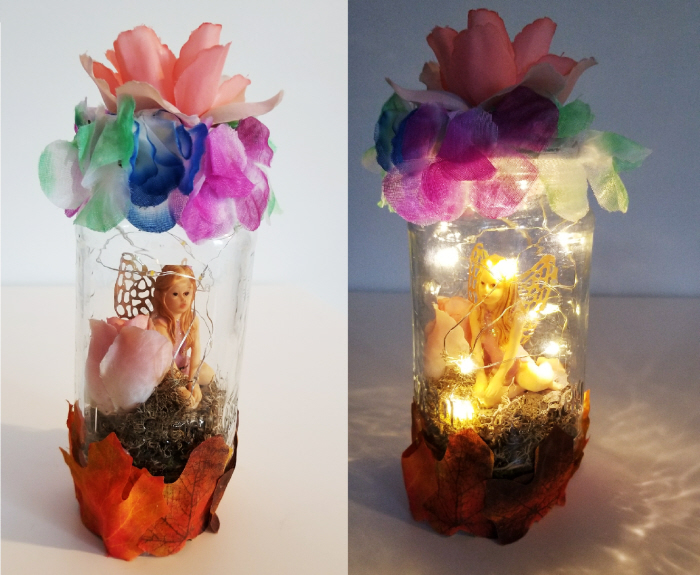
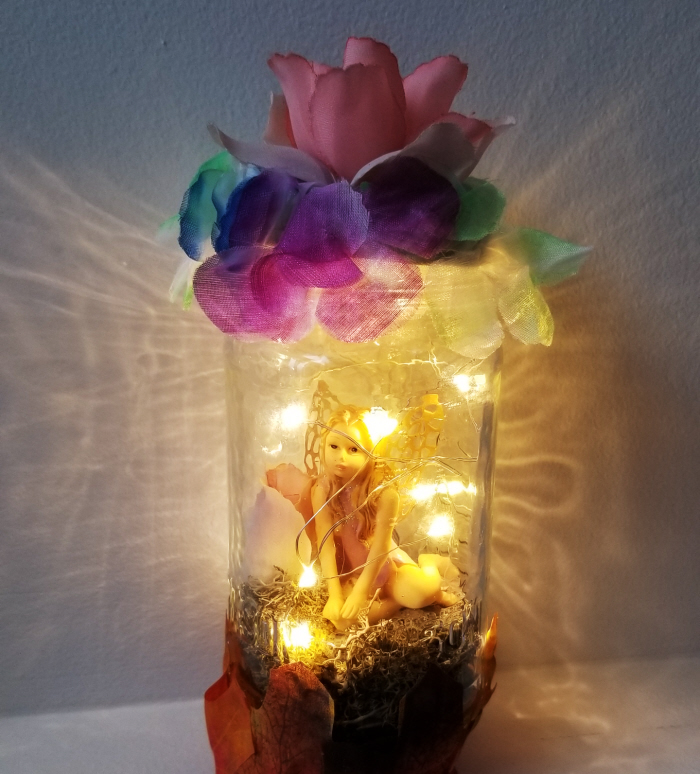
Enjoy your sweet new night light!
I think my kiddo will love her fab fairy night light when she opens it on xmas morning!
Check out all of my tutorials for Spring & Easter here + for more sustainable DIY style goodness check out my E-courses right over here:

and transform your entire wardrobe for pennies with my groovy CoaR tutorial E-book collections right here: