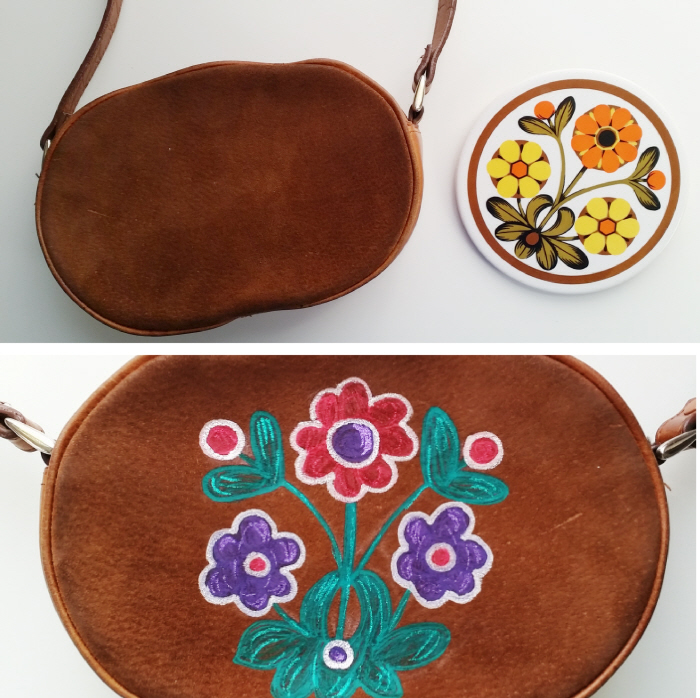
I scored a gorgeous 1970’s purse at a local vintage shop that’s perfect for an everyday-grab-and-go-bag, unfortunately the zipper pulls had most certainly seen better days:
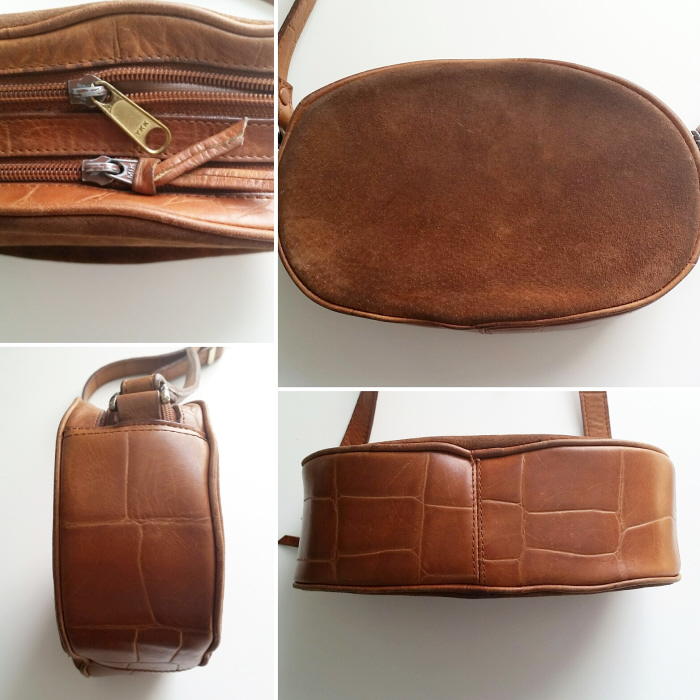
Fortunately I had a couple of bits lurking in my stash that would make fab replacements! Take a peek at How to DIY and Replace a Zipper Pull + help me decide how to embellish this plain bag:
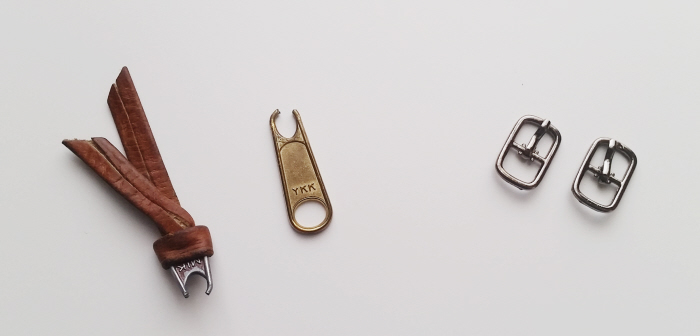
I removed the mismatched, broken zipper pulls and snagged the tiny belt buckles that I’d had in my stash for years – proof that keeping those silly little bits leftover from previous refashions is always a good idea!
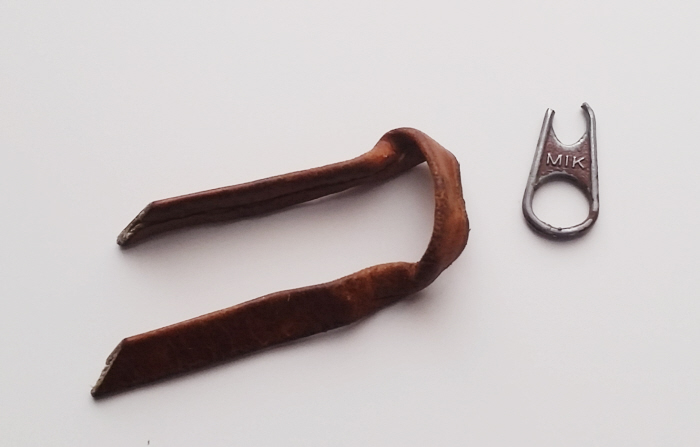
I untied the leather from the original zipper pull.
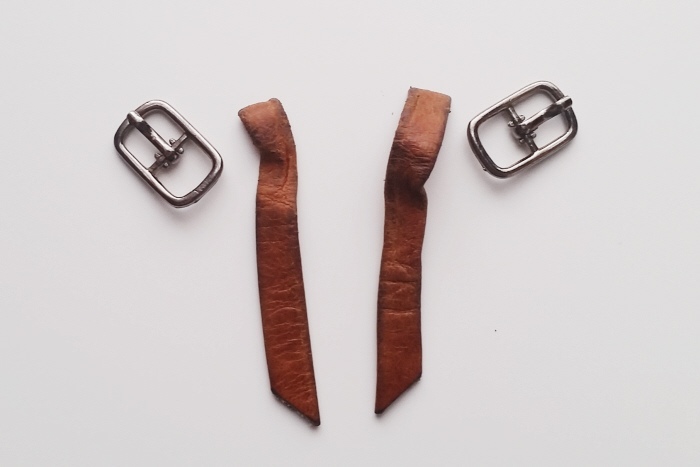
Chopped it into 2 equal pieces for each of my mini buckles.
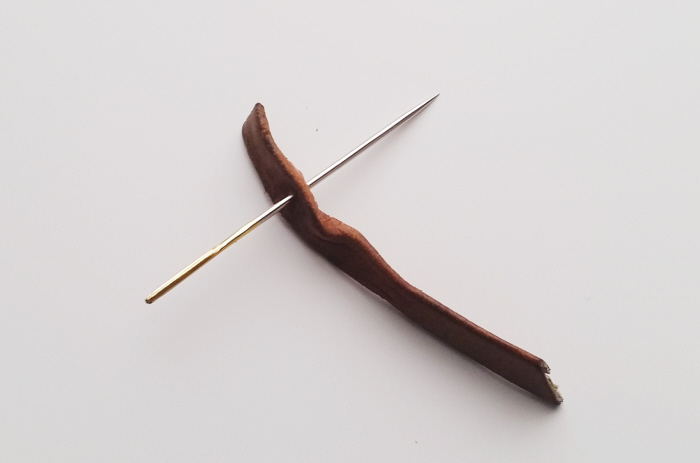
Poked a hole approx. 2 centimeters from one end of each of the leather pieces.
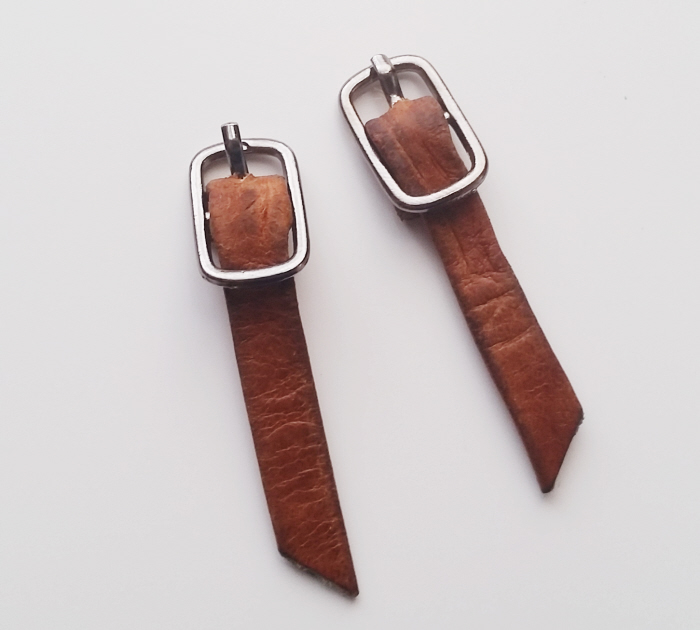
Slipped the leather through the buckles to create a couple of mini belts.
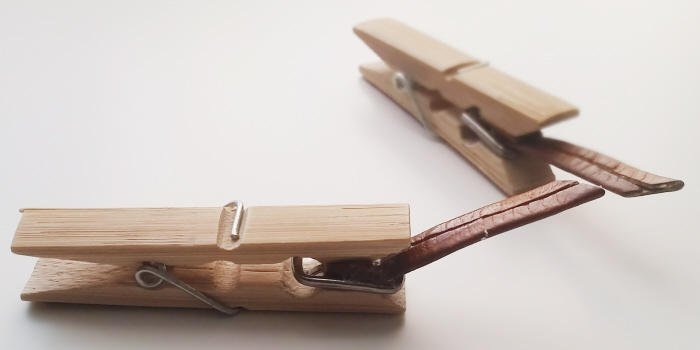
Secured the leather to the buckles with all-purpose glue.
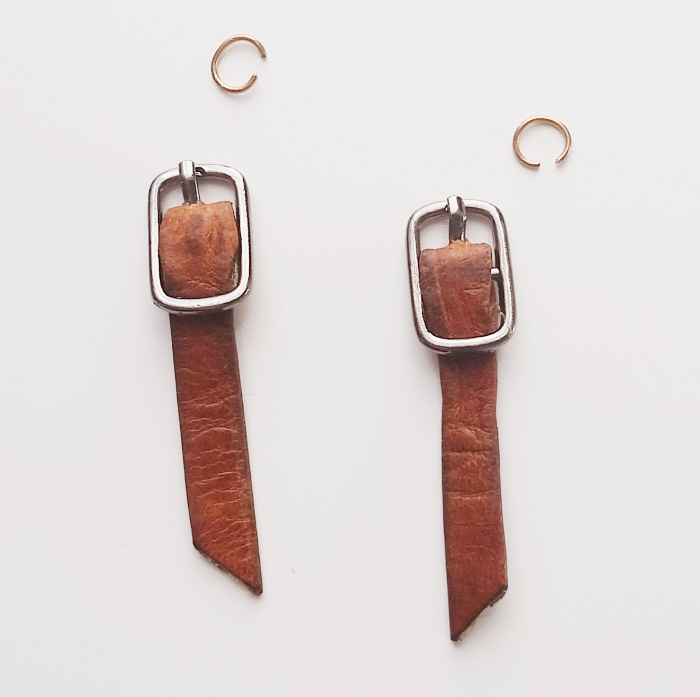
Once completely dry I grabbed a couple of sturdy jump rings from my stash of broken jewellery.
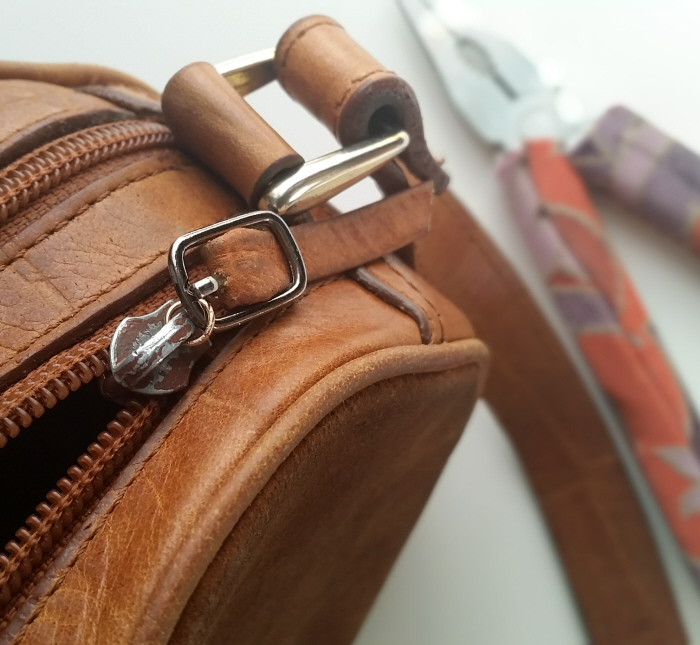
And attached my fancy mini-belt pulls to the zipper sliders with the jump rings.
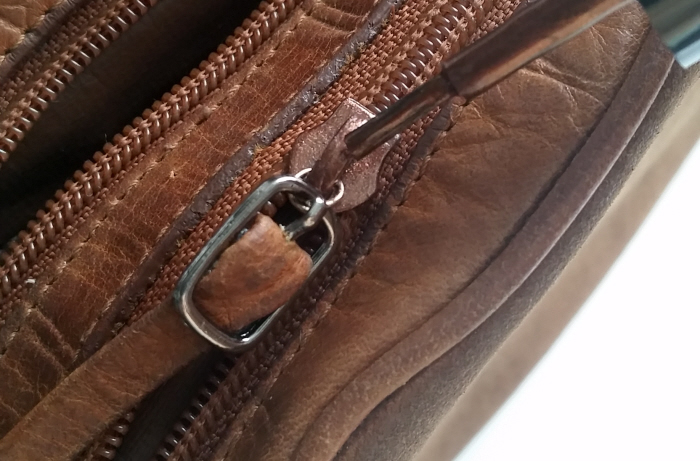
A bit of nail polish easily covered up the chipped paint!
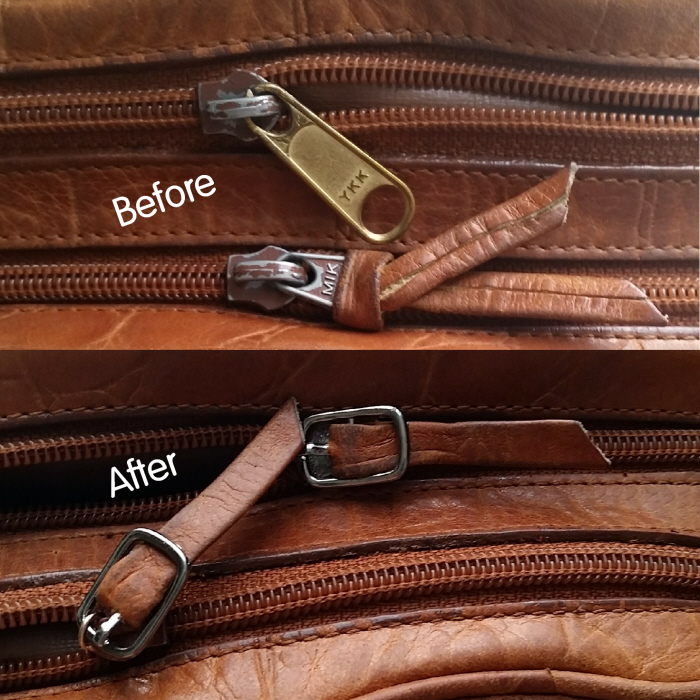
So Much Better!
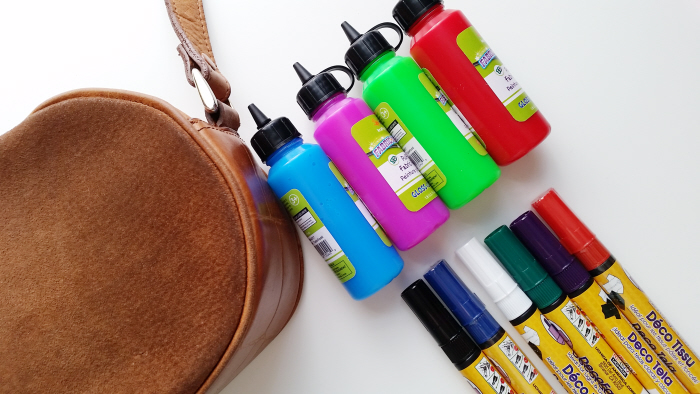
Now that the zipper pulls are lookin awesome it’s time to decide just how to jazz up this plain bag. As I’d like it to coordinate with a variety of outfits I’m not really into sticking on a bunch of patches and embroidery won’t work as the interior lining, compartments and pockets would all need to be carefully removed and then painstakingly reattached once the sides were embroidered, ugh!
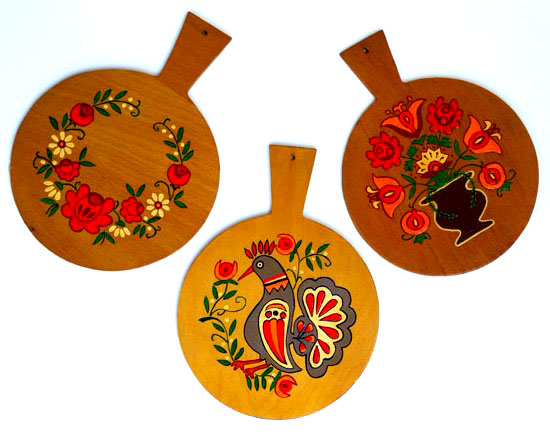
Instead, I think creating a pattern with either fabric paint or markers would be fab but haven’t a clue what motif to do, perhaps I’ll use some of my groovy vintage folk art for inspiration!
Here’s what I did:
Grab the step by step tutorial right over here!
