A short while ago I asked on my social media if anyone had any DIY obstacles or thrifty refashioning dilemmas they wanted me to tackle and boy oh boy did you guys answer! After wading through and (hopefully) helpfully answering a load of comments & e-mails I opened this creative query:
“I got a bag of old sweaters from my Grandma and there are a couple of cardigans that I love but they don’t have pockets and I can’t knit so my refashioning question is: what is the easiest way to put pockets on a sweater without knitting them on?”
A fabulous refashioning question that is best answered with a step-by-step tutorial:

Snag my crazy simple no-knit method for how to add pockets to a sweater below:
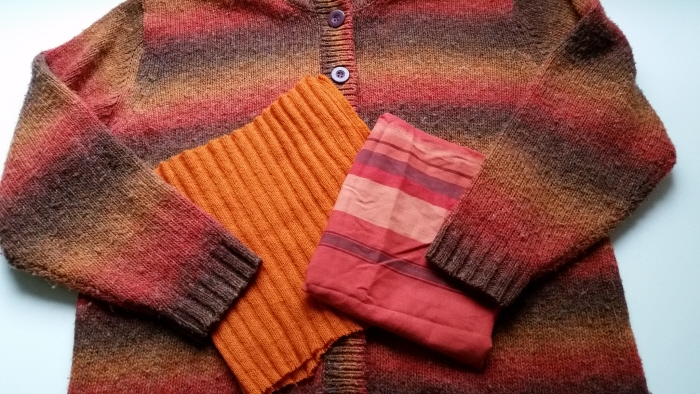
Grab your sweater, a piece of coordinating knit + a light fabric for the lining.
My knit fabric is the chopped turtle neck from a previously refashioned sweater & the lining is a piece of bedsheet.
You may remember that cozy sweater from my Ode to Thrifted Cardigans post
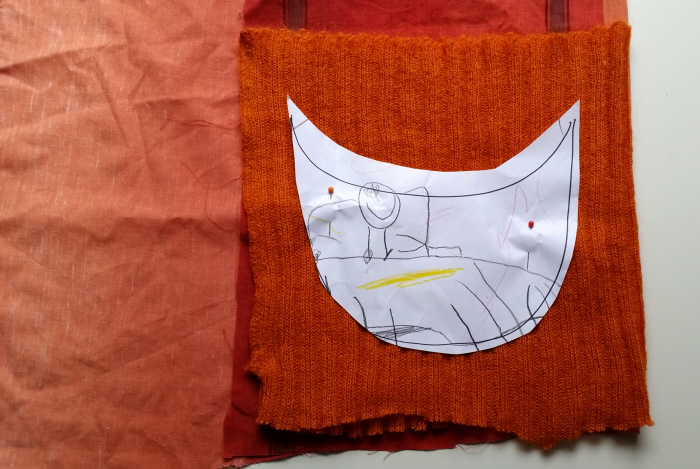
Double fold your fabrics, cut the basic shape and size of your desired pockets from a scrap of paper and pin it in place on top of your fabrics – et voila! A super simple pocket pattern!
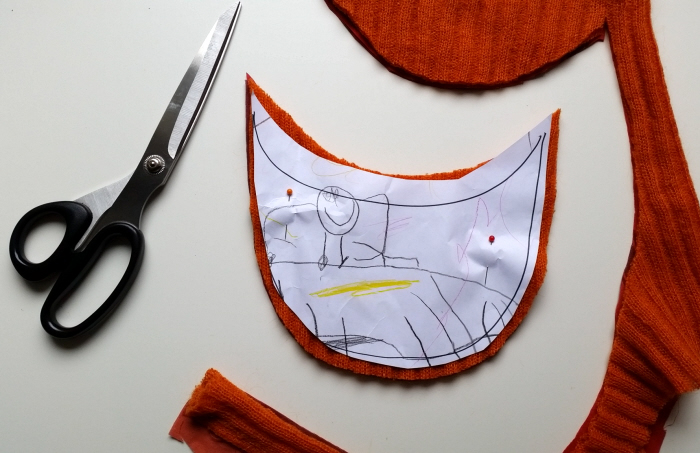
Chop it out.
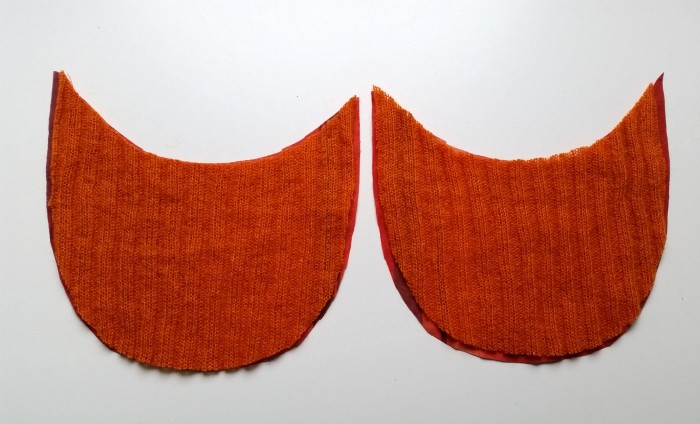
Separate your fabrics and place each liner piece under a knit piece with right sides facing.
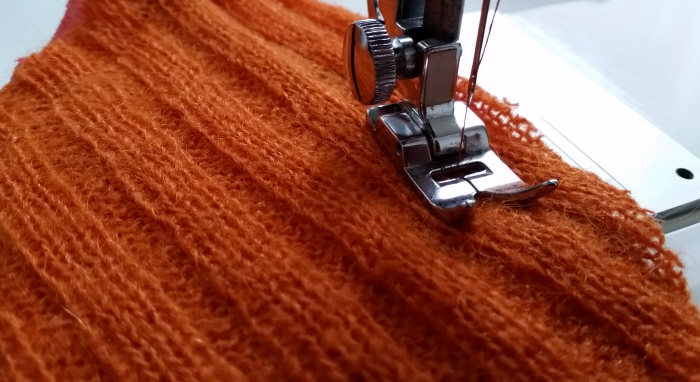
Stitch them together leaving a small section open for turning right side out.
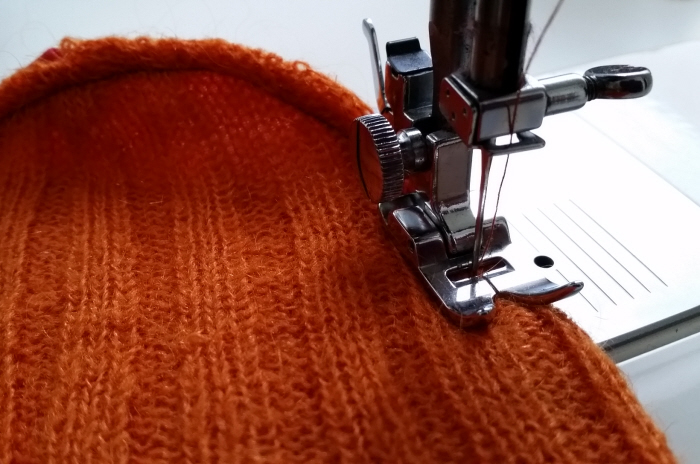
Flip right side out, tuck in the raw edged section and top stitch all the way around your pockets.
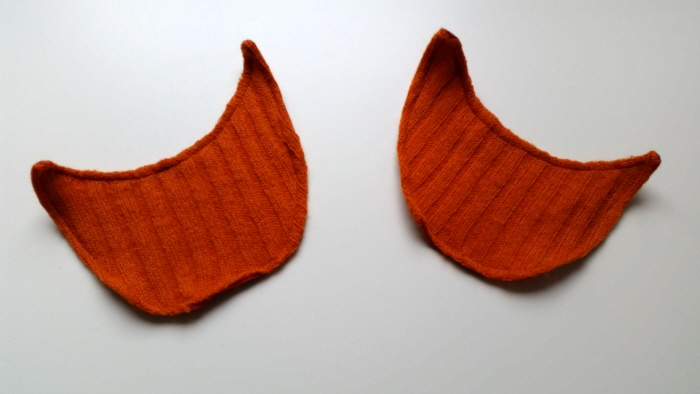
Hooray! Two matching, lined pockets!
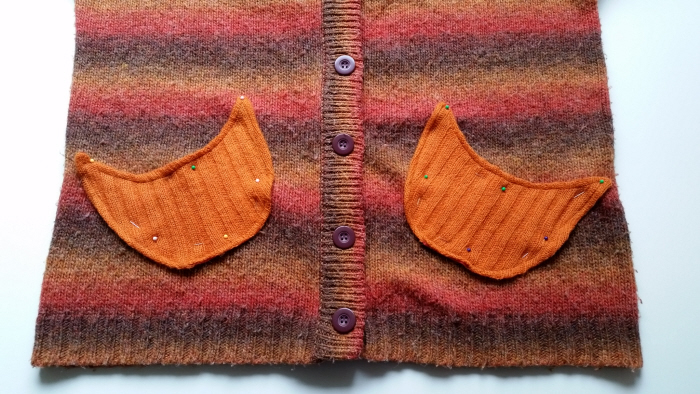
Arrange your pockets on the sweater and pin in place.
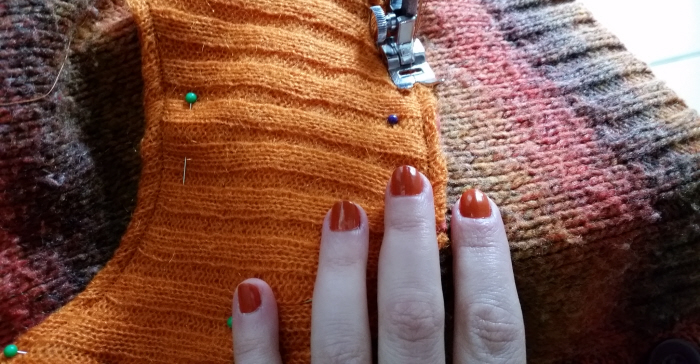
Stitch them on using a tight wide zigzag stitch.
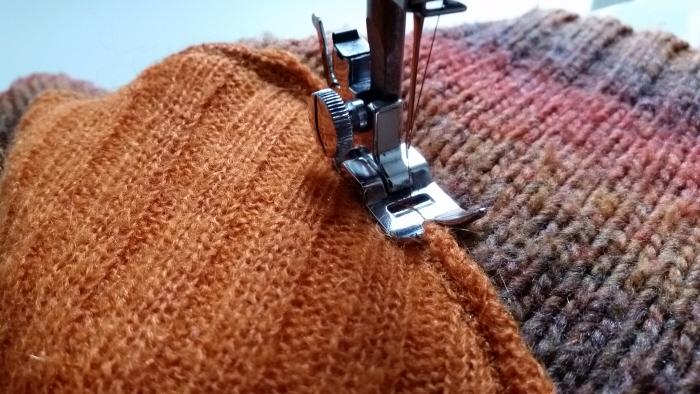
Zigzag around the pocket edges for extra strength.
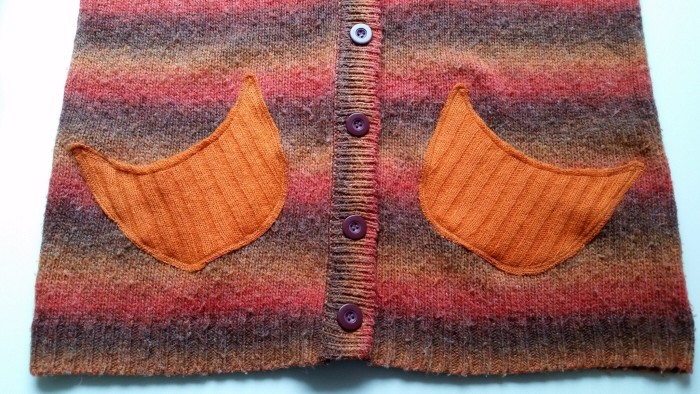
And your sturdy new pockets are complete!
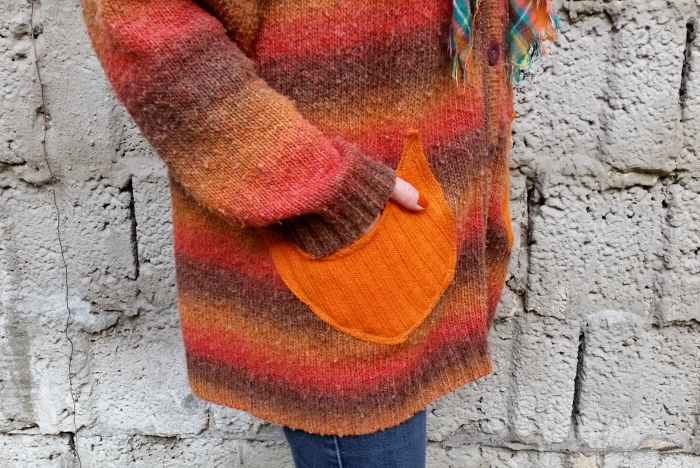
Awesome, eh?

And soooo easy!
Need some more DIY pocket ideas?
Discover how to easily repair cardigan holes + add doily pockets too right here!
Get the scoop behind my DIY lace pockets!
Find all of my upcycling goodies at RefashionistaSheri.com






congrats on your 500th, Sheri. A wonderful accomplishment. And, another super cool idea!
Thanks very much! 500 tutorials out of a total of 774 posts (as of today) in just over 2 years of full-time blogging is a pretty darn huge amount and a load of hard work 😀 I’m pretty impressed with myself now that I’ve added it all up! 😉