And just what did I create with the leftover bottom of that fugly vintage dress?
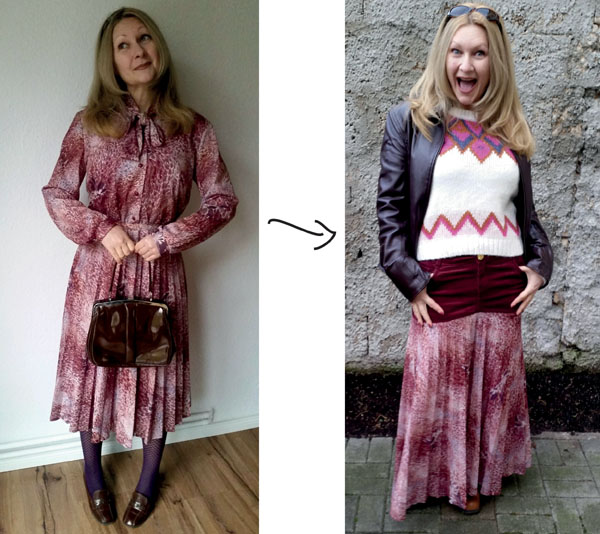
A rather magnificent maxiskirt!
Here’s what I did to create The Fugly Dress Refashion: Part 2 – easy DIY maxiskirt :
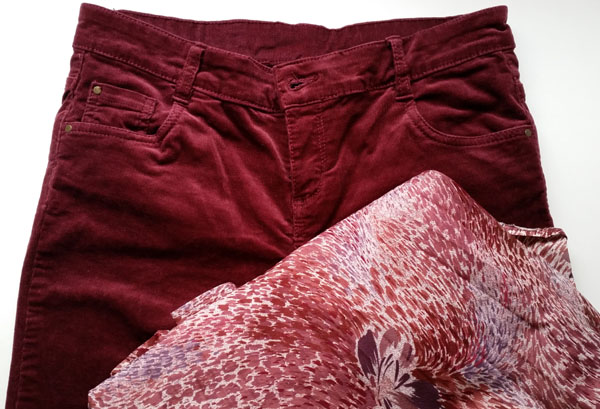
I snagged a pair of rarely-worn cords from the back of my closet that oh-so-perfectly matched that leftover fugly dress fabric.
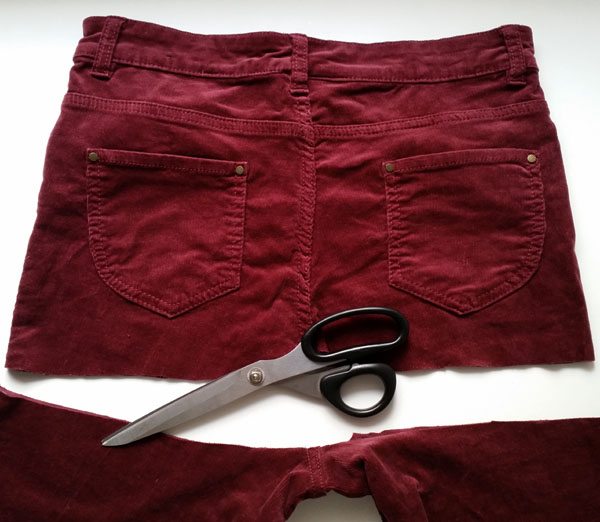
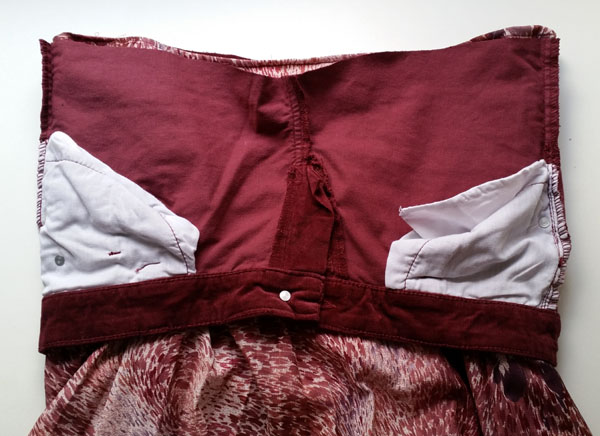
Chopped the top off of the trousers above the crotch.
Stitched the lining & the bottom of the dress back together.
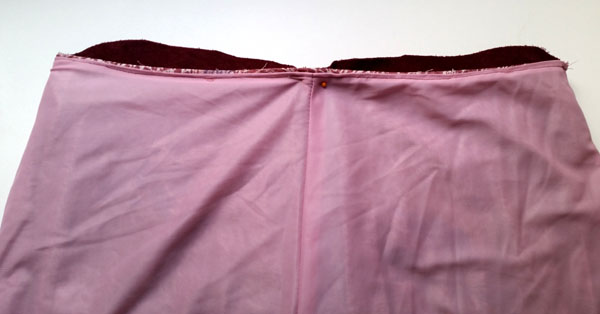
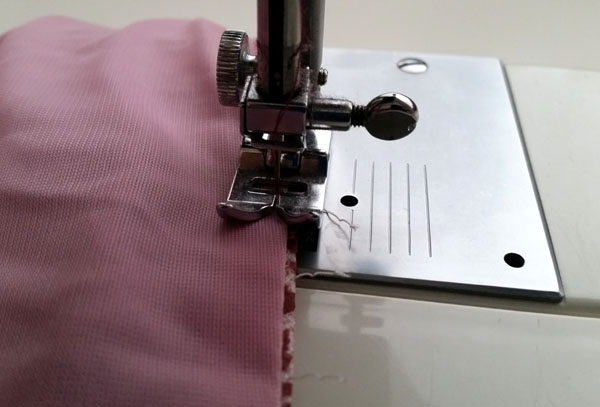
Popped the top of the cords into the bottom of the dress with right sides facing and side & back seams lined up.
Note: you can also pop the trouser top over the skirt & achieve the same result.
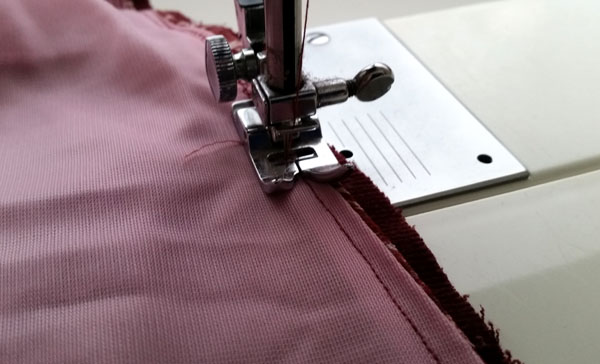
Then I stitched them together…
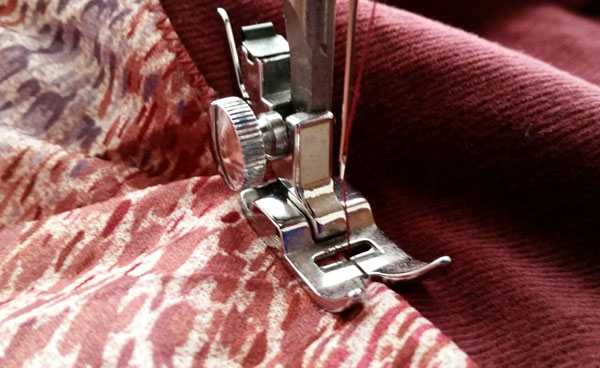
and zigzagged over the outside seam for extra strength.
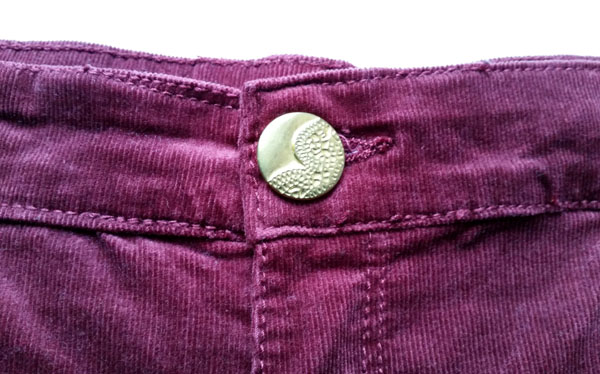
Then replaced the button with a funky vintage one from my stash.
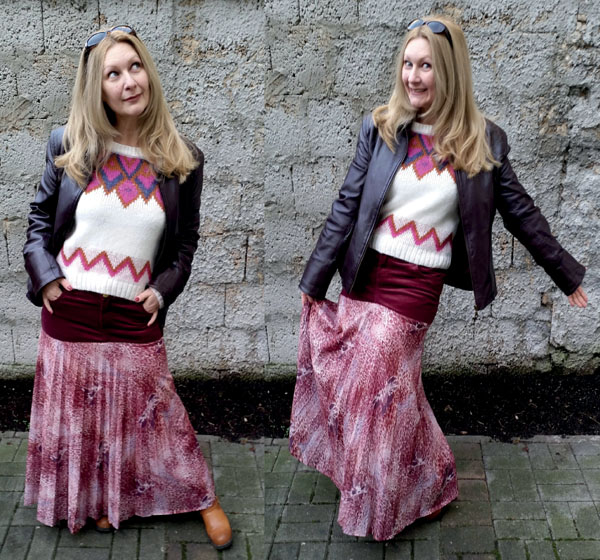
et voila!
Check out Part 1 and Part 3 of my Fugly Vintage Dress Refashions!


I love it !! Can’t wait to get more daring as I learn more
Refashioning is all about stepping outside of the box and letting your imagination & creativity take over – I’ve learned by doing and try pretty much whatever pops into my head when inspiration strikes! Not always successful but always discovering more refashioning tricks! 😉
OMG you used the fugly bottom half!! Unbelievable but so rad.
I’m all about using every scrap whenever possible – and this one came out brilliantly if I do say so meself! 😉
This is a great idea! I totally like it. Good job Sheri! 😀
Yup, simple refashions are fabulous!