Yes that’s right folks! I’m offering 2 groovy tutorials for the price of one!
Which basically means that I created something then realized there was an easier way to make it so I ended up with 2 different sets of tutorial photos and, not wanting to waste anything (even digital photos) I’ve decided to post both methods of how I made my own canvas frames & art – and I use that term very loosely.
What is the price you must pay for this fantastic 2 for 1 offer?
Subjecting your eyes to my family portrait painting:
No art classes? Really? How shocking – read with heavy sarcasm
and then there’s this beauty:
Here’s how to create your own canvas art:
For the first (more complicated) canvas you’ll need 2 long pieces of wood (mine were 2m) & an old bedsheet or large square of fabric.
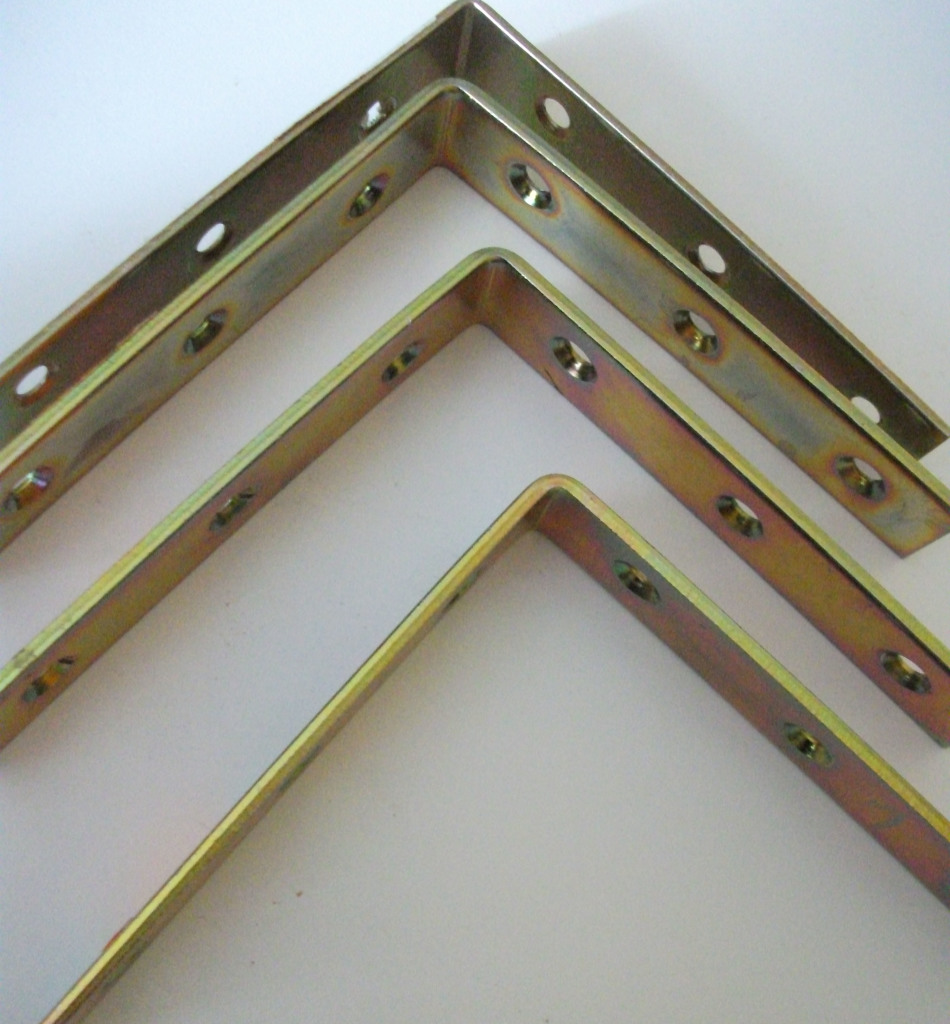
plus 4 L-brackets & screws.
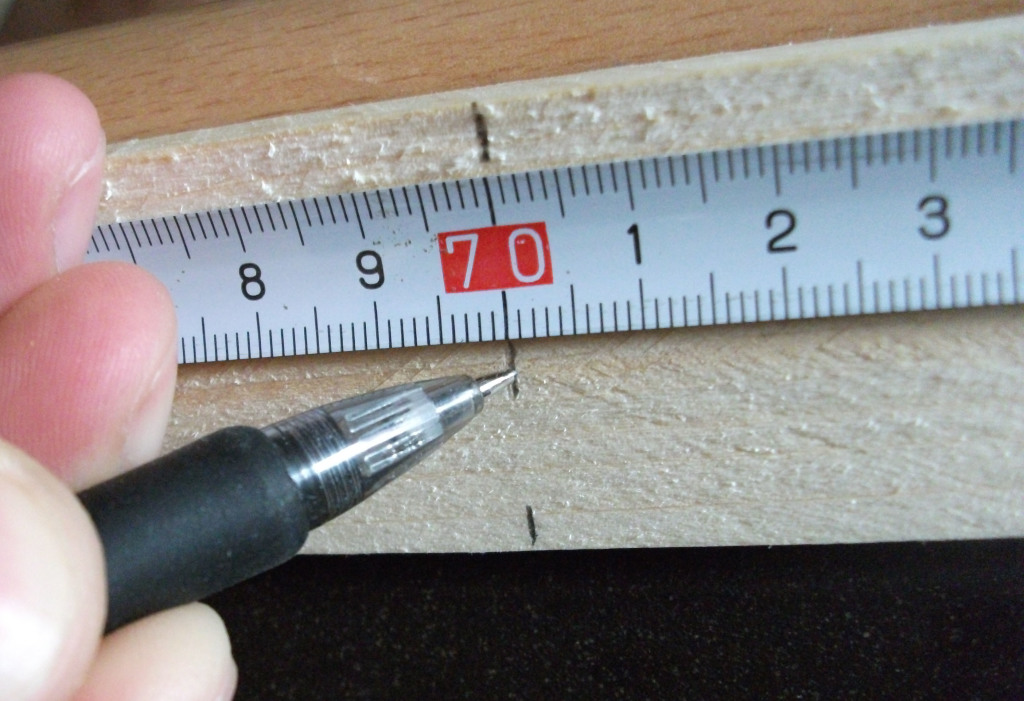
Decide the size you’d like your finished canvas to be (our wall space is huge so I went with 130 x 70cms) & measure accordingly.
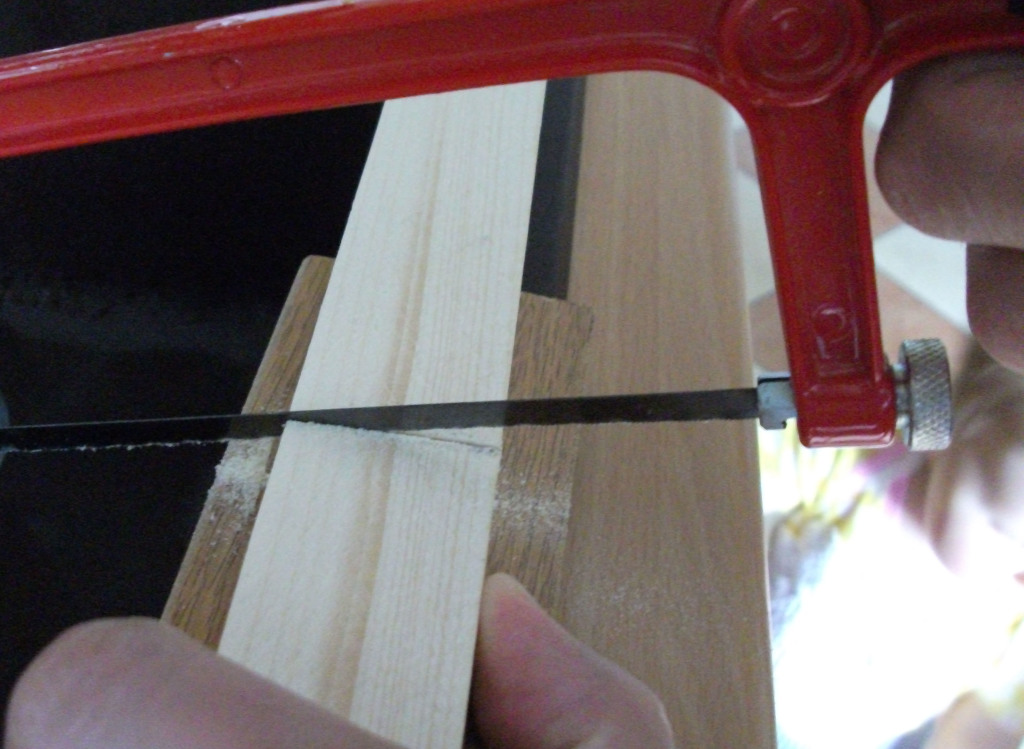
cut the wood. (preferably not over the sink as the munchkin toddles by – wtf, dude?!)
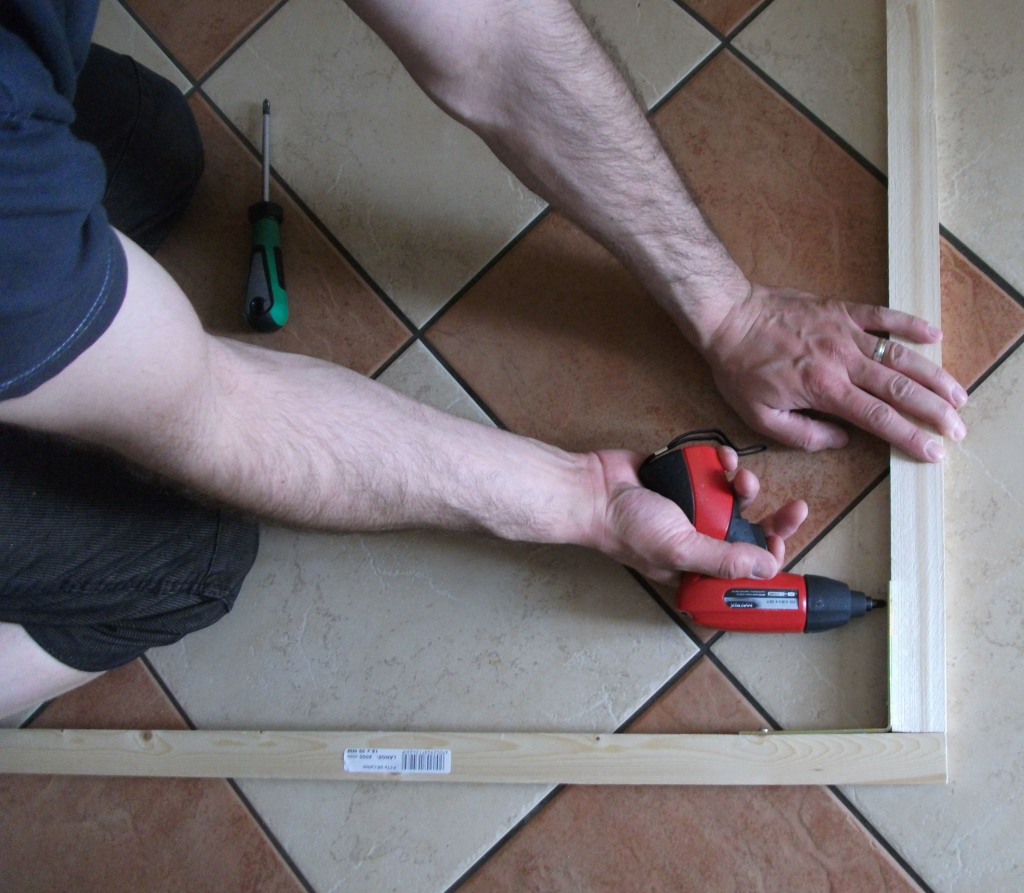
attach the wood together using the L-brackets & screws.
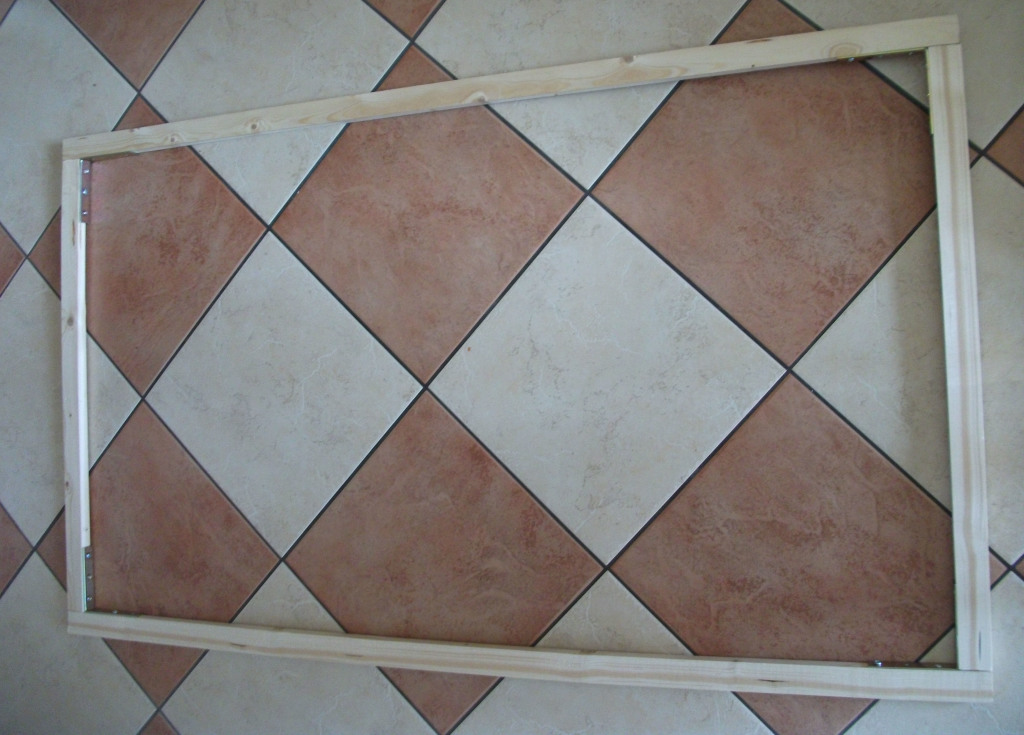
Ta da! Time to get your sheet.
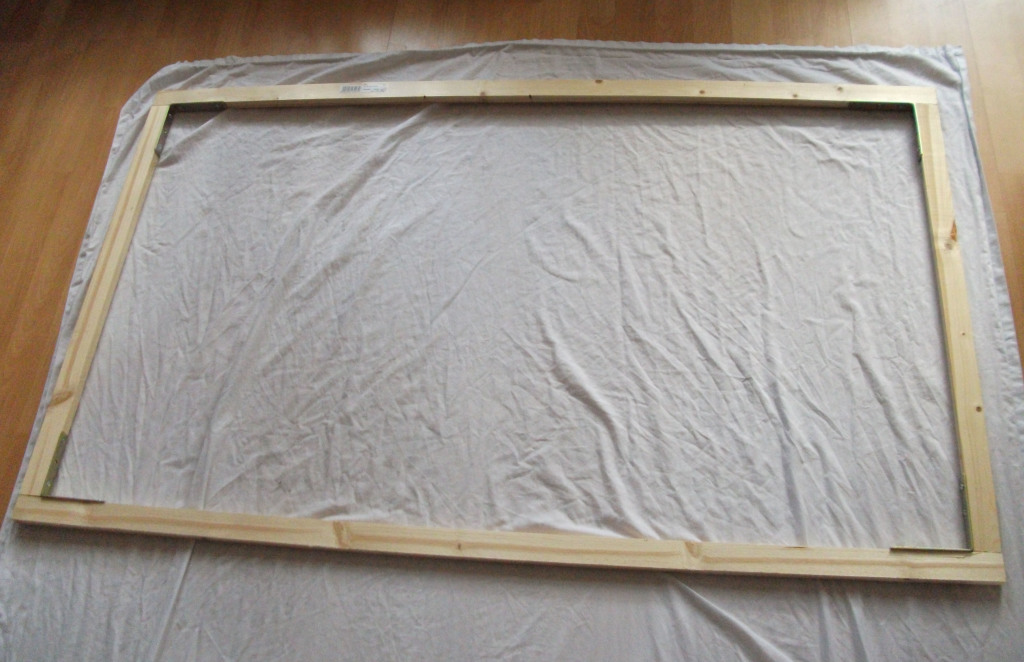
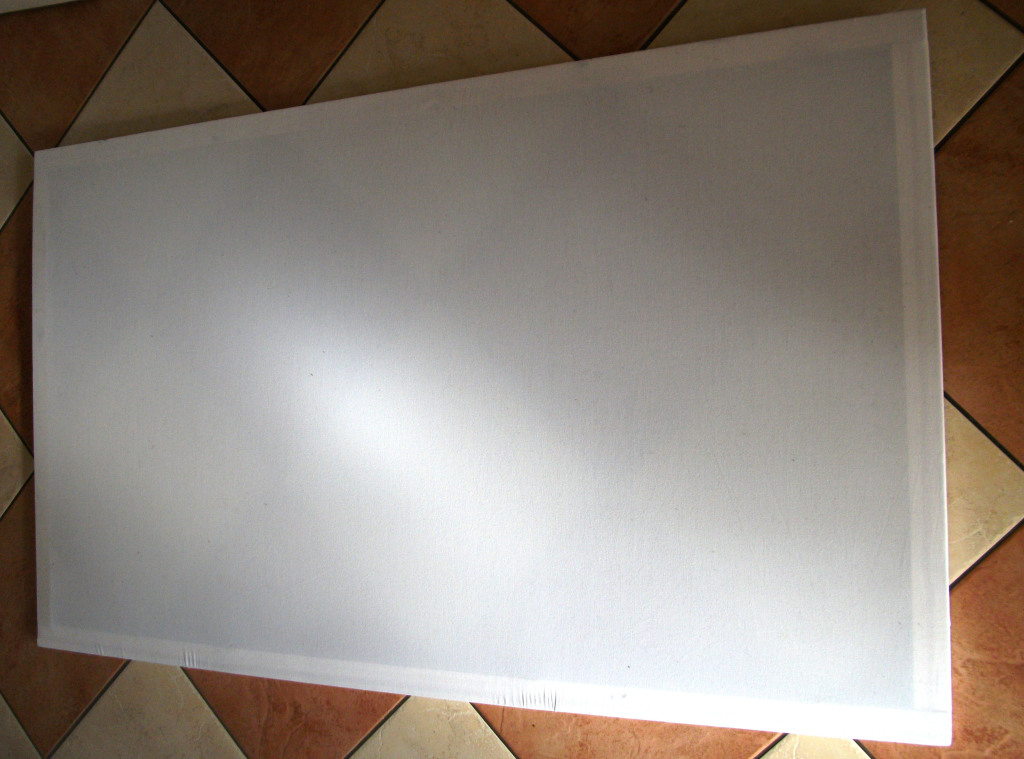
Lay the bedsheet flat on the floor & put your frame on top of it. Make sure there is enough fabric to wrap around to the back of the frame.
Quick Tip: a damp sheet will stretch easier around the frame & when dry will shrink tight as a drum – achieve the perfect dampness by washing your sheet, the magic is in the final spin cycle!
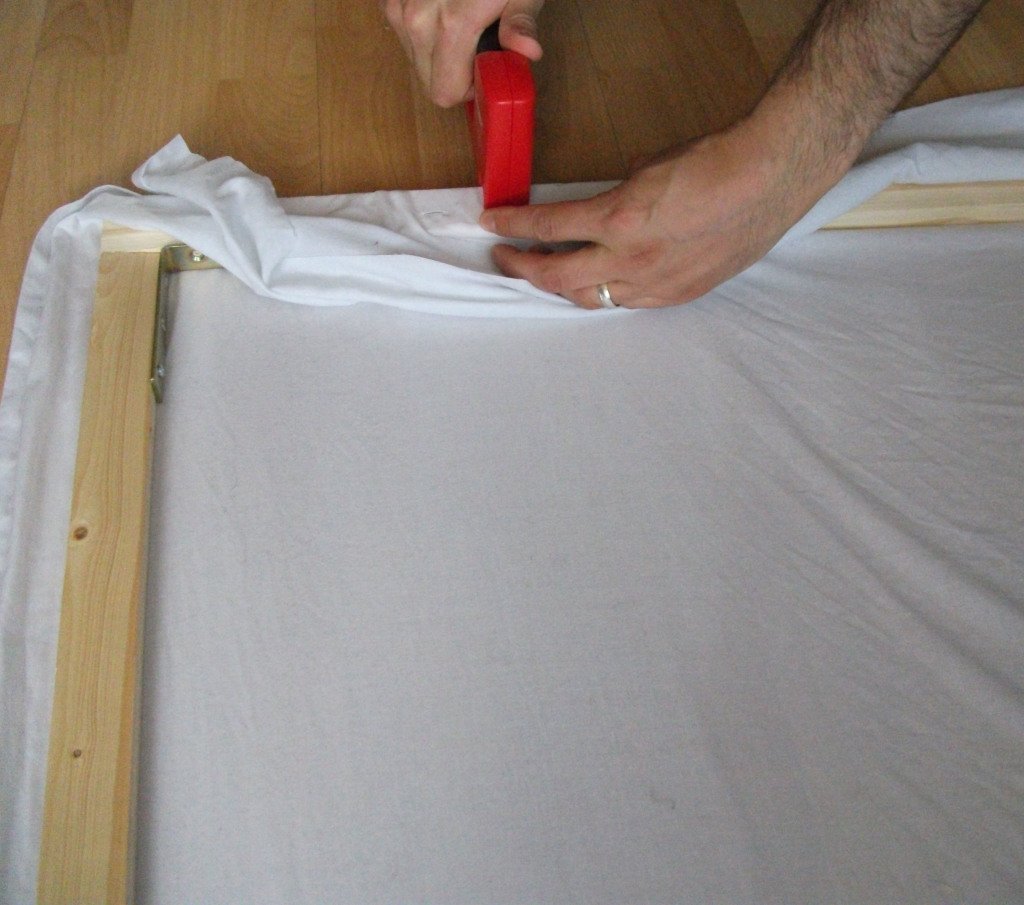
Stretch the sheet around the frame & staple (or tack) it down all the way around.
Yay! Almost time to release the inner-artiste!
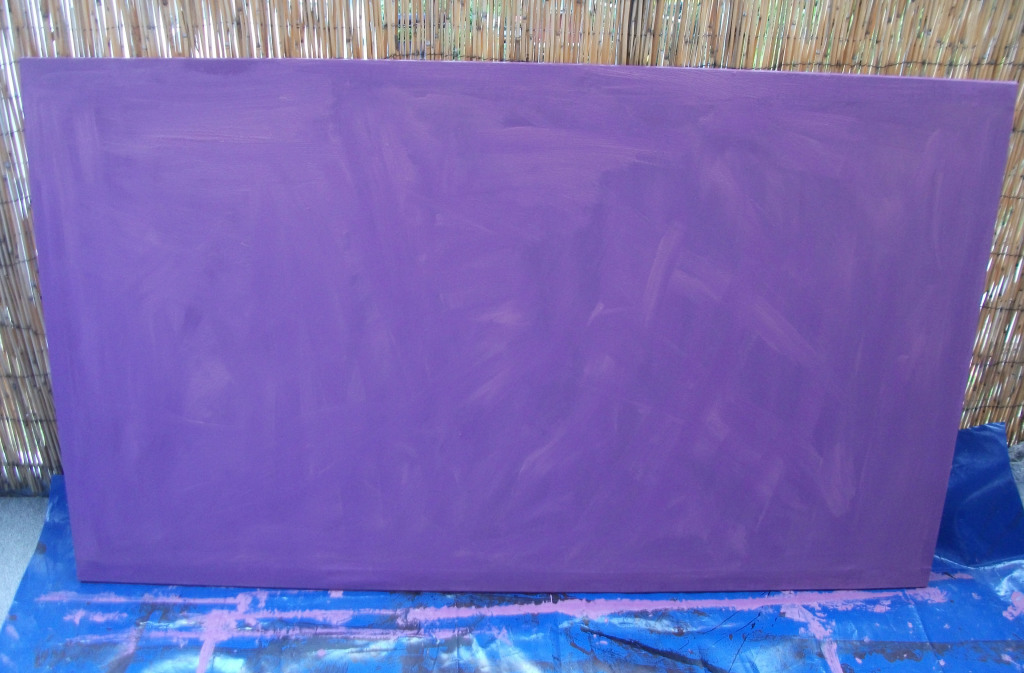
Give your canvas a base coat (or 2 or 3).

very roughly sketch an idea for your ginormous canvas.
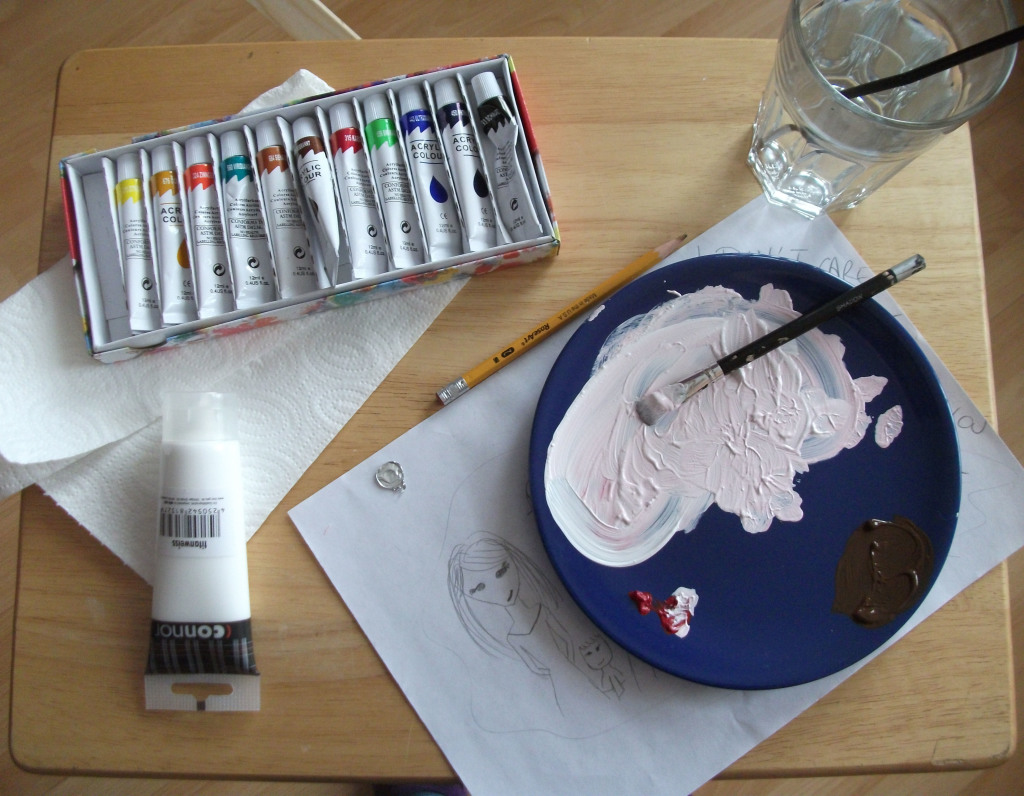
gather your cheap paints & brushes.
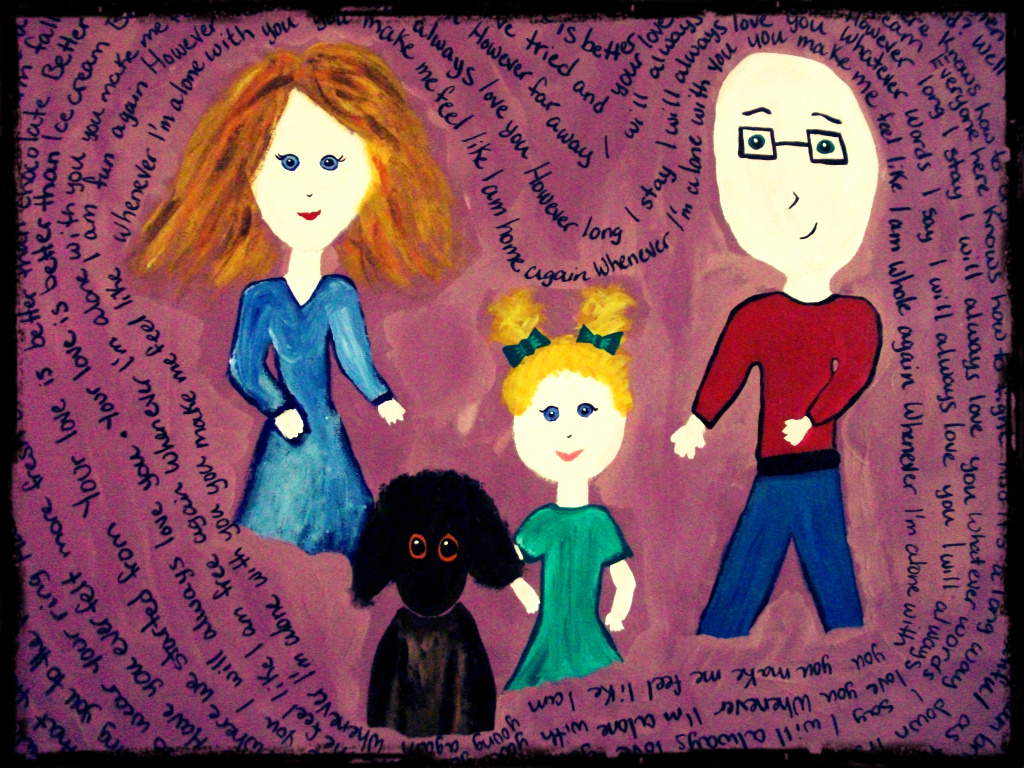
create your masterful family portrait & surround it with lyrics from your fave love songs.
For a much easier original work of art: start with 4 pieces of wood (measured & cut to size as above).
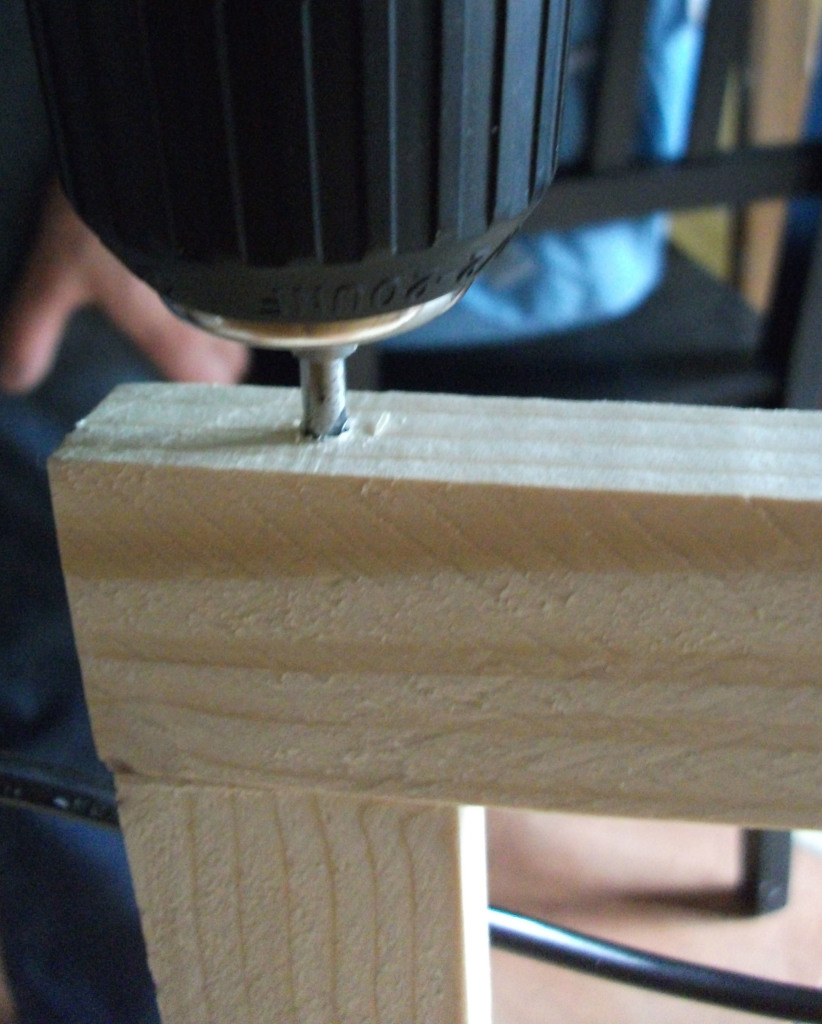
Now here’s the MUCH easier part – instead of faffing about with L-brackets simply drill holes through all ends of the wood.
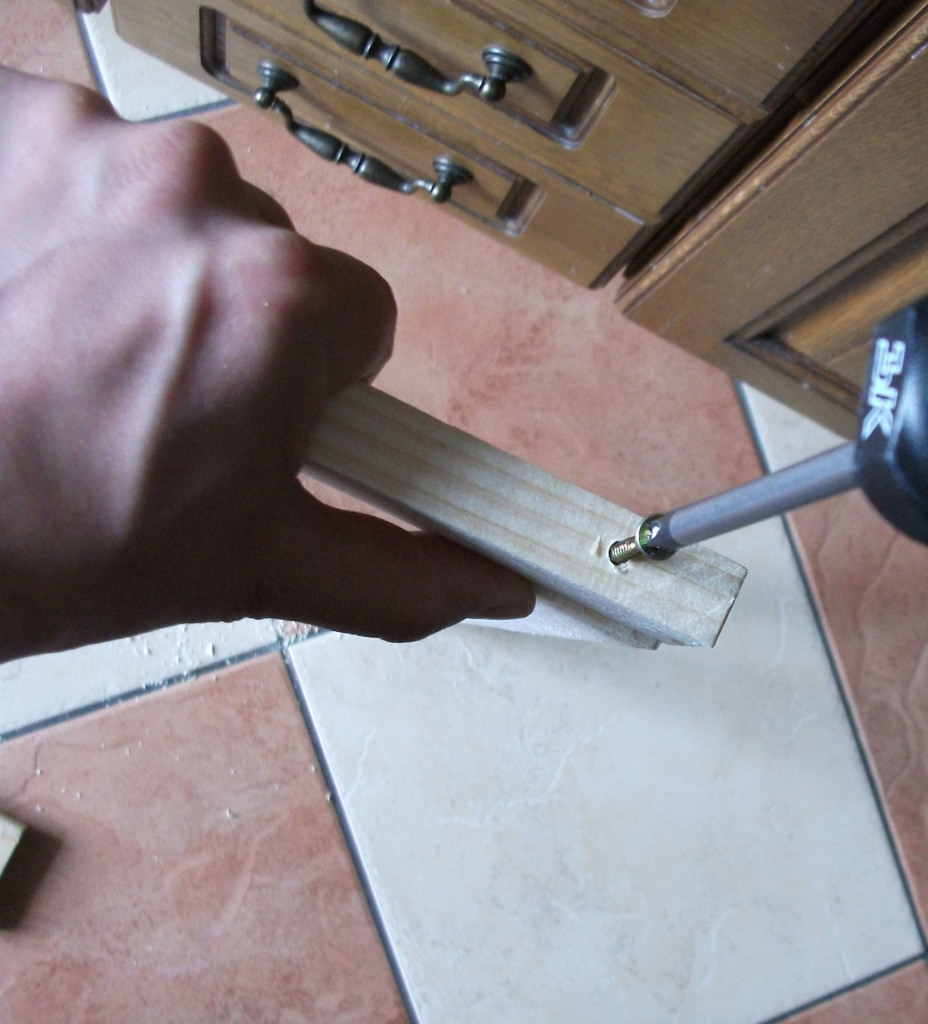
and attach them together with some extra long screws! So simple!
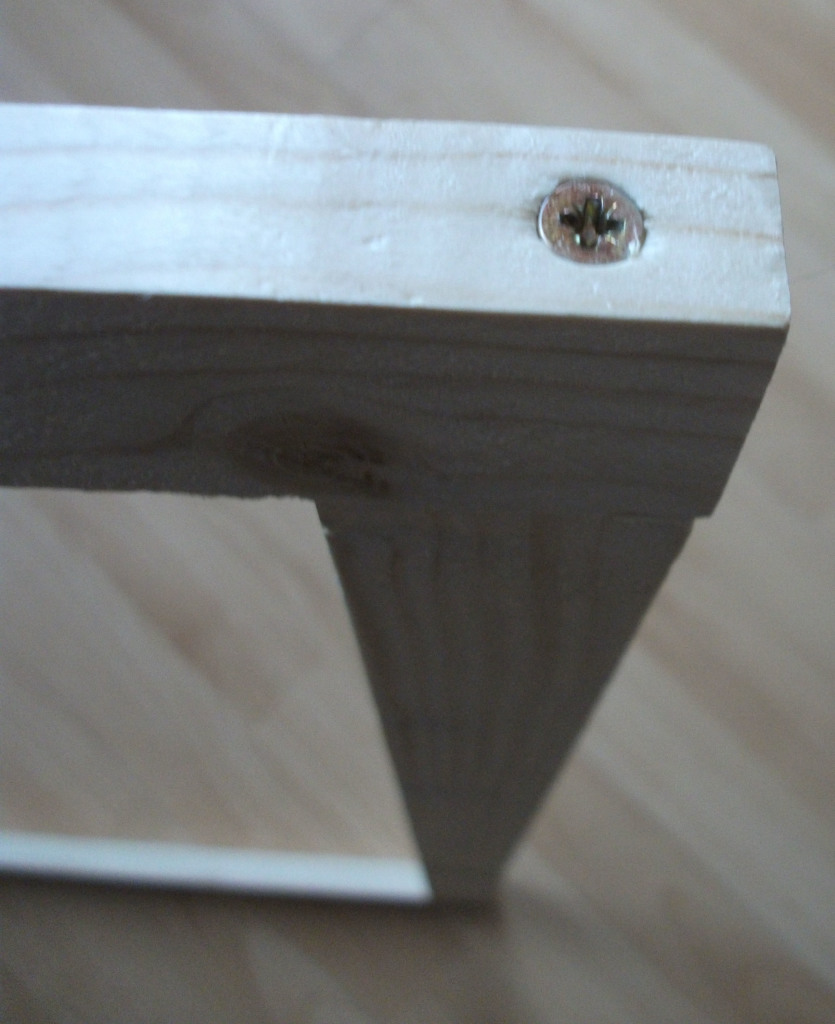
seriously, finished in under 10 minutes!
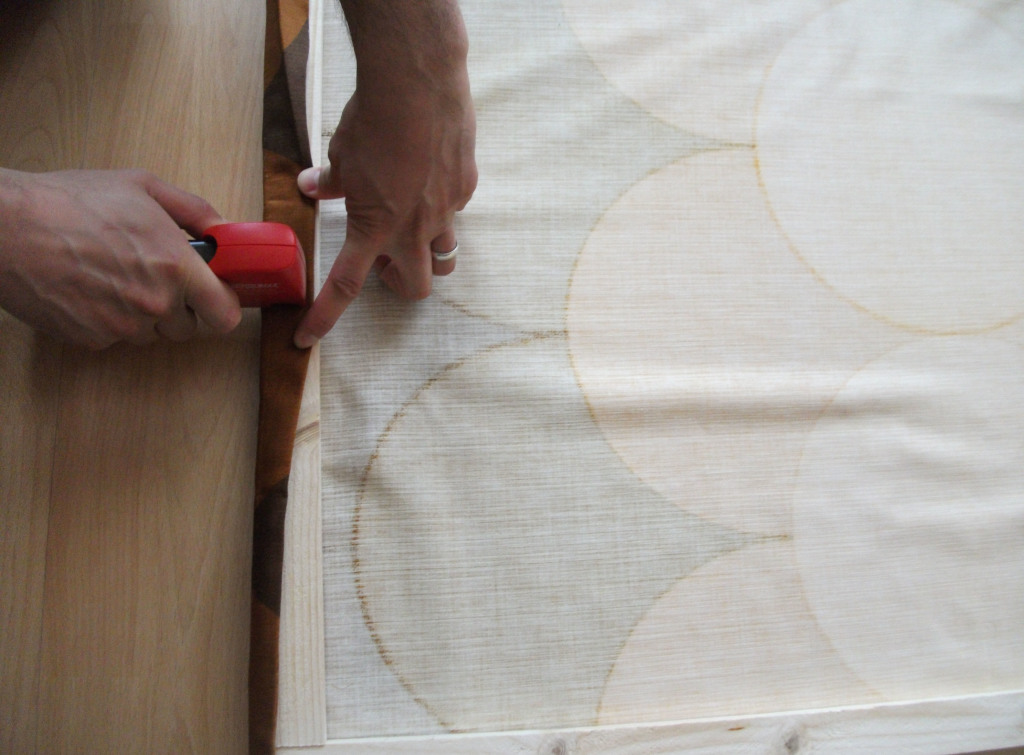
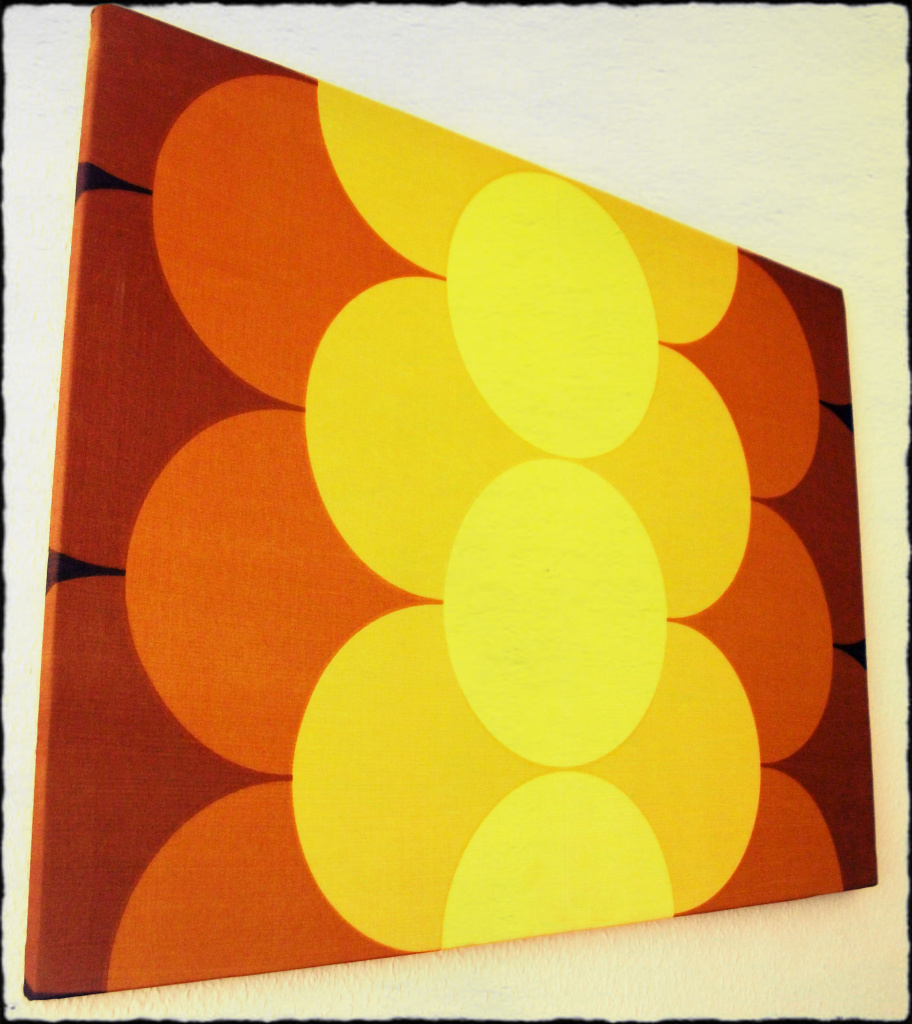
Grab a groovy patterned 1970’s curtain & staple it to the frame.
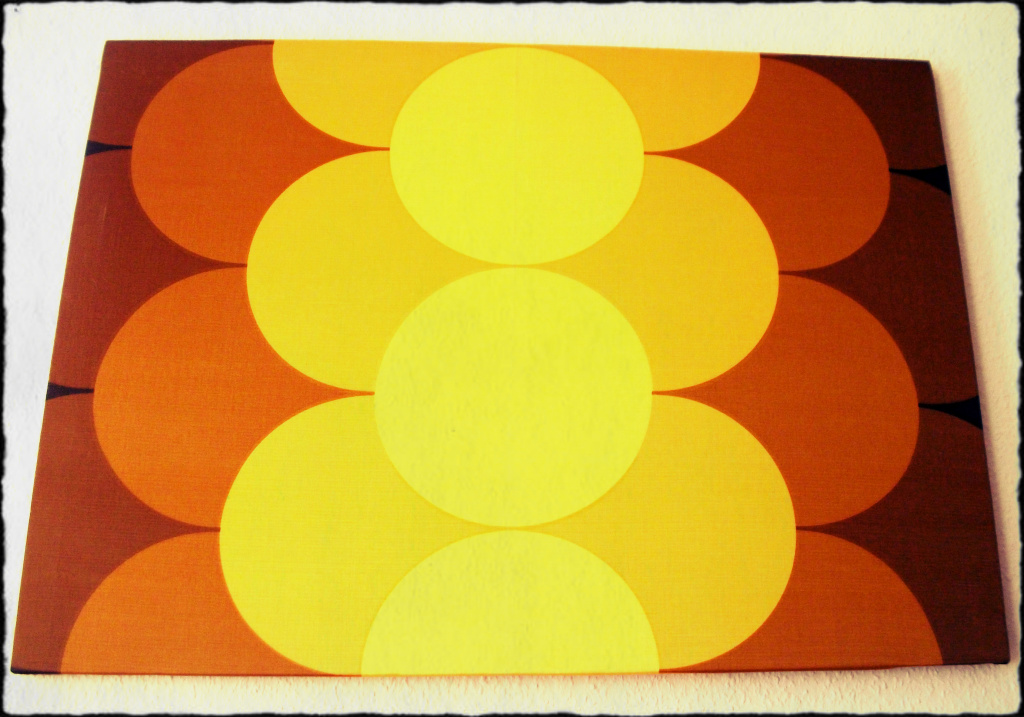
Then go display your fantastic new art & then make some more!
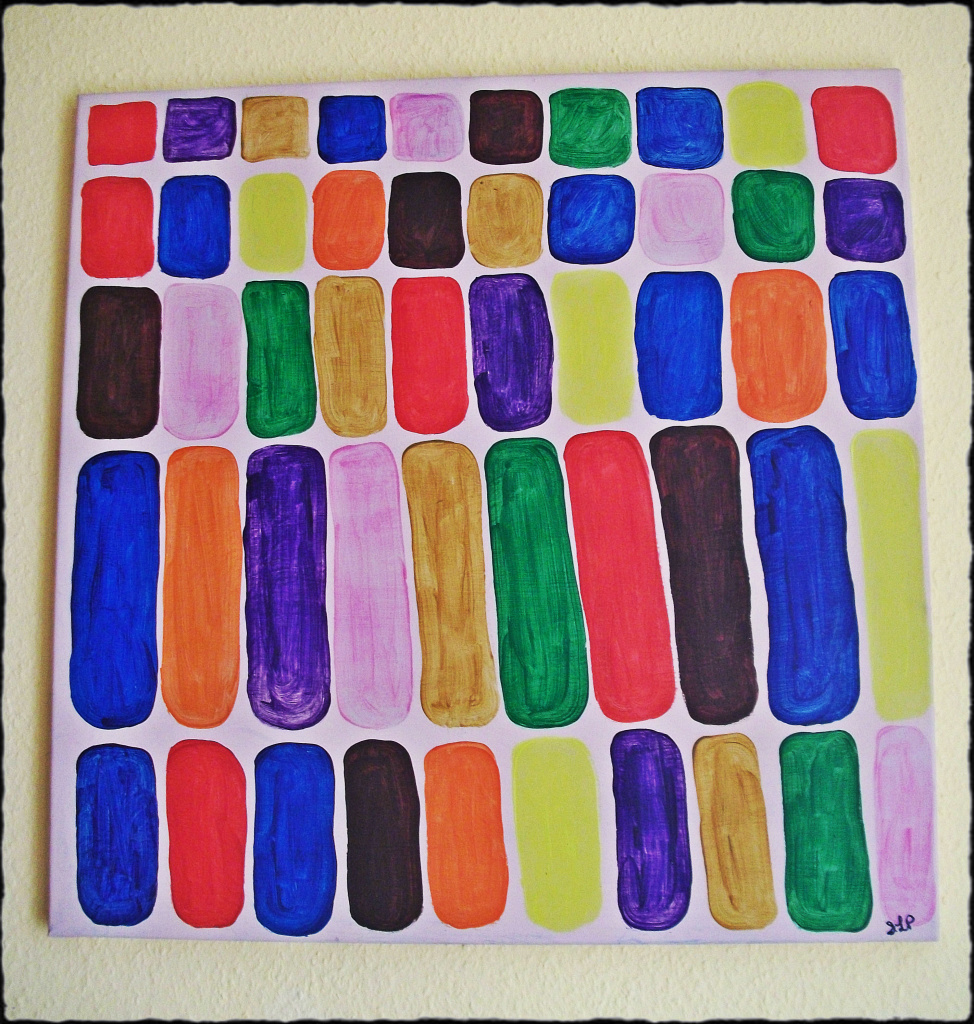
this cheerful number is helping our little one learn her colours – so it’s useful art
Want more upcycling goodies? Visit RefashionistaSheri.com
