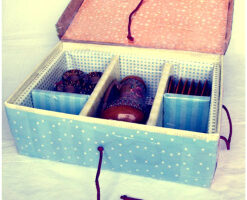
When I spotted this sorry looking vintage box on a pile of junk left out for garbage day I snatched it up immediately:
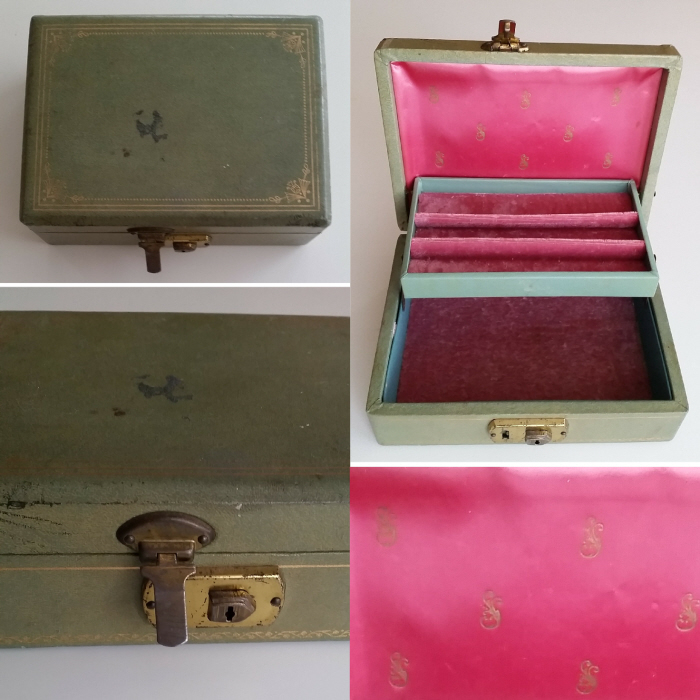
The outside definitely needed work but, apart from a bit of a musty odor, the inside was in top condition!
Check out my Rescued & Refashioned Jewellery Box DIY and snag some inspiration for your next trash to treasure find!
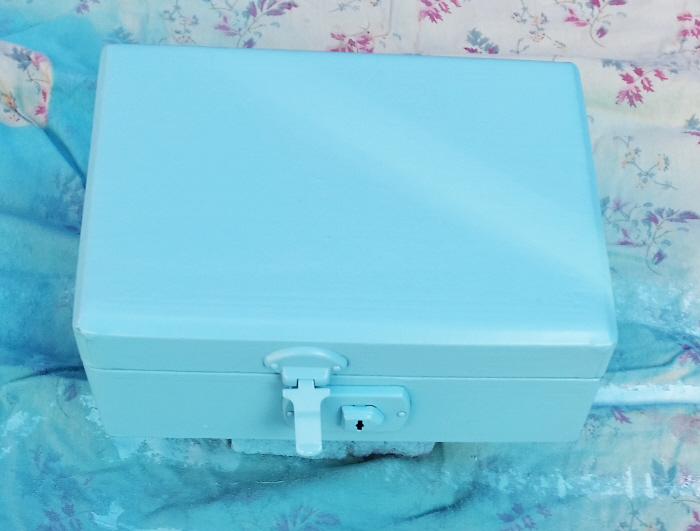
I gave the outside of the box a light sand and then a few coats of spray paint.
Grab my top tips for removing vintage odors here – a spray of vinegar worked perfectly on the interior of this lovely box.
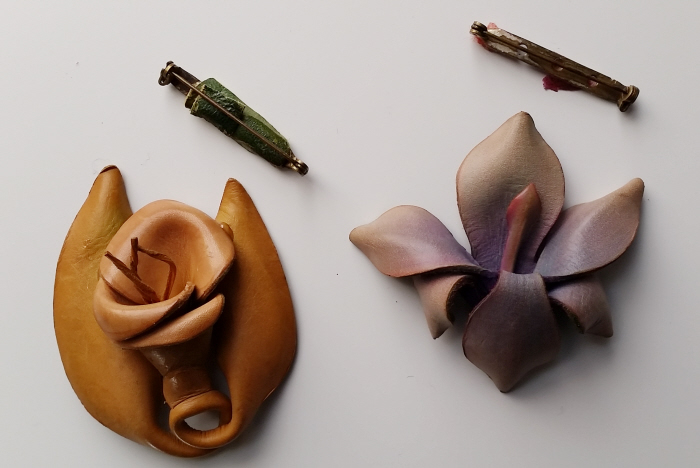
While the paint was drying I searched through my stash for some decorative bits and discovered these vintage leather brooches that had seen better days.
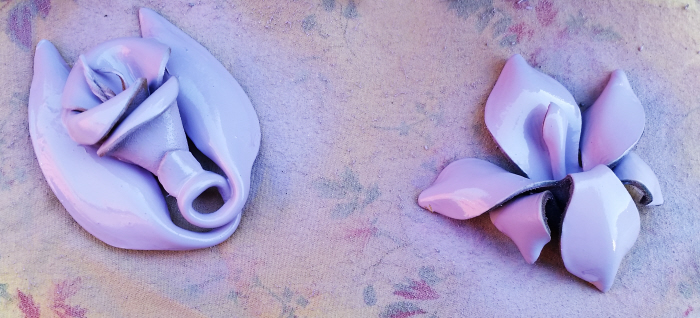
After couple of coats of lilac paint these pretty blooms were ready for their next life!
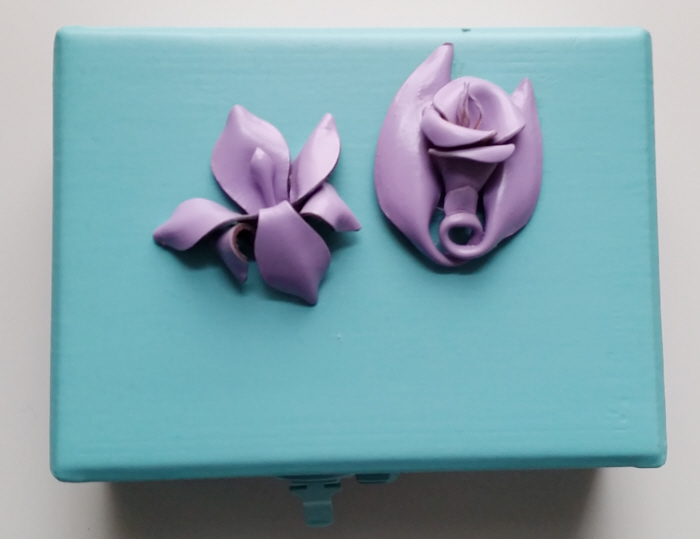
I secured them to the top of the jewellery box with sturdy all-purpose glue.
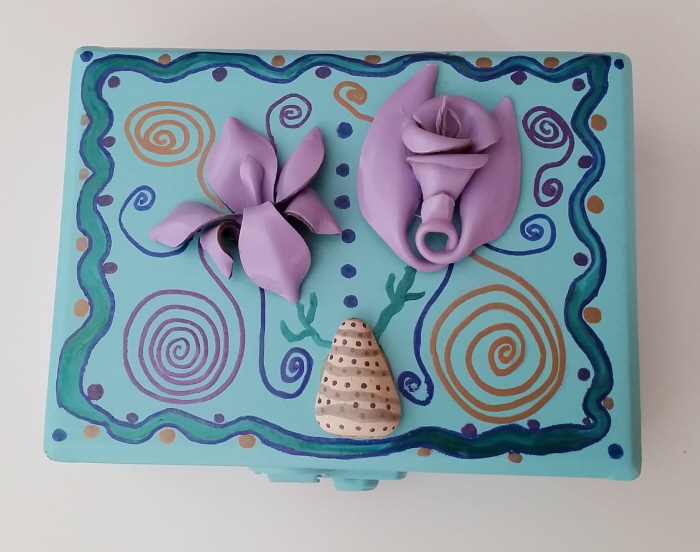
As this was absolutely a see-what-happens-next project and I had no plan at all as I was making it I simply let my imagination take over and used whatever I had on hand to finish it off.
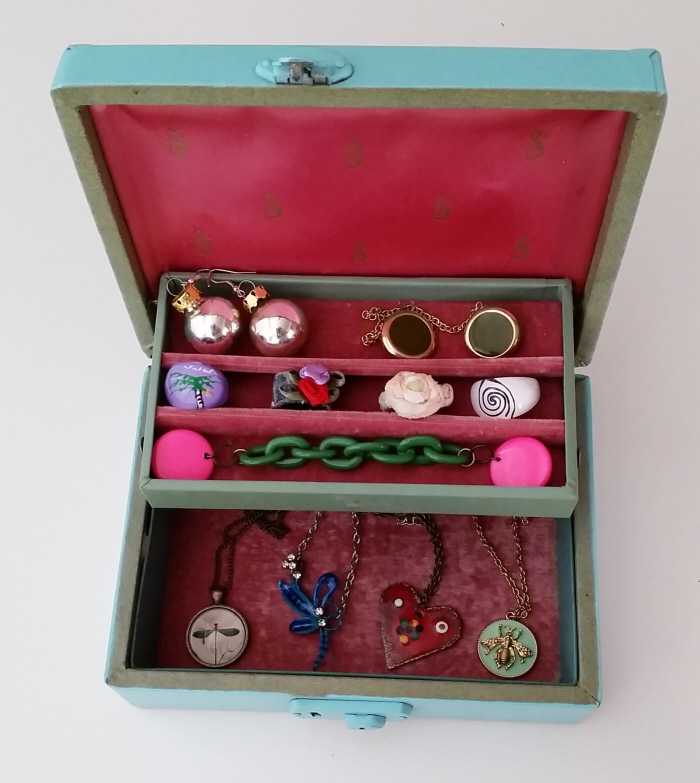
Saved from the landfill and made useful once again, hooray!
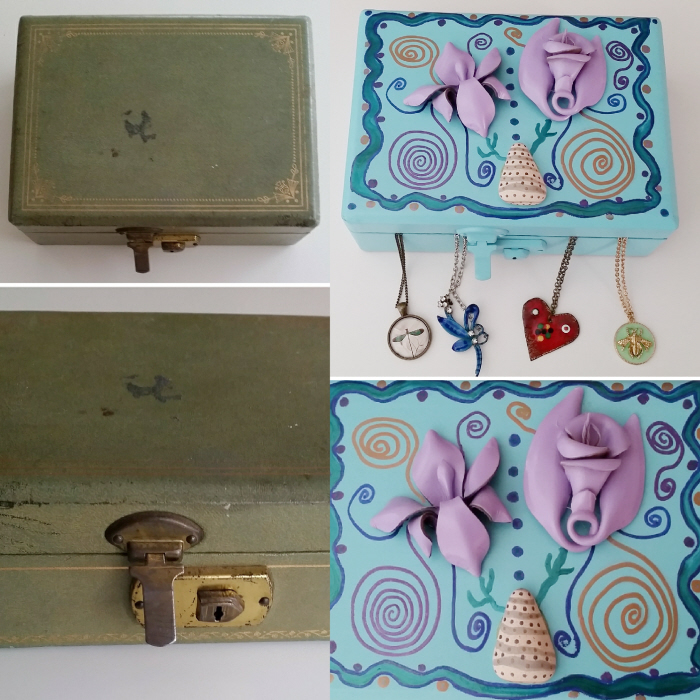
Sad to fab and so much better!
(the kiddo has stolen it from me for her jewellery!)
Grab all of my fab tutorials for the nest over here, awesome jewellery DIYs here and loads of upcycled makes for quirky kiddos right here!


OMG! I have the same exact jewelry box! My grandmother passed away and I ended up with two of these – identical! I painted mine with hunter green (that was the color at the time) acrylic hobby paint. It worked very well. Still going strong 25 years later.
Wowza! That is awesome! 😀
Your’s is much better looking than mine.