Refurbishing old furniture is never as difficult as I imagine it will be.
Time consuming? Yup. Frustrating? Oh, absolutely! But rarely is it ever actually problematic or strenuous – waiting impatiently for the paint to dry or attempting to choose just the right fabric from my stash (or the thrift shop) is as painful as it gets!
Don’t believe me? Take a look at these 3 simple DIY chair makeovers and let your imagination loose on those boring bits you have stored away!
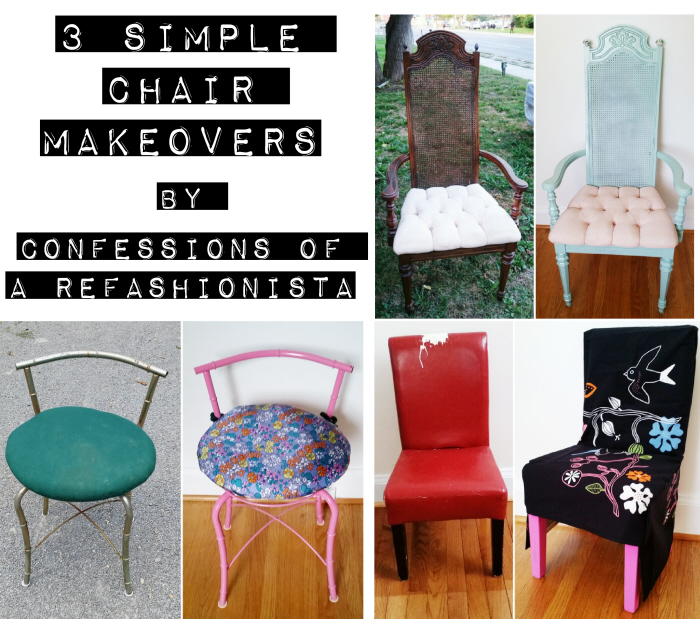
Get the steps behind each fab new look below:
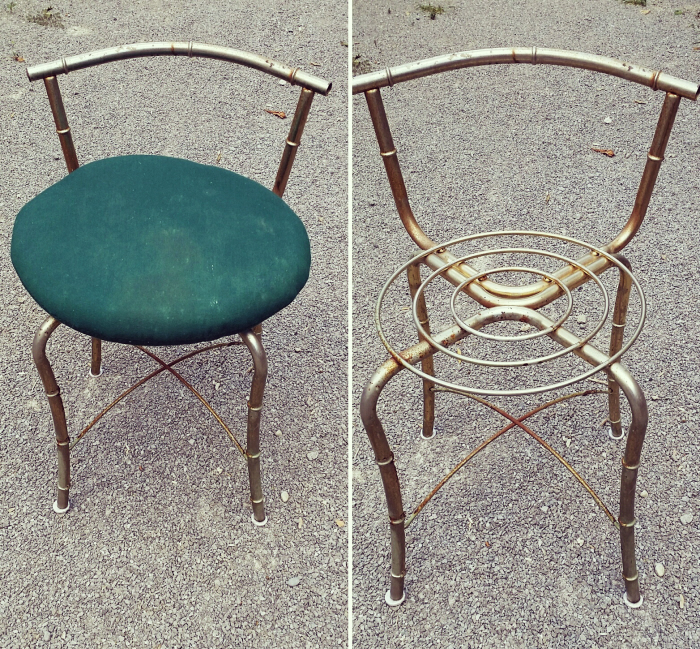
I picked up that sad little vintage chair at a garage sale for only 10 cents! With such massive potential how could I refuse?
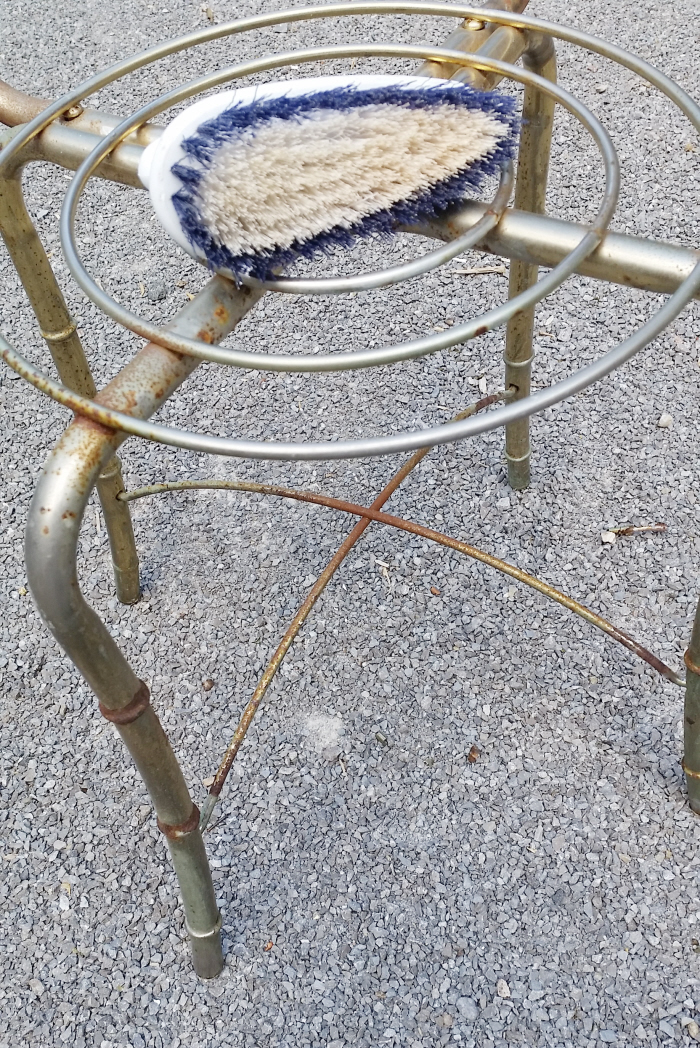
The first step to painting old metal is to remove all of the flaking, rusted bits with a stiff brush then give it a good rub down with a medium grit sandpaper.
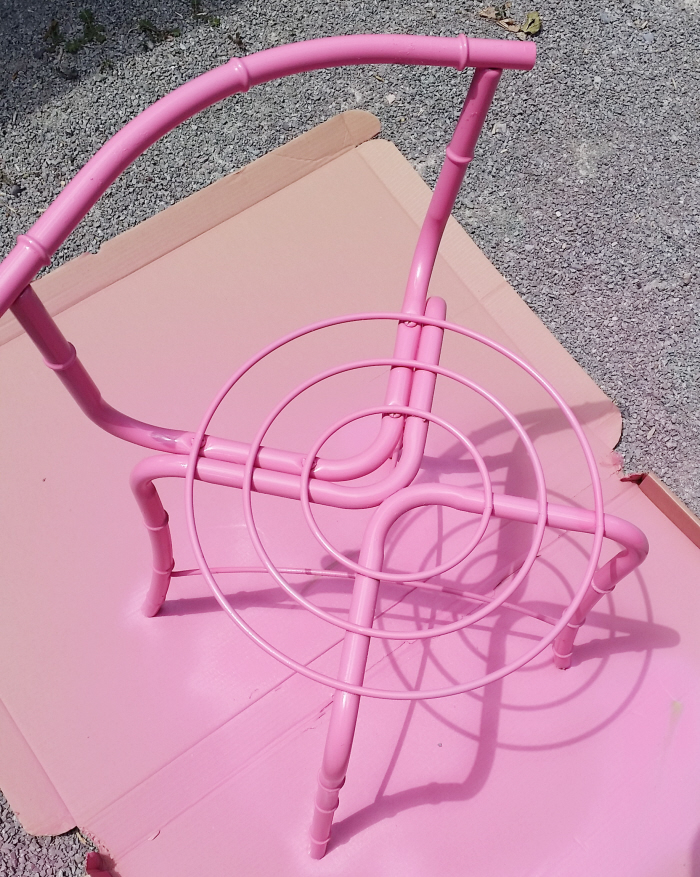
A few coats with a rust covering spray paint gives that old chair frame a brand new life!
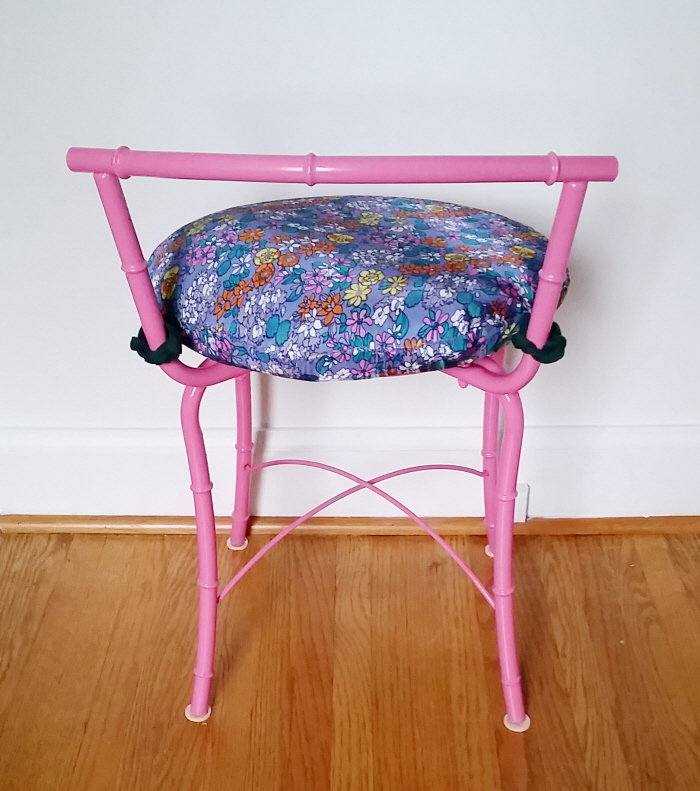
A washed and recovered seat cushion completes the makeover!
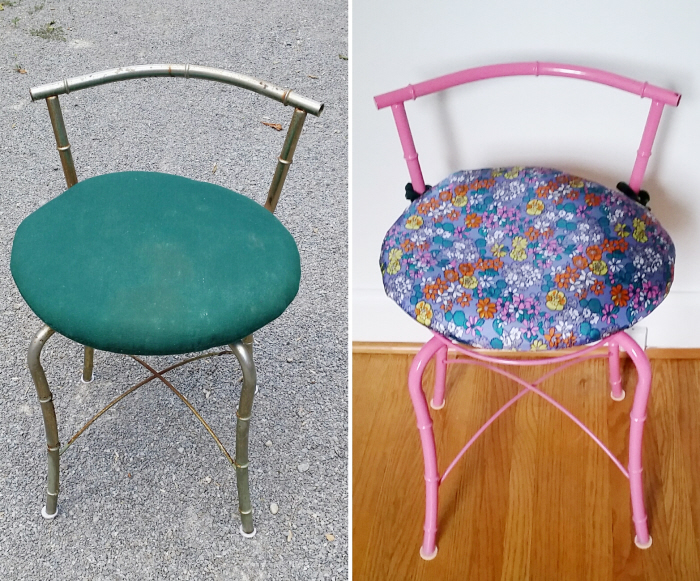
Yowza that’s an improvement!
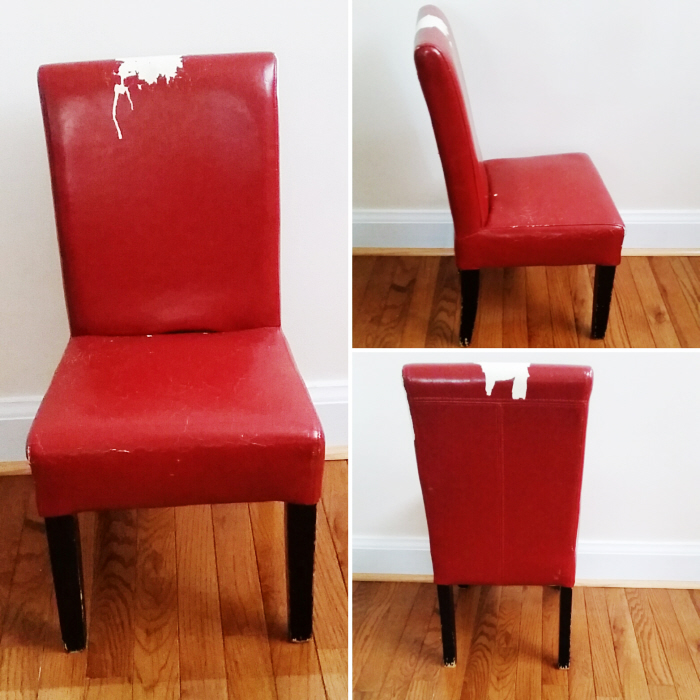
My kiddo bought this chair for herself at a garage sale for $1.
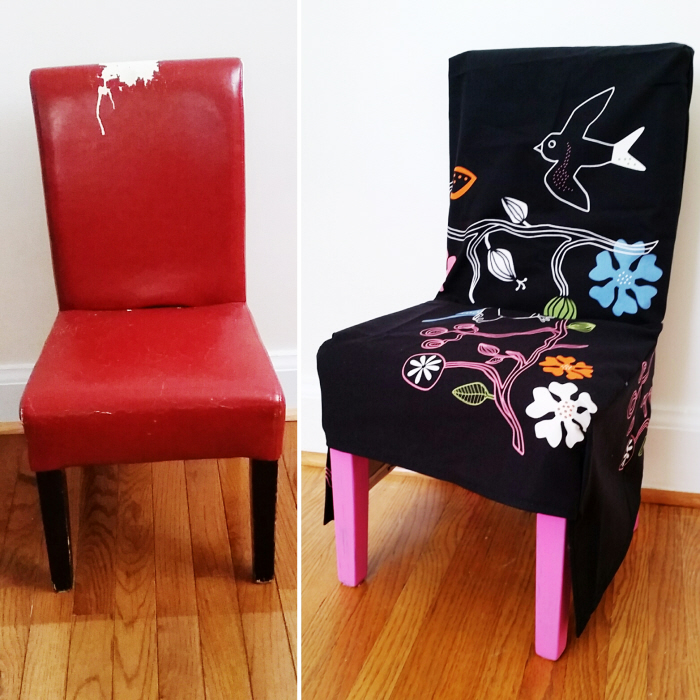
After painting the legs and creating a new (removable & washable) cover it’s now her “art-creating” chair!
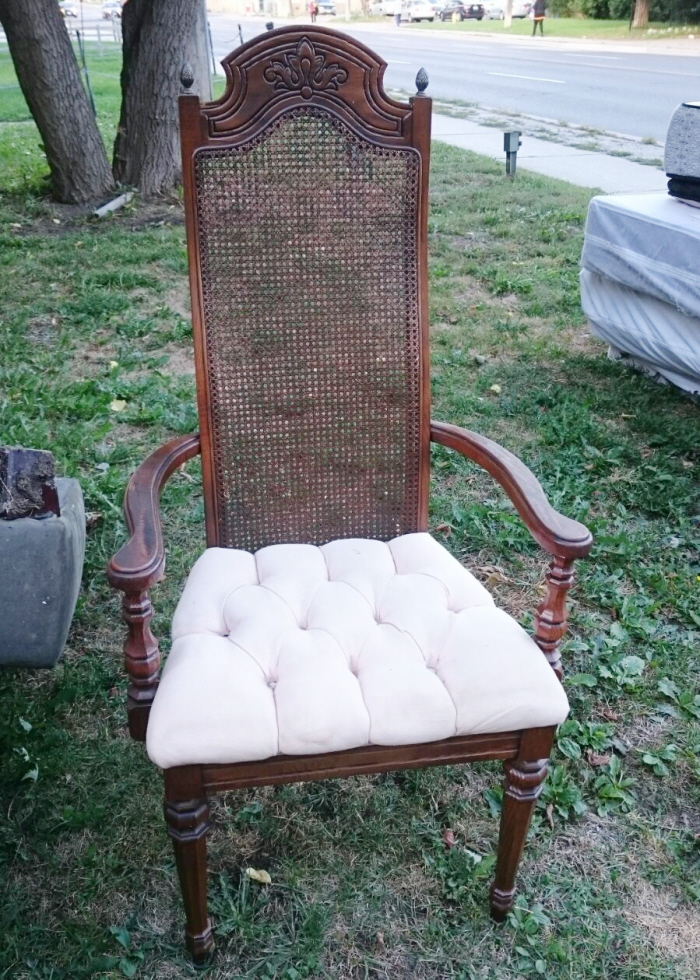
Garbage day is the BEST! Can you believe someone tossed this gorgeous vintage chair?
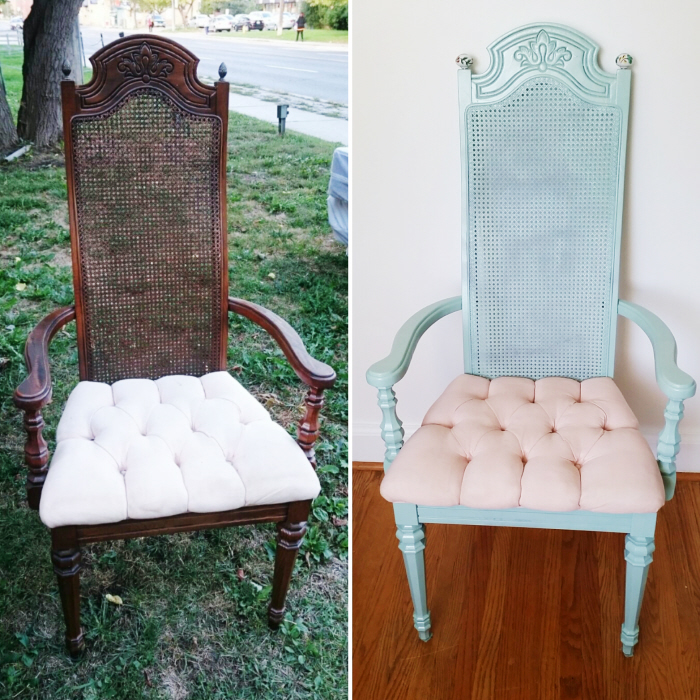
I replaced some missing screws, steam cleaned the seat and gave it a few lovely coats of paint to transform it into my new studio throne!
(how weird is it that the deep steam cleaning dramatically changed the seat cushion colour from dirty white to a soft pink?!)
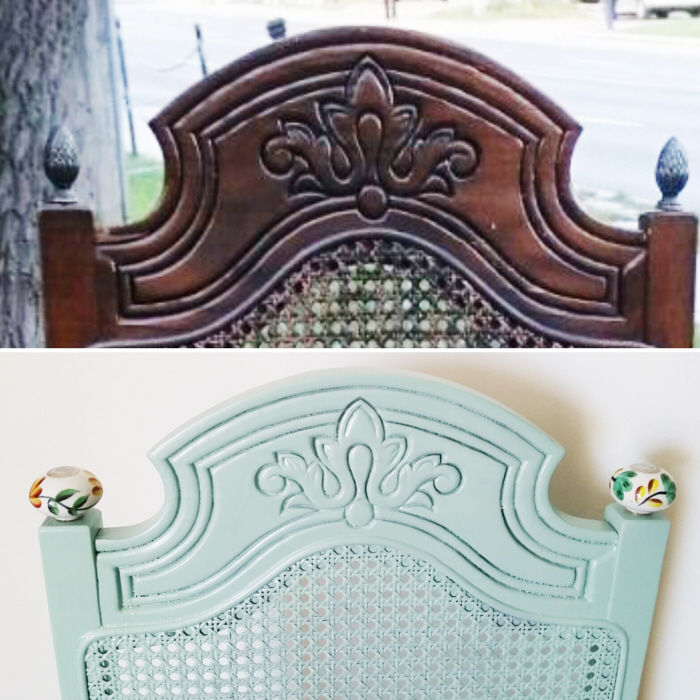
I also switched the rusted metal finials for some pretty porcelain drawer pulls to complete the look.
What do you think?
Have you easily yet dramatically transformed any old furniture lately?
Discover all of my upcycling goodies at RefashionistaSheri.com
