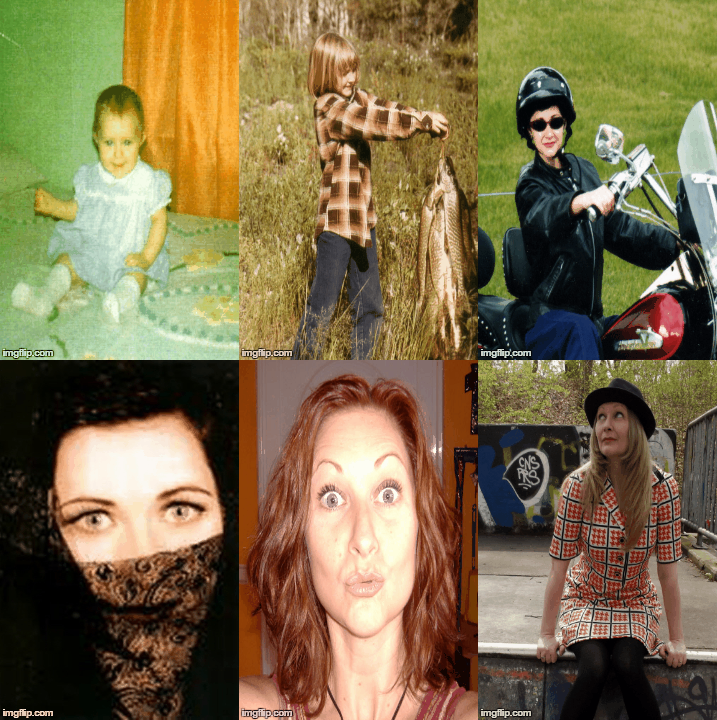
A pic for each year on my 41st birthday!
I honestly haven’t a clue why aging and birthdays are supposed to be scary events that should be dreaded after you leave your 20’s behind…with each passing year my confidence in myself has grown and my varied life experiences enable me to make much more intelligent decisions than I did in my younger years (most of the time).
Sure, I now have some bits that have started to wobble & a few smiley lines that stick around my eyes even when I’m not grinning like fool but would I combat these signs of a life lived with injections & scalpels? Nope. (although my opinion might change drastically in 10 years or so…)
For now a sunny frame of mind + a bit of help from my fave bargain cosmetics is all I need to feel great about my appearance…and so without further ado may I present my basic face painting routine for looking fab at 41 (+ a few tips n’ tricks I’ve learned along the way):
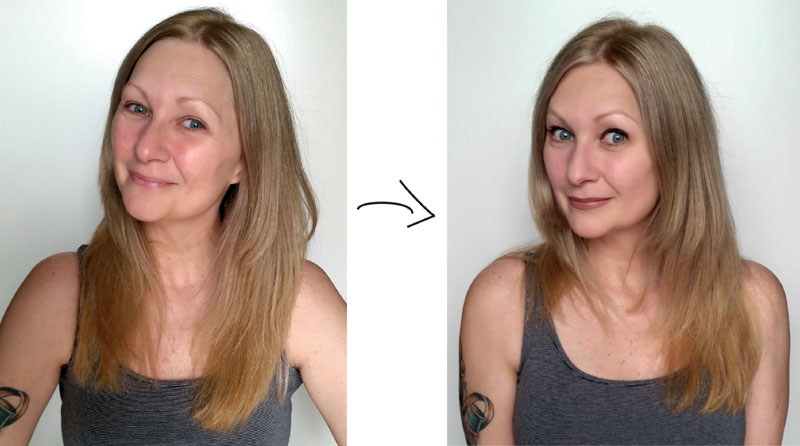
Grab your make-up bag and give yourself a Happy-Birthday-To-Sheri makeover!
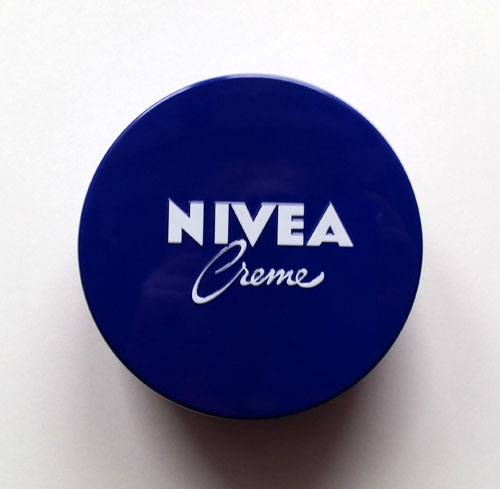
I have been a loyal (original) Nivea creme user since highschool & recommend it to anyone with sensitive skin. It has no strong perfumes, zero silly anti-wrinkle crap or bizarre ingredients + it’s not tested on animals and I’m positive that it has helped to keep my skin firm, soft & silky smooth throughout the years. (Nope, I haven’t been reimbursed by Nivea I just really, really lurv this cream)
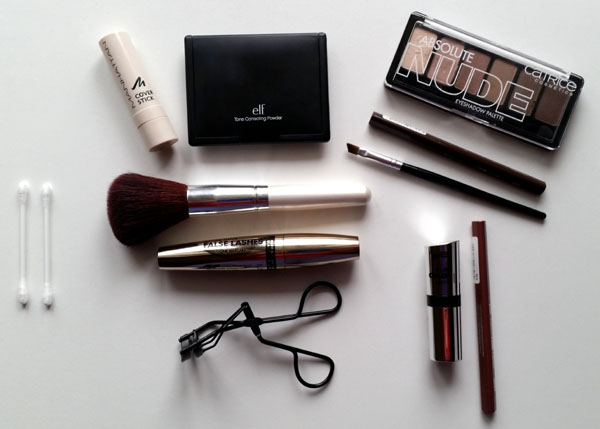
Above are my basic (bargain) everday make-up & tools:
concealer stick – tone correcting powder – nude shade eyeshadows – dark brown eyeliner – black mascara – light brown lipliner – nude shade lipstick – powder brush – angled shadow brush – eyelash curler – cotton swabs
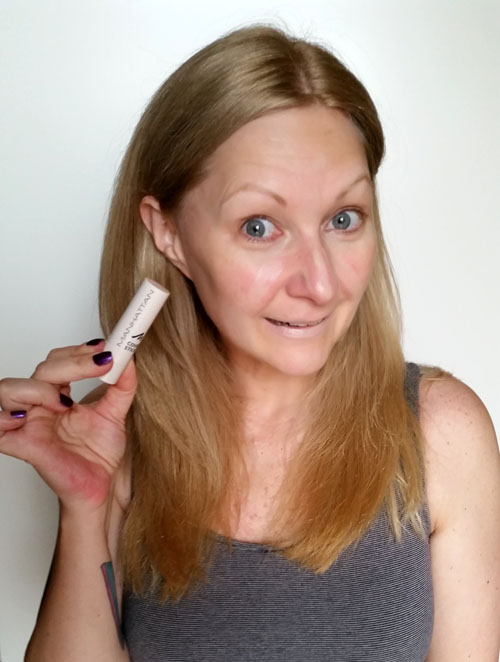
Step one – Concealer: I dab concealer under my eyes, on the top of my nose, on my lips & anywhere there is a bit of redness
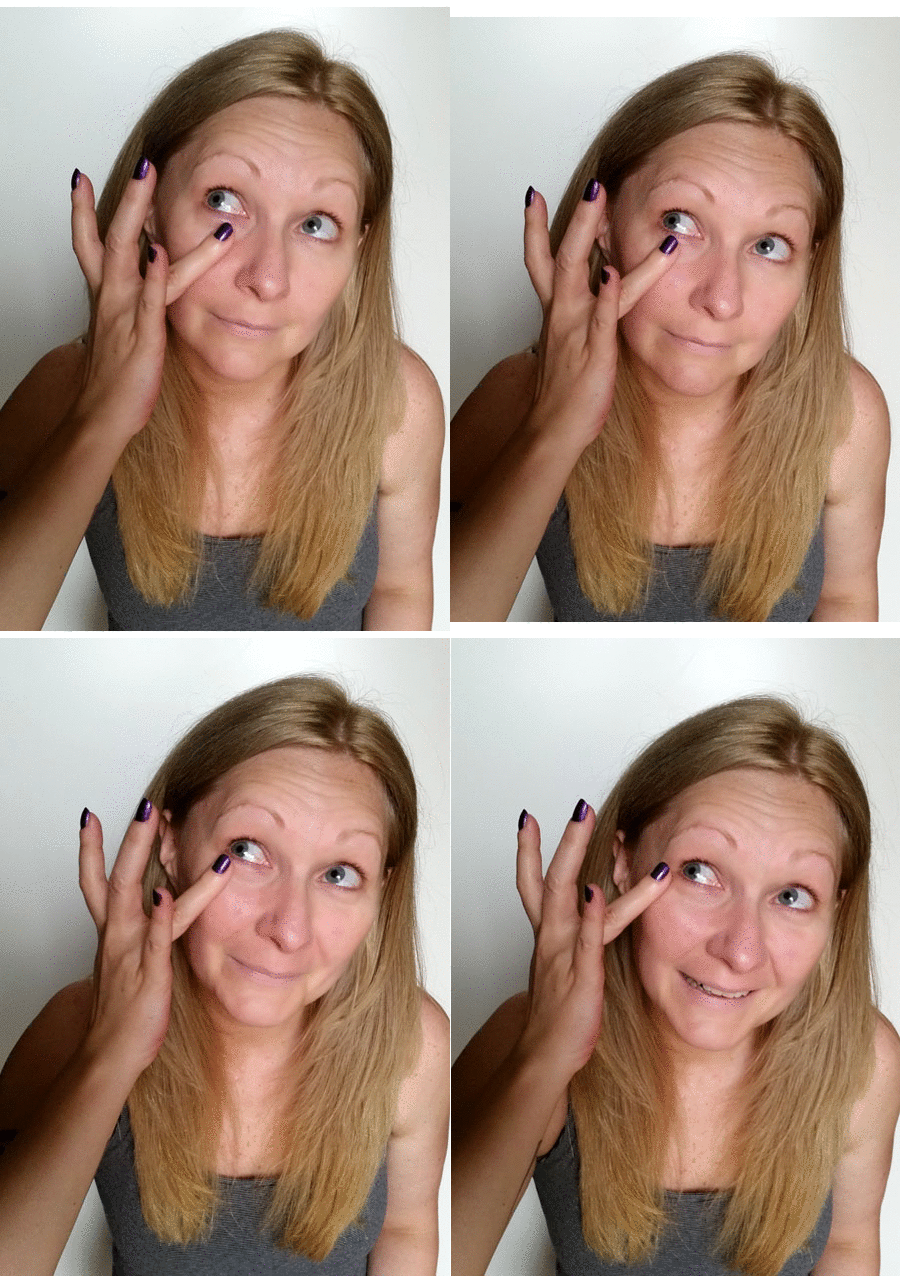
blend the concealer
quick tip: use your ring finger to blend in a patting motion, as it is your weakest finger it won’t pull & stretch your skin as much which is a definite plus for helping to slow the appearance of fine lines as you get older
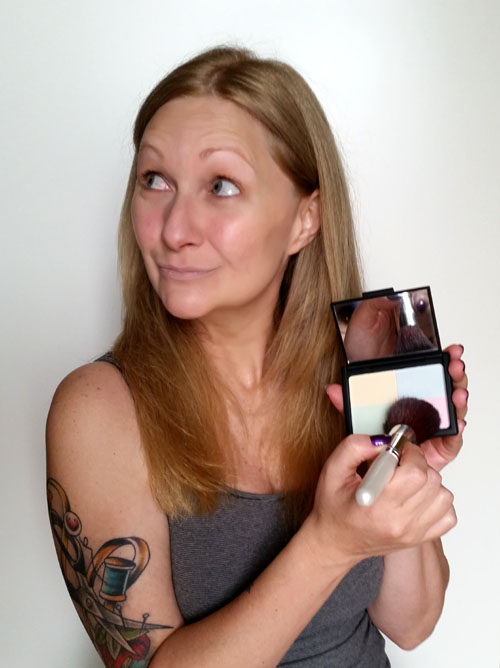
Powder up!
*I have fair skin with annoying areas of redness and absolutely adore the (bargain priced) tone correcting powder by elf cosmetics
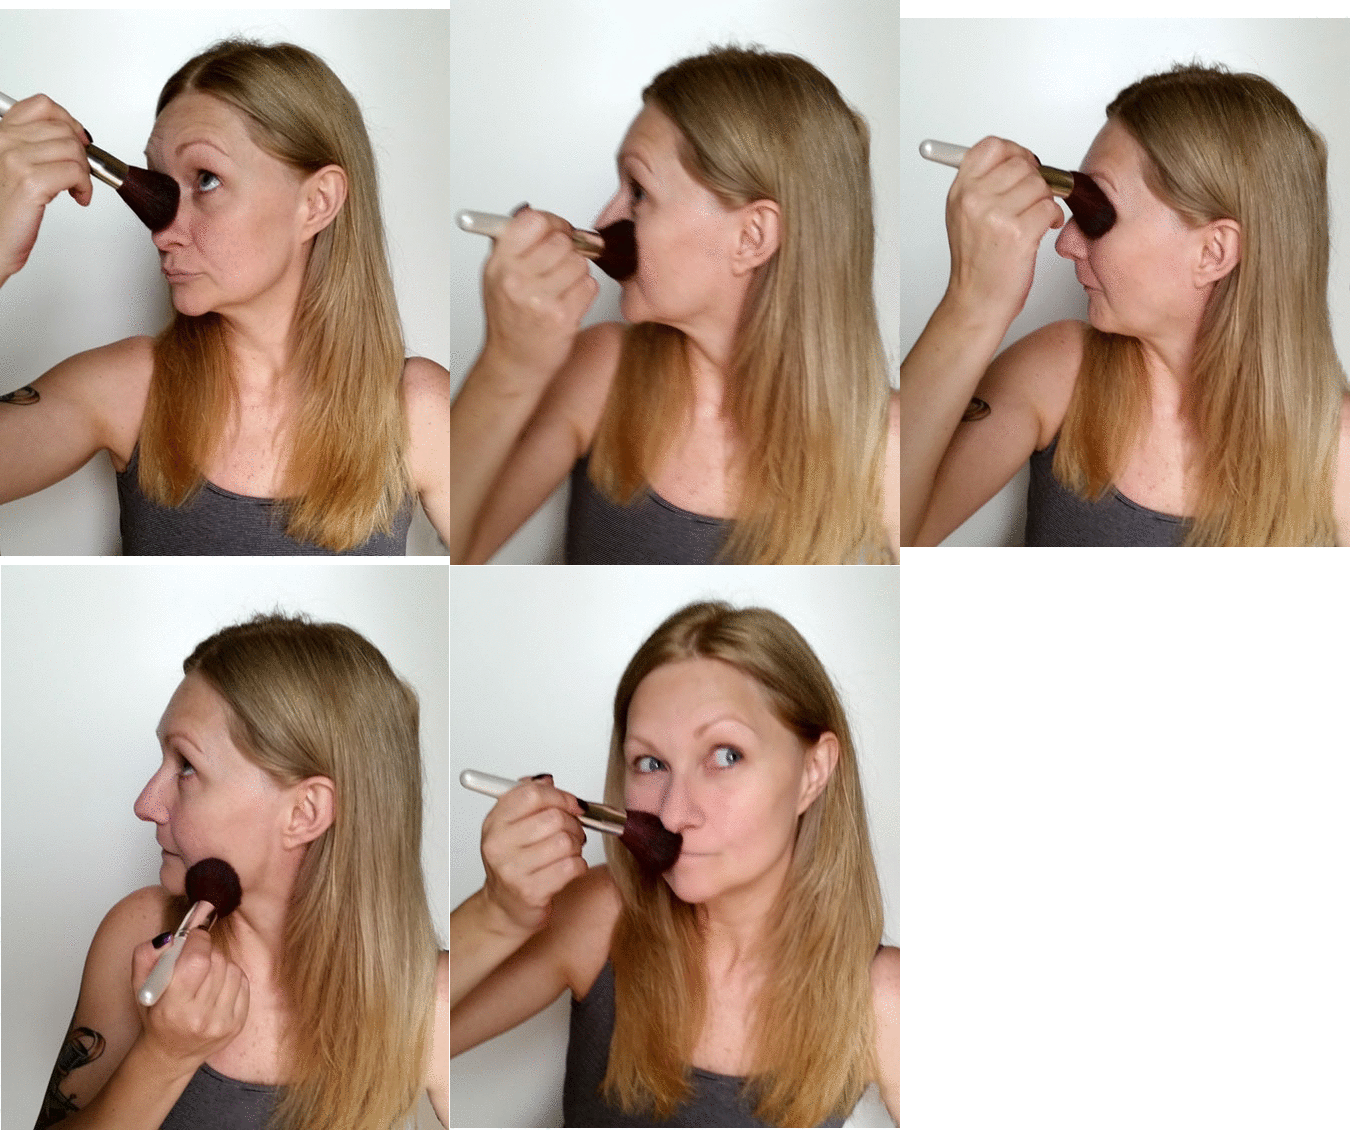
I powder my T-zone and work my way out, up, around & down a bit past my jawline
*Since I don’t wear foundation or thick compact powders I never have to worry about the dreaded make-up-line or cracking-mask look. As my skin matures I’ve discovered that less is definitely better where cosmetics are concerned.
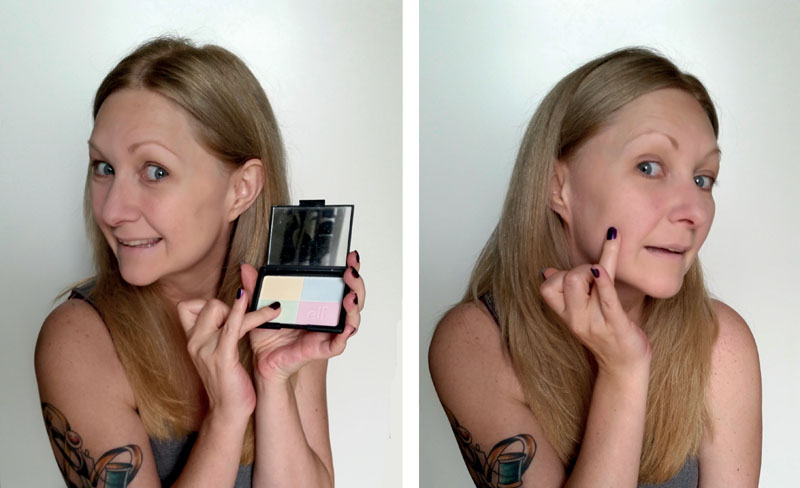
Any excess redness can be diminished by applying a bit of the green powder – the green cancels out the red, yay!
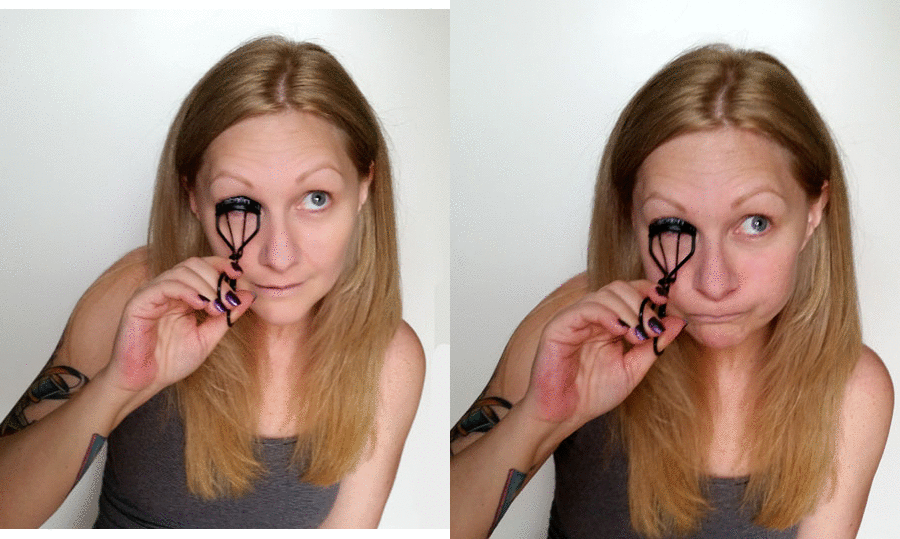
next curl those lashes (from base to tip)
*a little trick I was shown years ago: curling your lashes before you apply your eye make-up takes away the possibility of having to reapply shadow & eyeliner that has smudged off on the eyelash curler
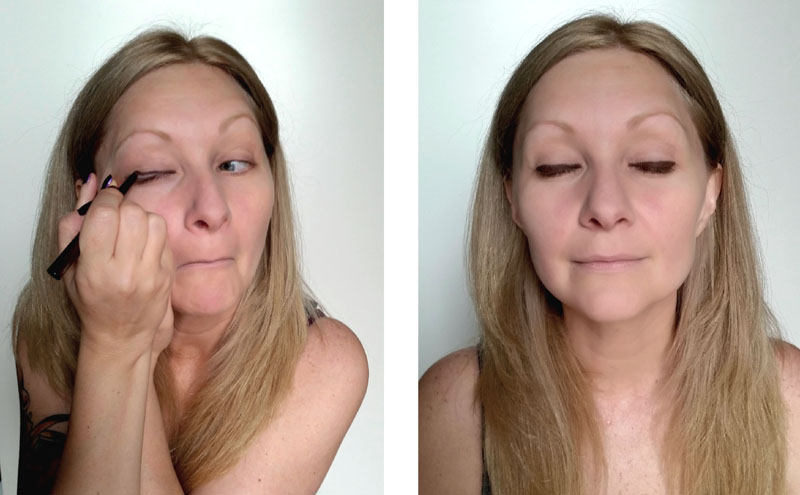
get lining – instead of trying for a perfect thick line from the get-go (& failing everytime) I draw my liner outline first & then simply fill it in
*I have vague memories of not having to gently pull my eyelid taut to ensure a straight line as I applied my liner in the past…sigh
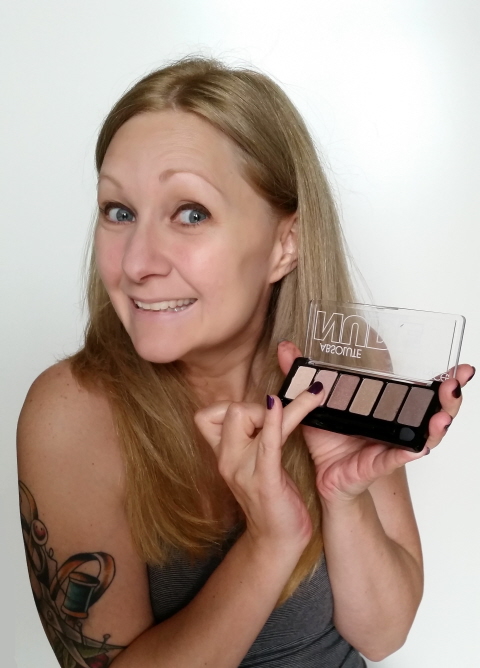
Hooray for nude tone shadow! I dab a bit of the second lightest shade on that weak little ring finger…
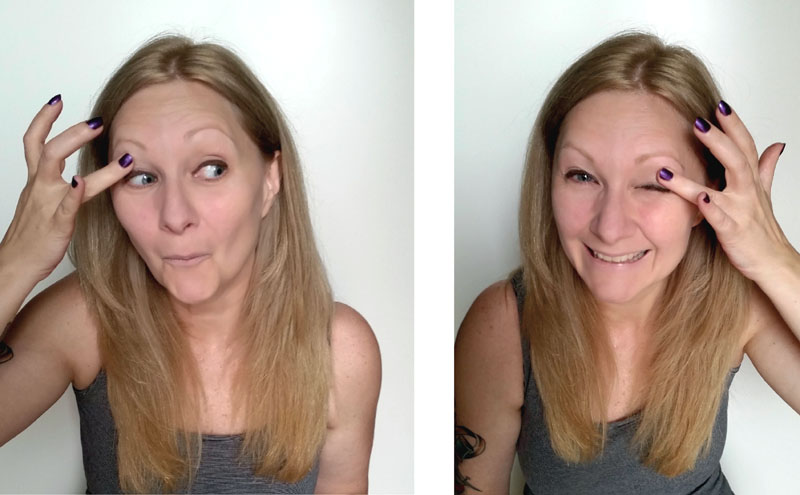
and apply it from just above my liner to slightly above my eyelid crease
*using my right ring finger for my right eye & left ring finger for my left eye ensures an even application
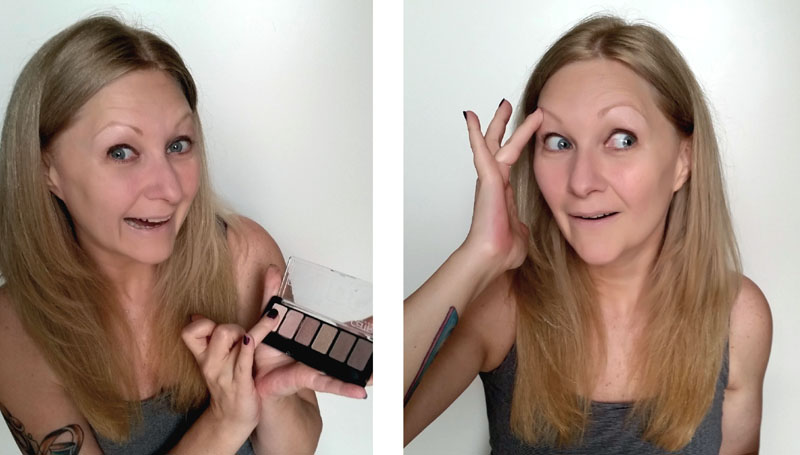
then it’s on to the lightest shade applied and blended from the top of my eyelid crease to just under my eyebrow arch
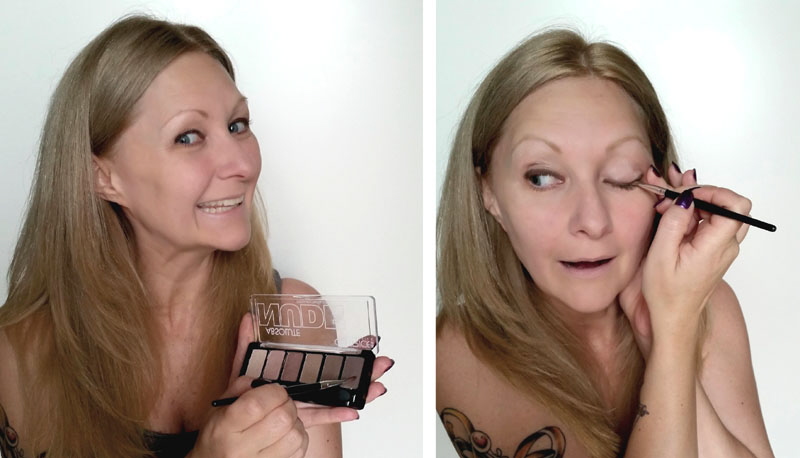
and another groovy tip: I use that angled brush to apply a dark brown shadow over top of my dark brown liner to prevent liner smudges & keep it looking fresh all day!
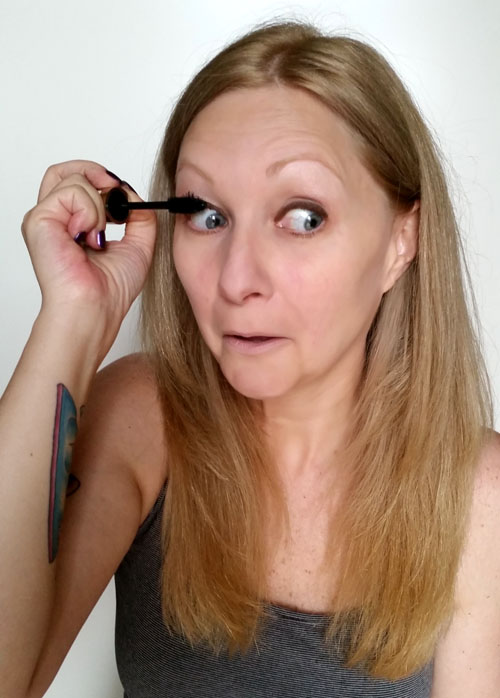
pop on some mascara
*I only apply to my top lashes using the roll-the-brush-from-lash-base-to-tips method & give them 4 – 5 coats
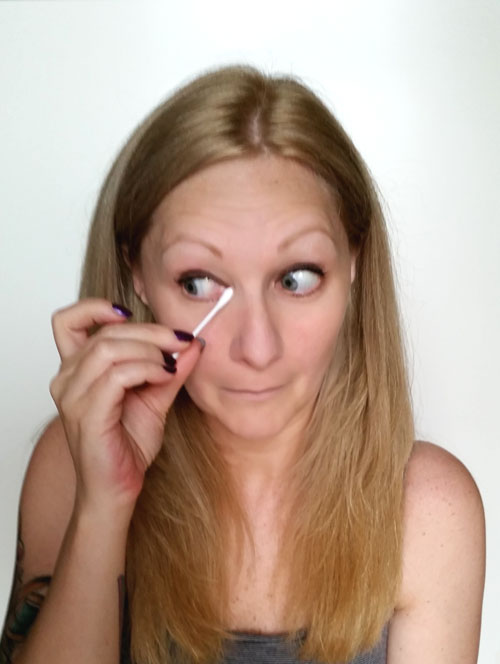
get rid of any unsightly excess eye make-up & goo by gently rolling a cotton swab in the corner of your eyes
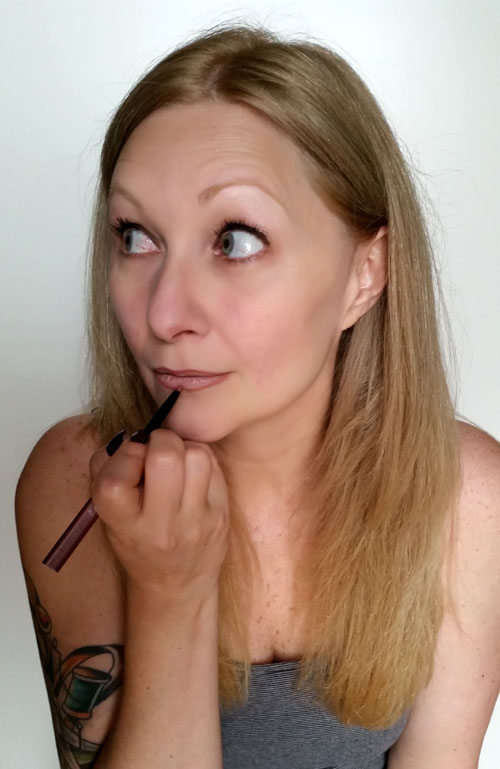
line those lovely lips
*I start in the center of my cupids bow & draw outwards on each side following the natural outline of my lips then repeat the process on the bottom starting from the center of my lower lip
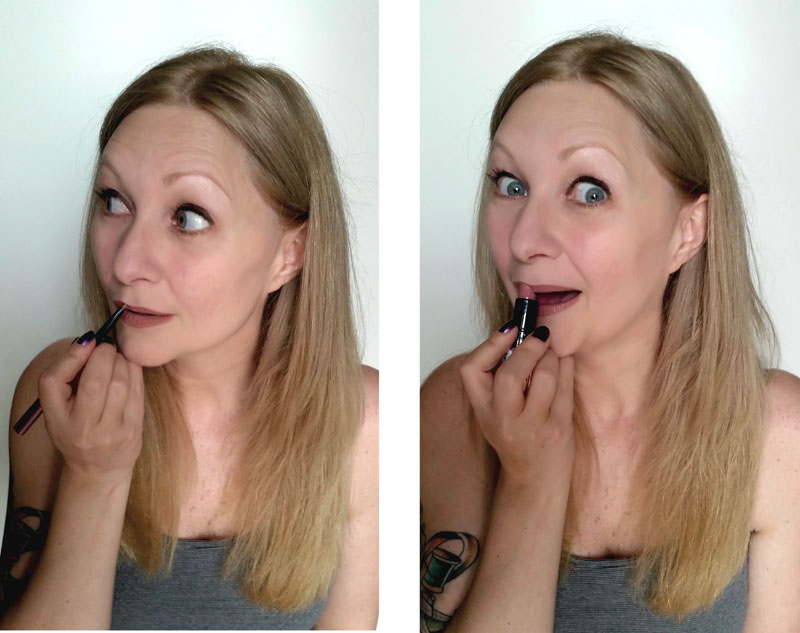
tip: filling in your lips with liner helps your lipstick stay put loads longer
Apply lipstick (or gloss) the same way as liner – outward from the center
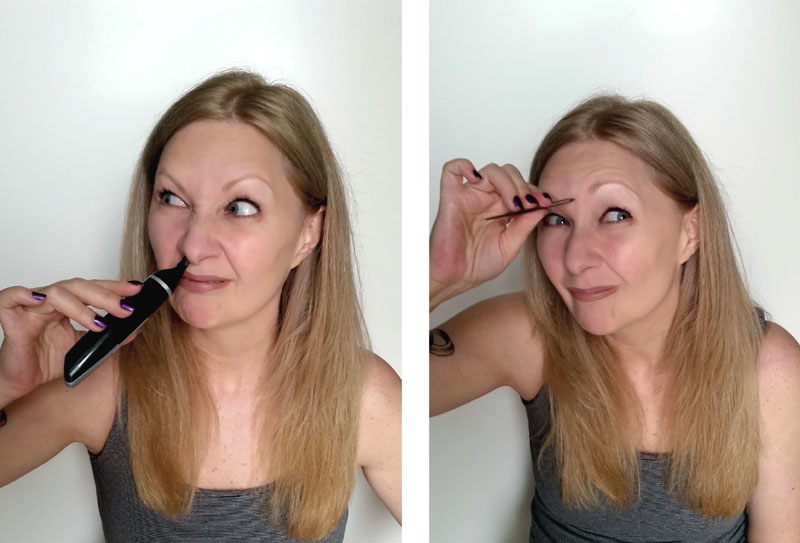
Side note: As much as I truly don’t mind getting older, could the weird wtf hairs just stop already?

and there you have it!
My fab at 41 make-up routine – and it only takes about 10 minutes, wheee!
Now throw on your fanciest thrifty refashions and take your gorgeous self out to celebrate my 41st birthday!
