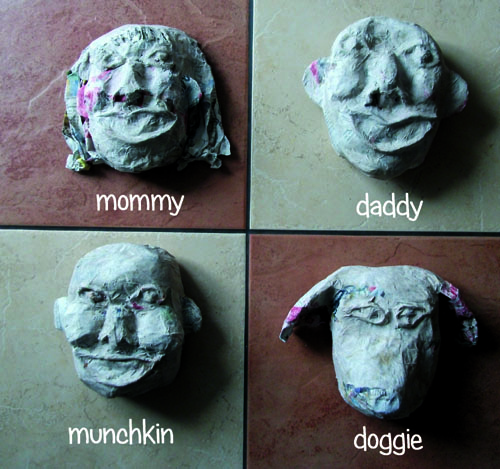
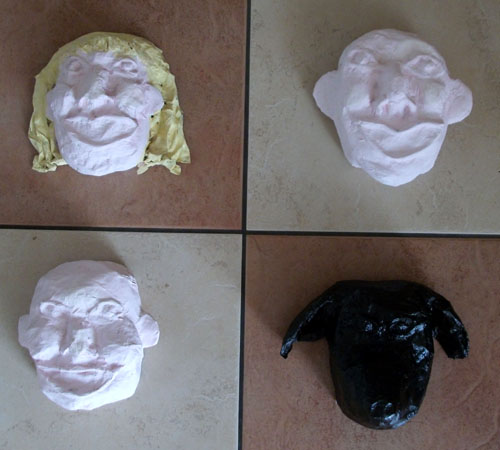
I’ve been creating eerily fun 3D portraits for years as über personalized gifts for ecstatic-to-receive-them-friends but for whatever reason never thought to make any of my own peeps – until now:
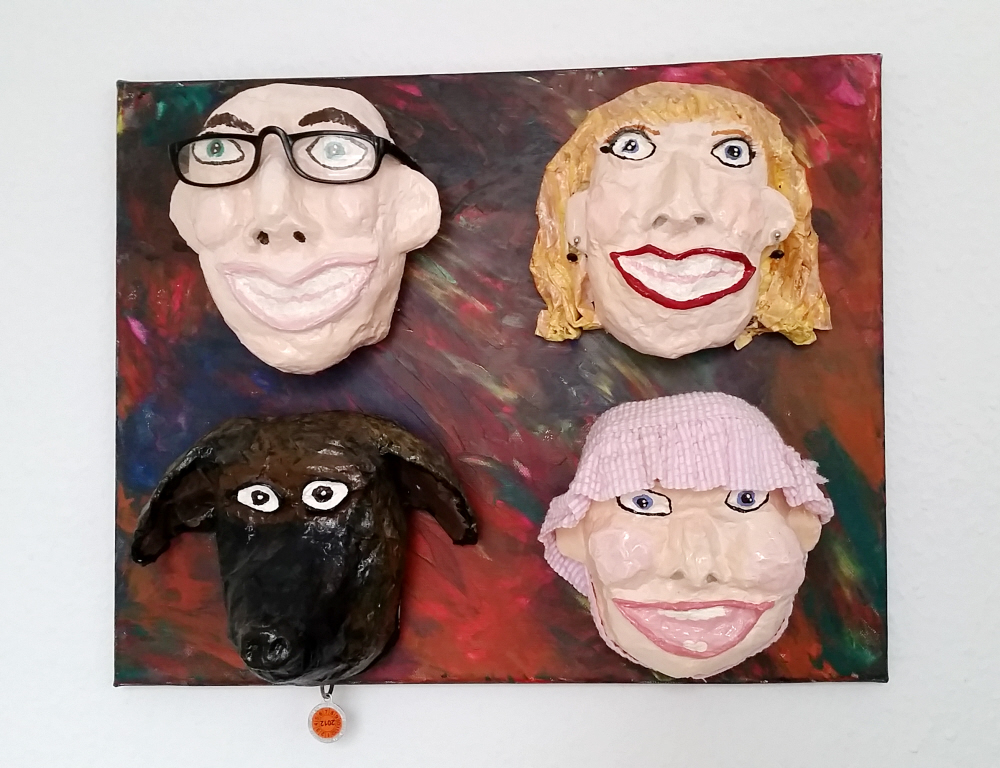
Obviously not exact likenesses but a hilarious addition to the living room wall nonetheless! With a touch of creativity & some bits ‘n’ bobs from around the house you’ll be hanging up your own in no time flat!
Creepy Caricatures: a DIY 3D papier mache portrait tutorial:
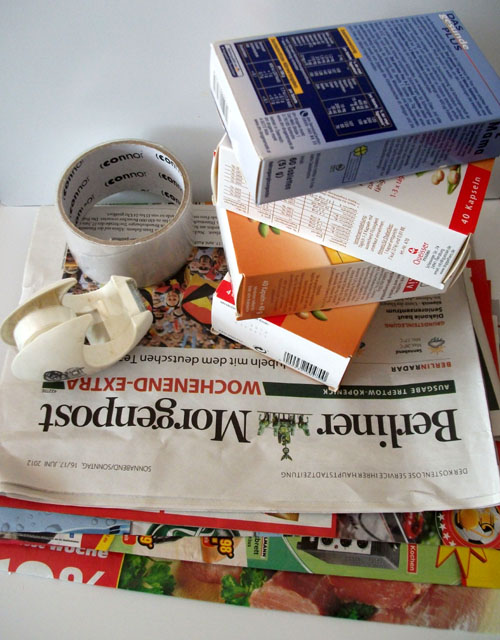
For the first step you’ll need some newspaper/flyers, tape & a box for each member of your family – keep in mind: the bigger the boxes, the bigger your finished heads will be.
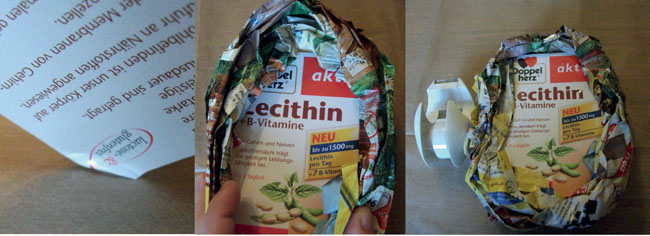
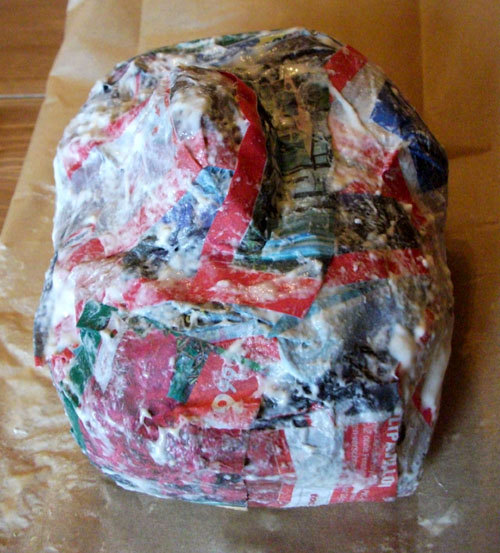
Press in the corner of the box, wrap & tape crumpled/twisted newspaper around the box creating an oval-ish head-shape.
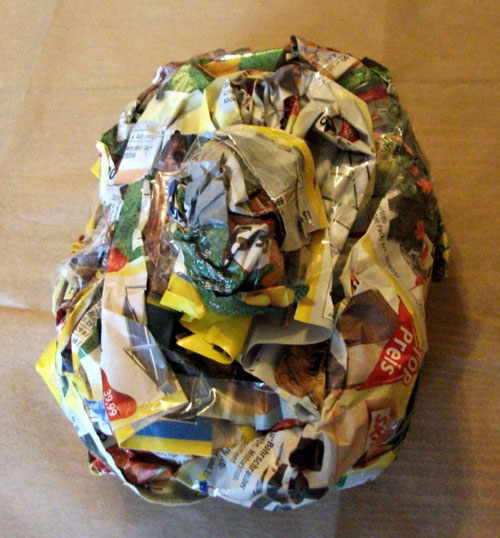
Continue adding paper until the box front & sides are completely covered, ball up another piece of paper & tape to the centre of the box-head – this will eventually be the sniffer of your creepy caricature.
If your box-heads look similar to the photo above you’re on the right track!
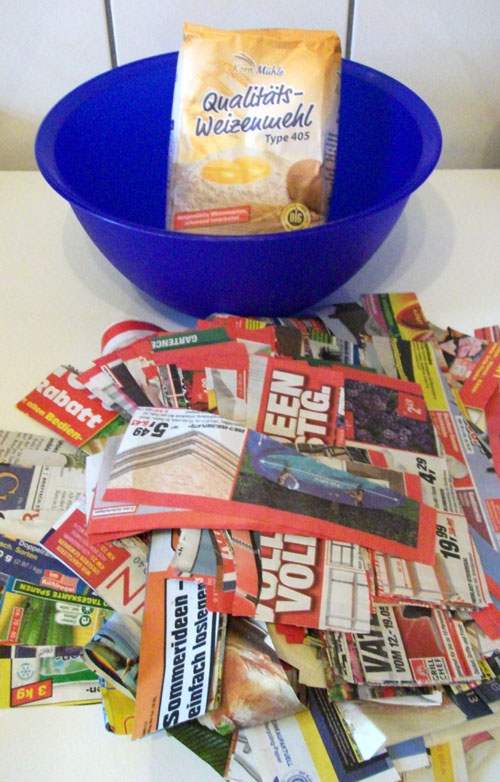
Step two: Grab a bowl, flour & chop your remaining newspapers into equal-ish strips.
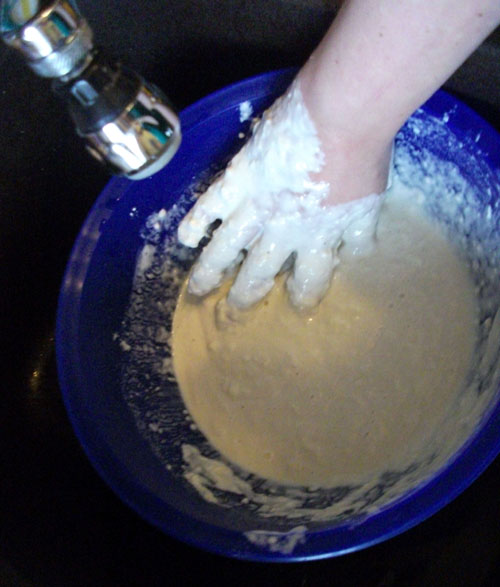
Time to get gooey! Pop your bowl into the sink & stir up a mixture of 2 parts (warm) water to 1.5 parts flour – my very basic papier mache recipe, if you want a thicker paste just add more flour, thinner paste? more water…too easy!
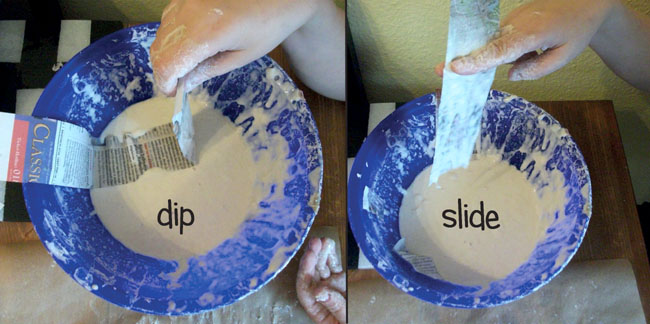
Cover your work area – I find non-stick baking paper under the heads works fab! Grab a strip of newspaper, dip it into your gluey mixture, slide it between your index & middle fingers to get rid of the excess & smooth it onto your head.
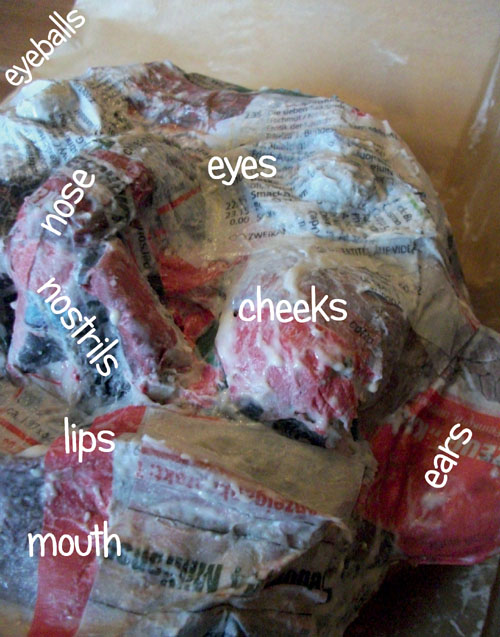
Completely cover the head with a layer or 3 of gooey newspaper…& then unleash your creativity:
Using bits of soaked, ripped, torn & twisted newspaper sculpt as many 3D details as possible – having a photo of your victim subject in front of you as inspiration really helps with the realism-potential.
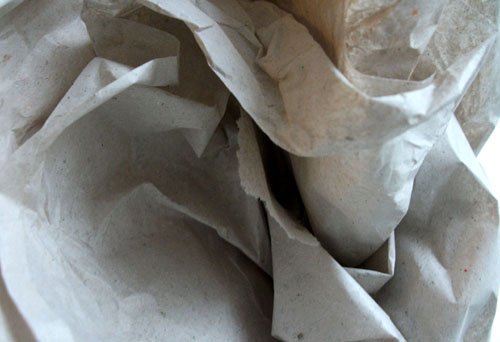
Grab some tissue paper (phonebook pages work fab too!).
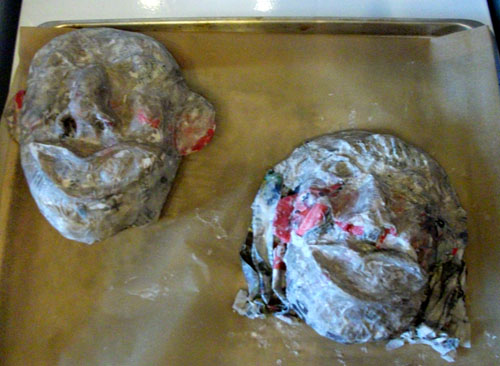
Gently apply a top layer of tissue paper goo to your heads (this helps to smooth out the rough edges) then pop them on a baking sheet.
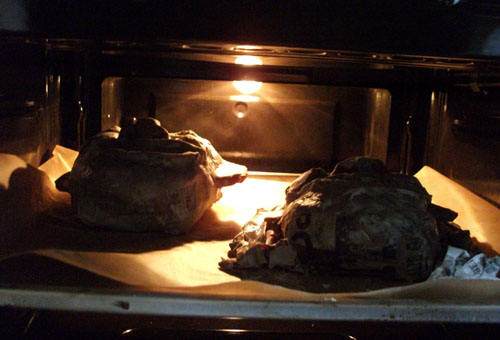
Bake on your oven’s lowest setting for about 30 minutes – checking every 10 minutes – haul them out at the first sign of burning
Wheeee! You could move onto the final step now but it’s a good idea to let the heads get thoroughly dry overnight.
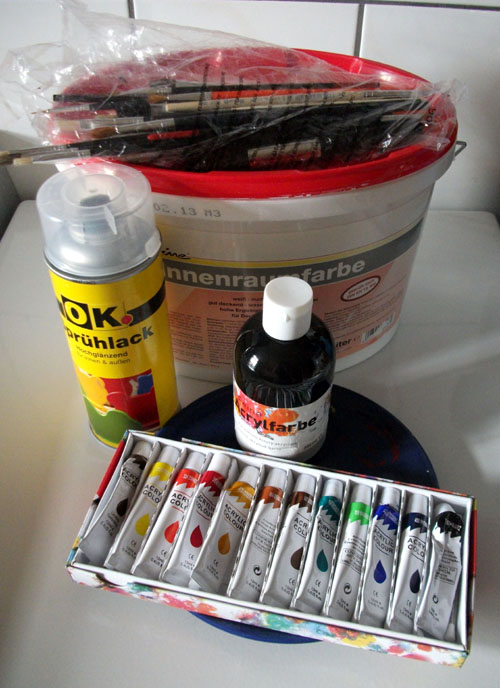
The fun finale begins with brushes, paints, an old plate-for-a-palette & a can of spray varnish.
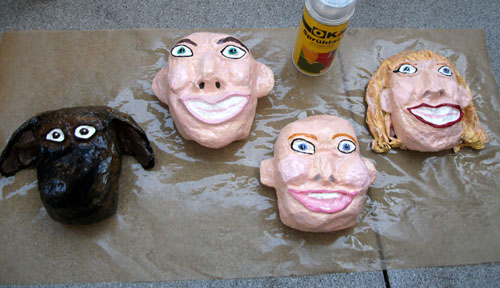
Give everyone a base coat with their basic skin (or fur) tone.
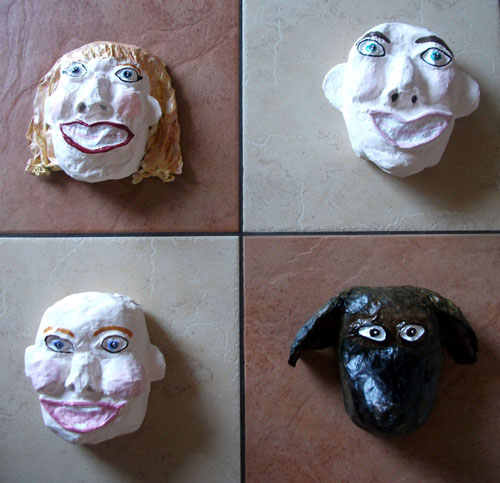
Start adding the features.
Go crazy with the facial traits – more detail = more realism: rosy cheeks, bright white smiles, nostrils, etc…
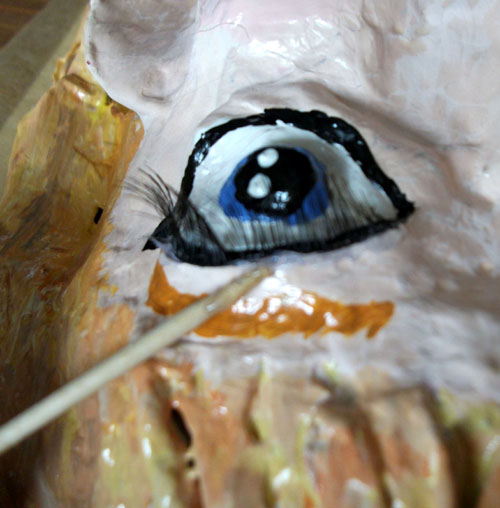
Eyebrows, eyeliner & don’t forget the twinkle (2 small white dots added to the pupils).
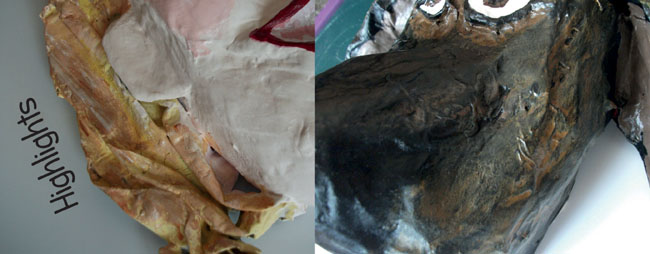
Highlights streaked through hair & fur add another groovy ‘realistic’ dimension.
Happy with your heads? Take them outside & blast them with spray varnish (this makes dusting-them-with-a-damp-cloth a breeze).
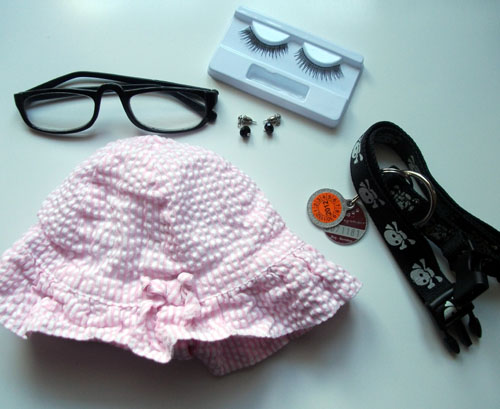
For the absolute, really, truly, last step search for some no-longer-needed accessories from each of the humans (or animals) your heads are based on.
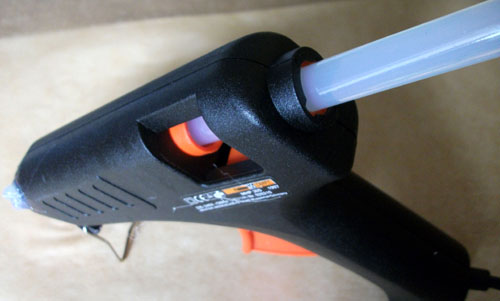
+ your trusty glue gun.
Pierce ears, dab a small amount of hot glue onto the hole & insert the earrings.
Cheap false eyelashes are awesome! They come pre-stickied so simply attach them to the eyelids & apply a thin line of hot glue with a toothpick for extra strength.
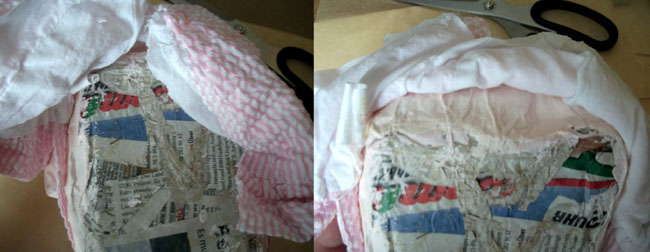
Slip baby’s hat onto her head, slice it up the back, glue it to the top, trim off the excess fabric & stick down any loose edges.
Trim the arms off of a pair of old glasses & attach with a small drop of glue above each ear.
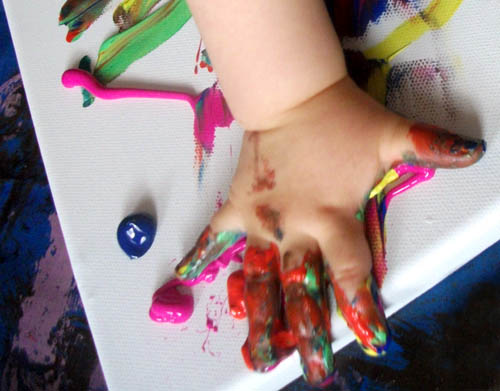
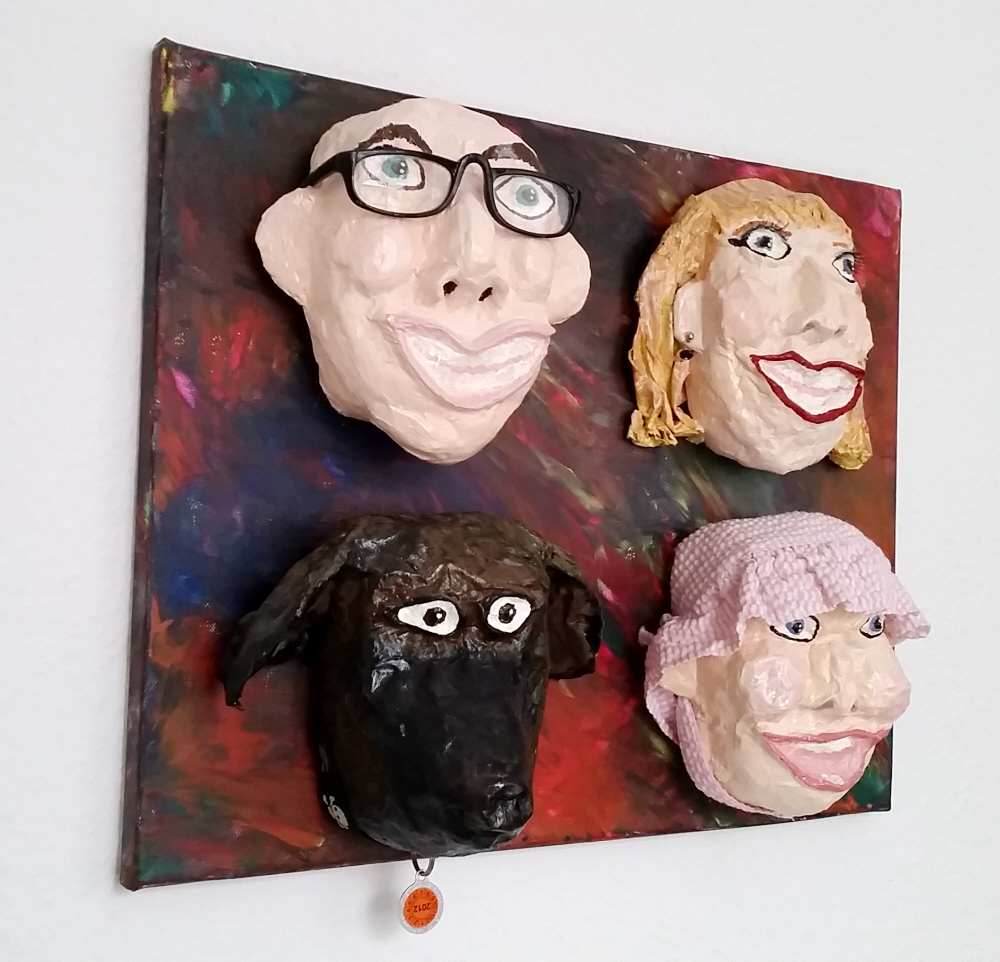
For easy hanging simply cut a hole in the back of the heads & hook them onto a nail in the wall – or – give your little mousie another canvas & let her prepare a funky backdrop to house the creepy family:
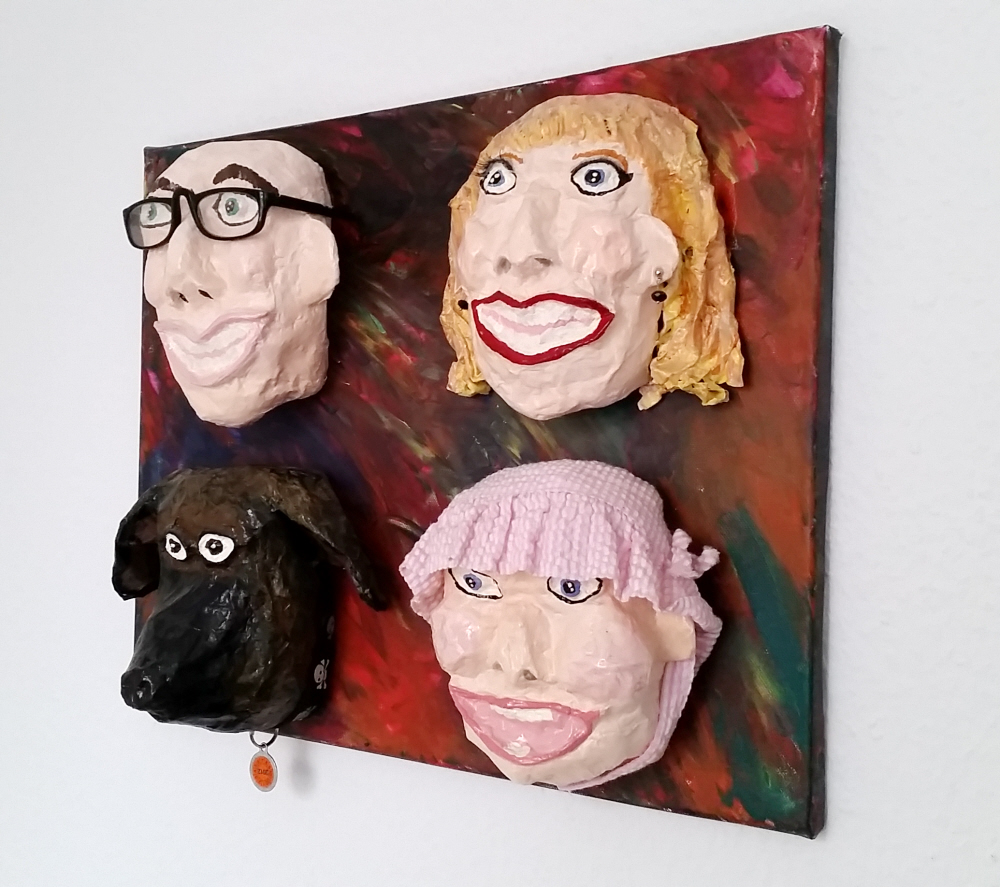
A bit more hot glue to attach them & hang them up!
Want more upcycling goodies? Visit RefashionistaSheri.com
