Remember my thrifty copycat of one of the many amazing 80’s looks from Desperately Seeking Susan?

I simply adore that blazer and have worn it loads since refashioning it!
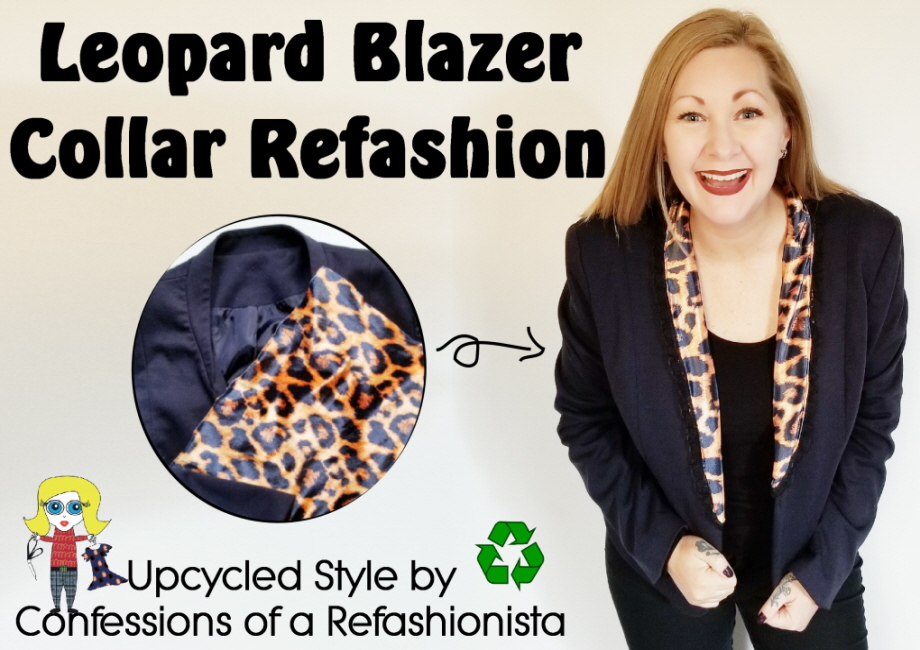
Check out how I created my DIY leopard collar refashion below and step out in some retro style today!
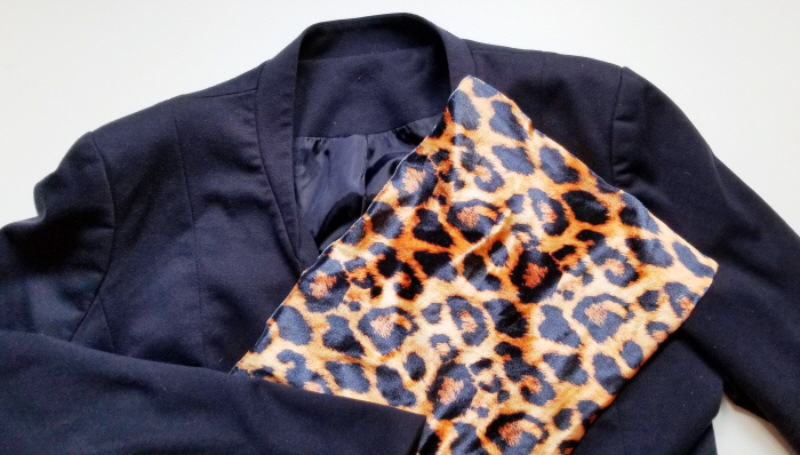
I grabbed a plain vintage blazer + the leftover fabric from this tutorial.
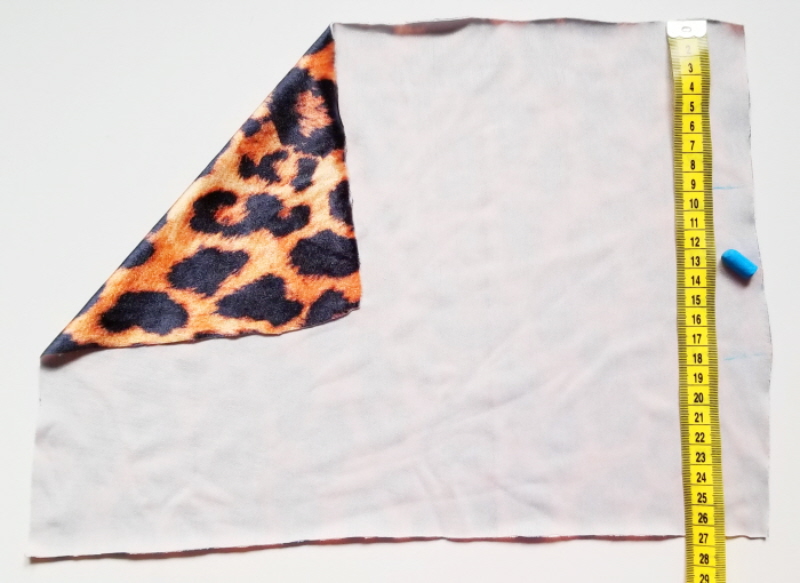
Then measured the fabric into 3 equal-ish parts.
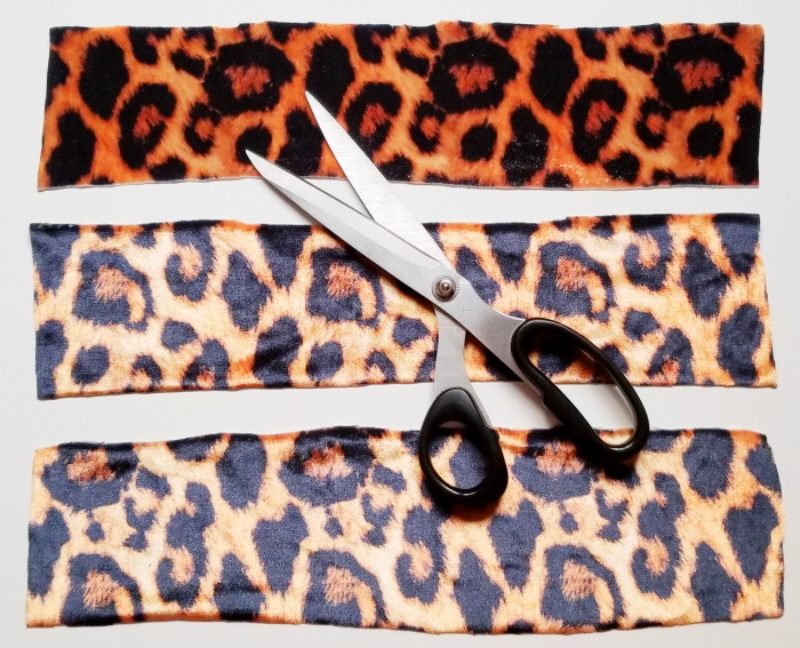
Cut it into strips and then stitched them all together to form a piece long enough to fit all around the neckline of the blazer.
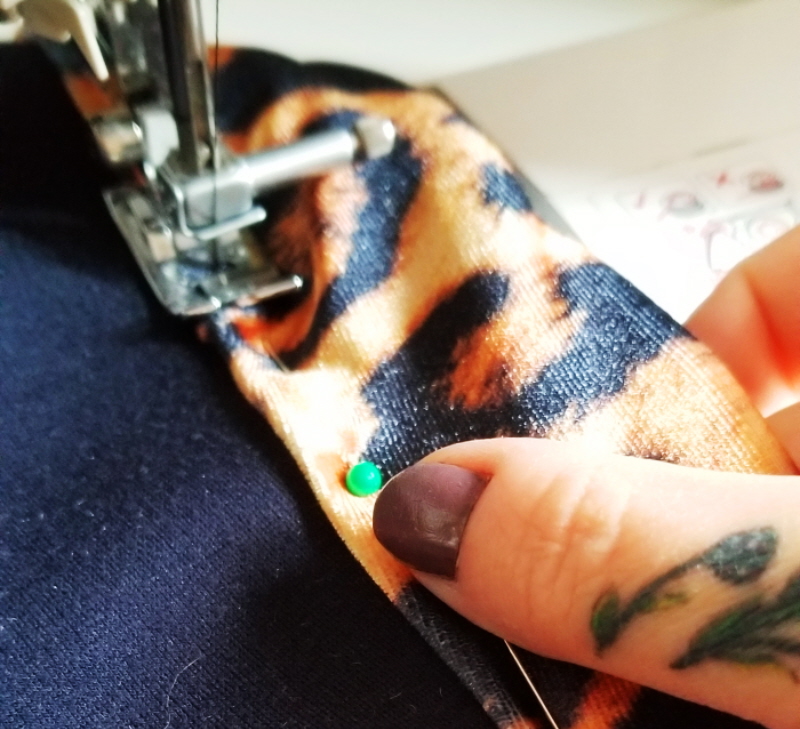
Then carefully stitched it on!
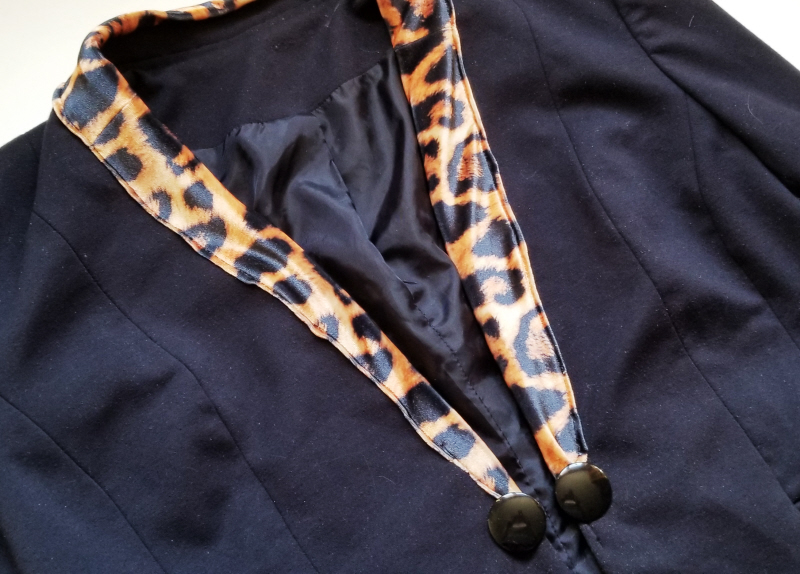
I wasn’t thrilled with the result and, at first, I thought that I’d add a couple of big buttons to the ends to snazz it up a bit.
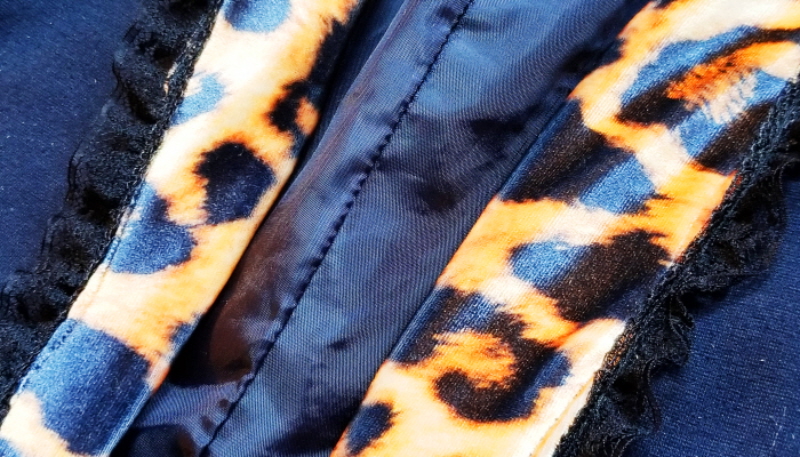
Then I discovered some awesome vintage lace in my stash and stitched it around the edges of the leopard print to give the blazer a truly unique look!

Continue your passion for refashion with my Confessions of a Refashionista e-book series: