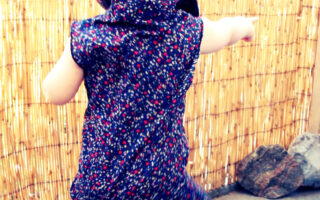
I did a wee bit of thrifting online recently and scored a few tops in need of refashioning as well as a couple that I thought would be perfect as is.
Unfortunately one of them turned out to be backless, fortunately I came up with a quick and easy refashionista solution to make it awesomely wearable:

Discover how to close an open back top and recreate those airy shirts into something comfy to wear + my quick upsizing fix for too tight shirts too!
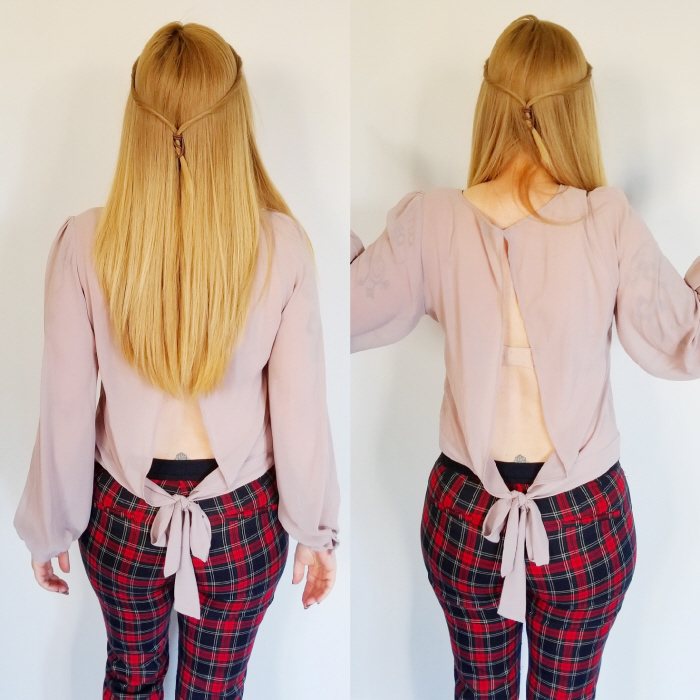
As much as I love the colour and style of the front of this top I’m simply not comfortable wearing it as an open back as relying on my hair as a bra strap concealer is about as effective as a glass hammer.
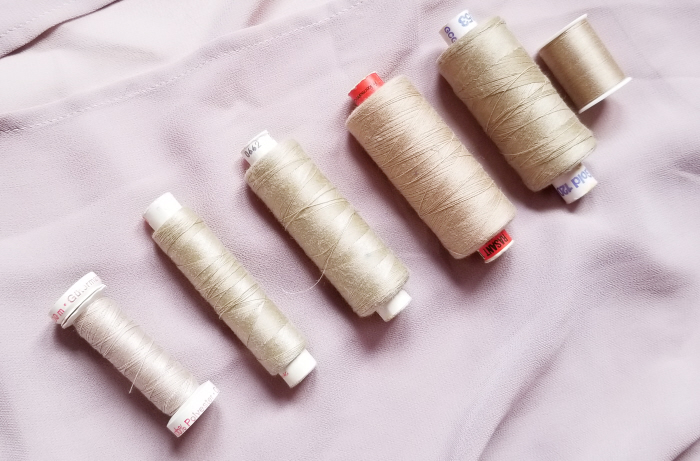
Side note: How do you select your project thread? I grab as many as possible from my stash, lay them on the fabric then just eyeball the best match!
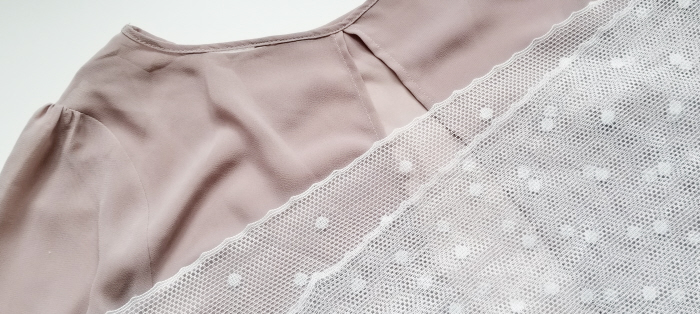
Raid your stash and find a fab fabric scrap to close up the opening in the back. I still have more than bit of this polka dot curtain leftover from my 10 minute tulle skirt tutorial from 2014!

Pop the shirt on and tie the back so it’s comfy to pull on and off over your head, remove the top and measure the length of the ties + a bit of seam allowance.
If your shirt does not have a bottom tie use a chain of safety pins, have someone measure the distance between the open ends for you while you wear it or simply eyeball and guesstimate the amount of space you’ll need to add a fabric panel to the back – or skip this step altogether as it’s not entirely necessary to achieve a great result.
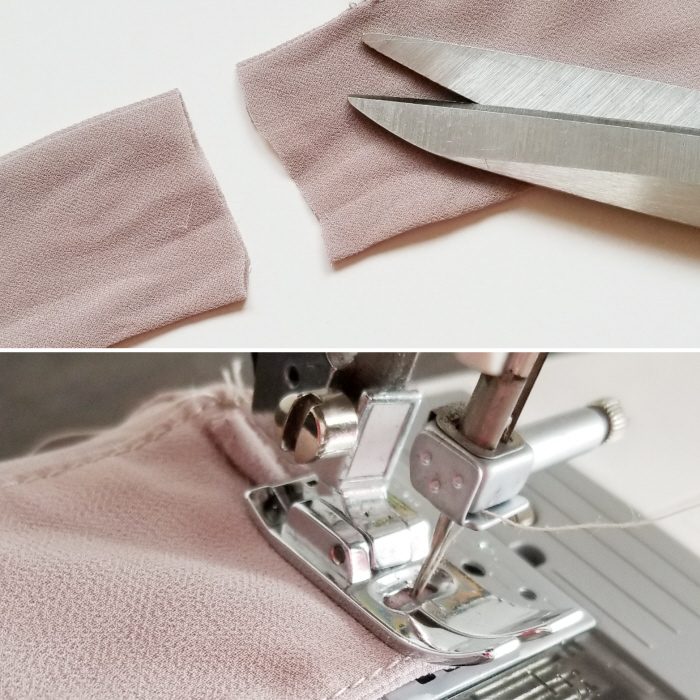
If your shirt has back ties like mine then go ahead and chop one off and hem up the raw edge.
(If your shirt has no back ties skip these steps)
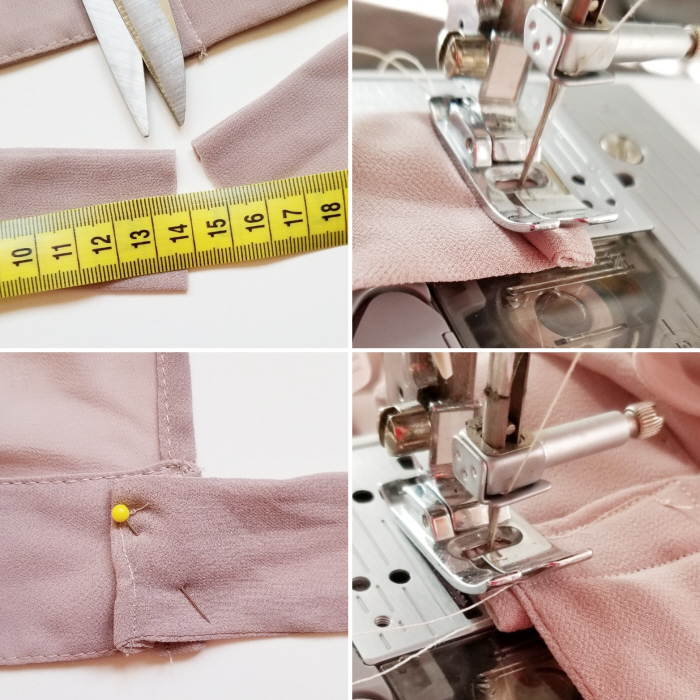
Using your measurement, chop the remaining tie to your desired length + a bit of seam allowance then hem up the raw edge. Pin to the open side of the top and stitch in place.
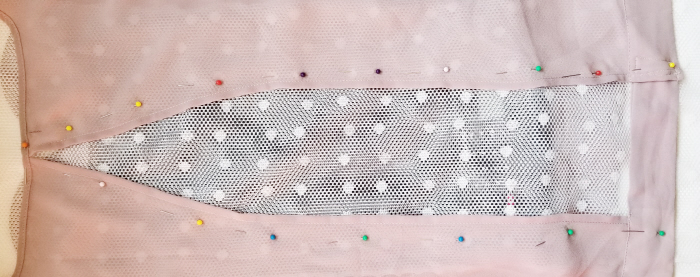
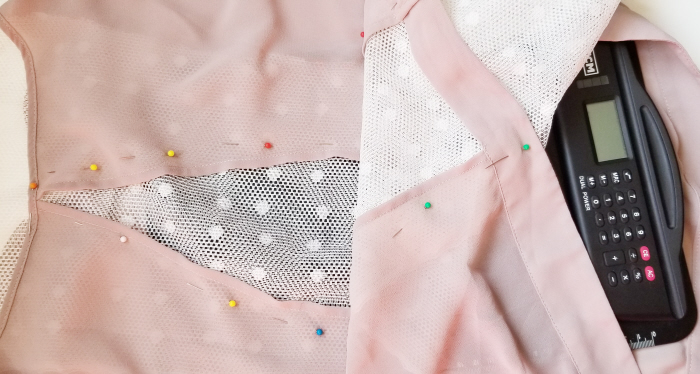
Grab your panel fabric, place it under the open area and pin. I doubled my fabric as I wanted it a bit less sheer.
Quick tip: To make pinning easier on delicate fabrics, pop a cutting board or other hard item you have around the house in between the front and back of the shirt. I use an old 80’s clipboard!
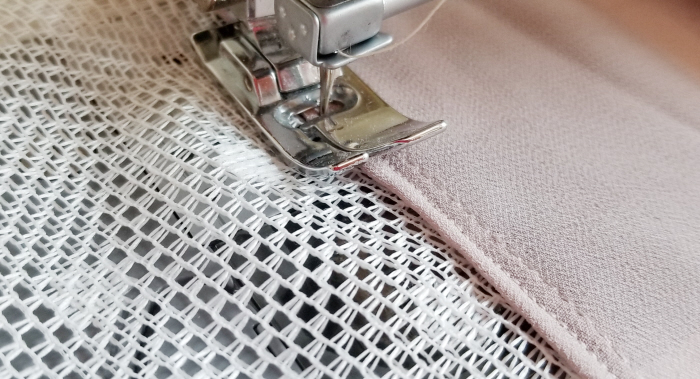
Stitch together.
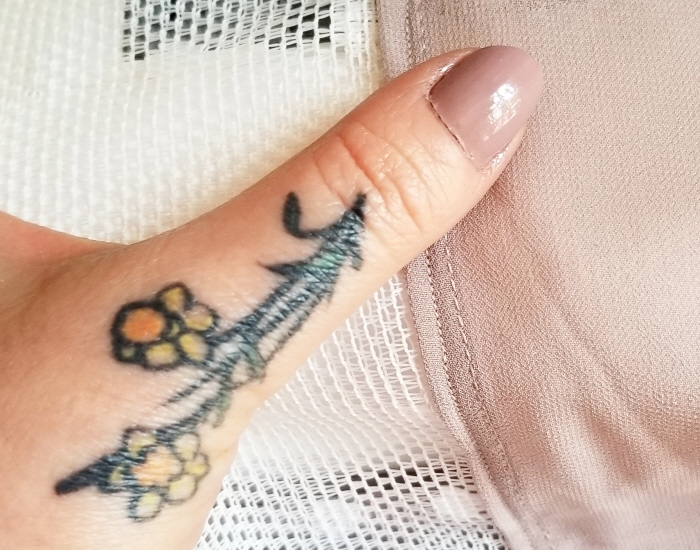
Don’t you love it when you unintentionally coordinate your nail polish with your refashionista project?
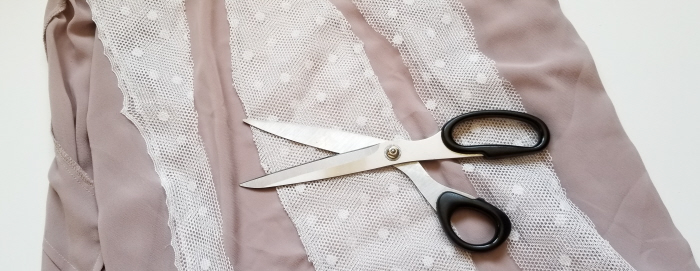
Flip the shirt inside out and trim off the excess fabric.
This does not need to be a perfect trim as it won’t be seen from the outside of the shirt.
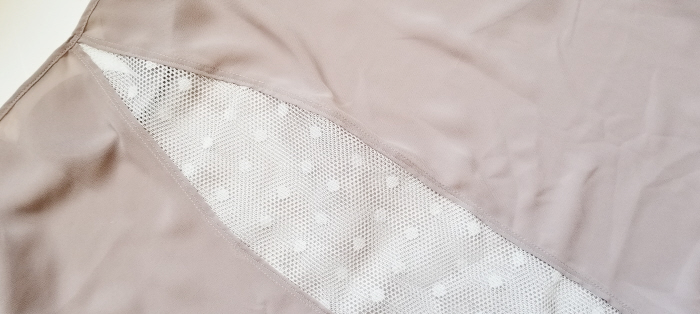
A gorgeous result!
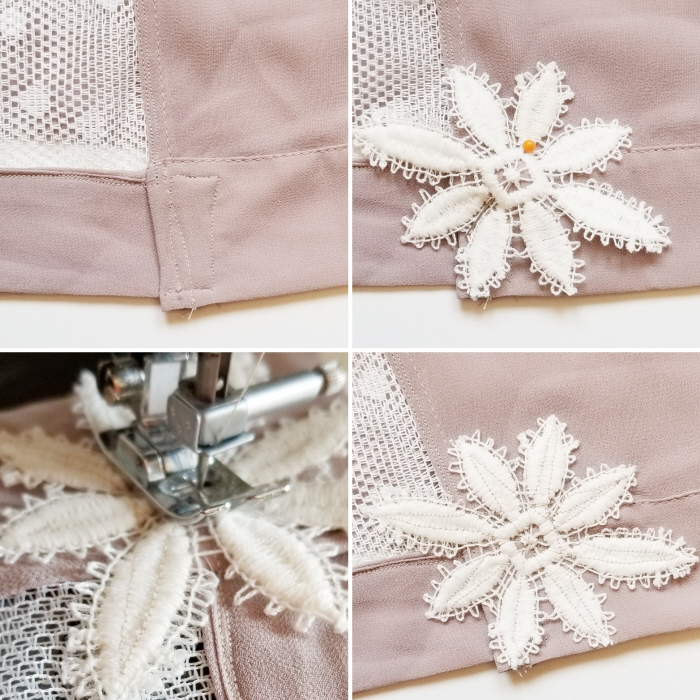
I wasn’t thrilled with my stitching on the bottom area so I grabbed a vintage lace flower from my stash and stitched it over the wonky seam – a very simple fix that makes the top extra unique!
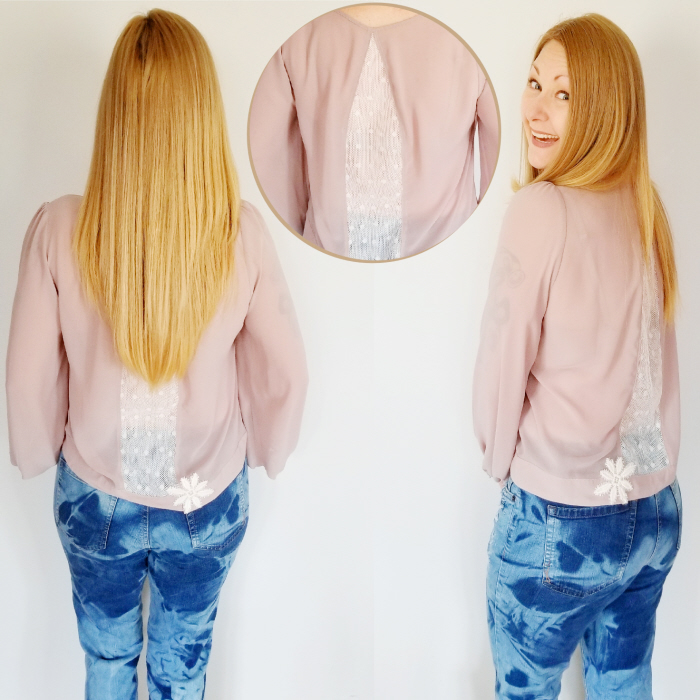
Love it! And because I doubled up my tulle fabric panel my nude bra strap is completely invisible, yay!
Take a peek at my oldie but goodie DIY showing how to upsize a shirt with a fabric panel below:
Reusing what you already have in your closet, shopping preloved and refashioning are a marvelous start to a wardrobe full of truly sustainable fashion that reflects your own unique style!
Discover all of my upcycled style goodness at RefashionistaSheri.com!