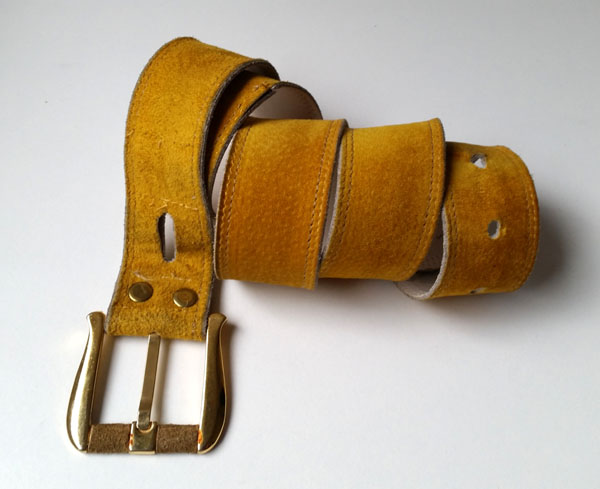
This groovy 1970’s suede belt was one of the fabulous bits I inherited in Tante Uschi’s treasure chest:
unfortunately it had been worn to death:
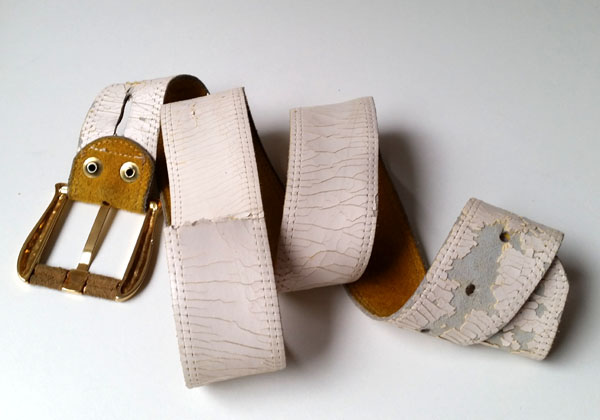
I had loads of refashioning ideas for this sad retro belt but they all involved repurposing it into something else and I really wanted that butter soft suede as a belt so I tucked it away until inspiration struck (over 2 years later!)
Check out how I salvaged that cracked & peeling bit of waist decoration with My DIY Vintage Belt Fix:
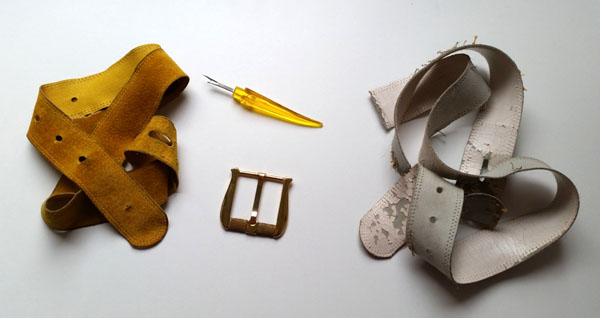
First, I removed the buckle & metal fastenings then ever so carefully removed the damaged coated leather piece from the back of the belt.
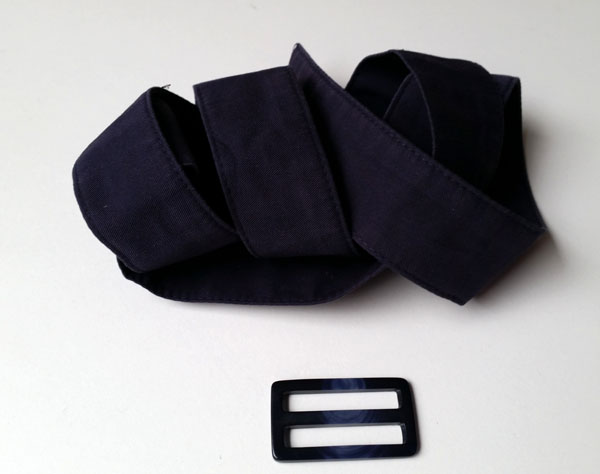
I found an old fabric belt in my stash that was the exact same width of the suede and removed the buckle.
(My original plan was to cut a jeans leg to size & hem the raw edges but luckily discovered this old raincoat belt during my latest stash clean-up – hooray! It pays to sort out your stash every few months!)
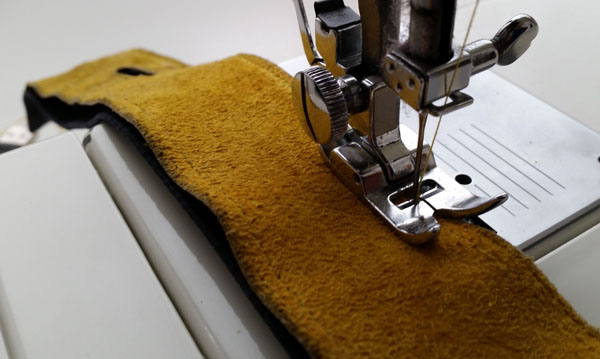
I stitched the fabric belt to the back of the suede.
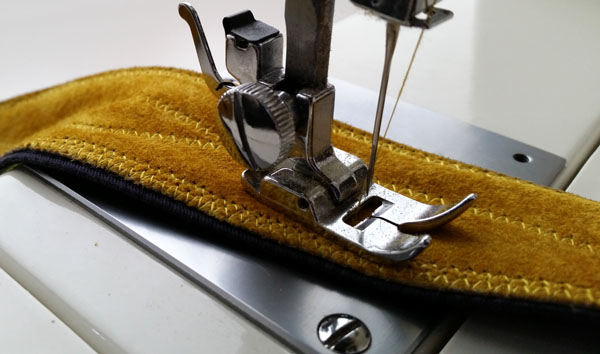
Then embellished with bit of free form doodle stitching.
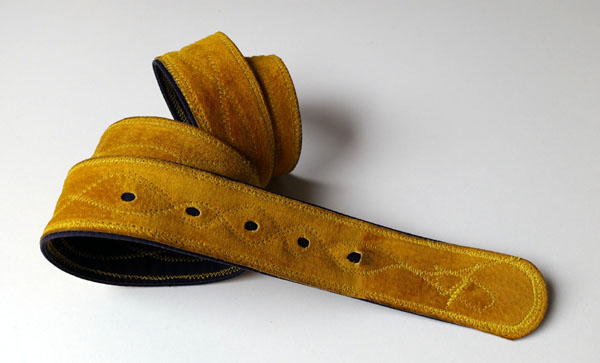
I trimmed off the excess fabric and cleaned-up the end of the belt.
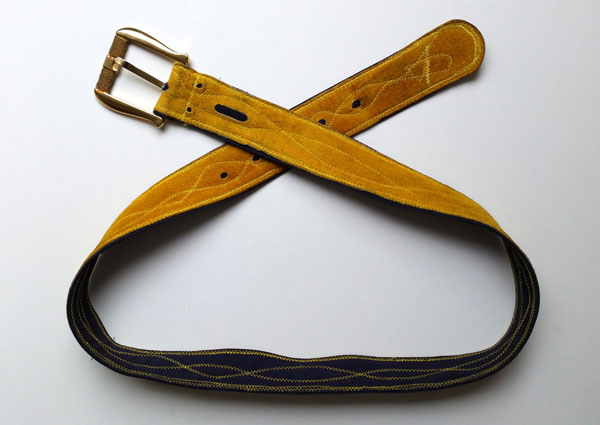
Reattached the buckle.
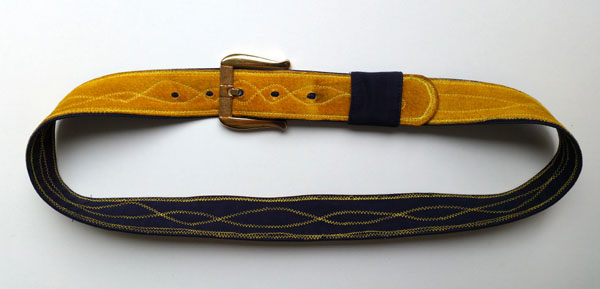
Chopped out the notches in the new & improved back and used the remaining bit of fabric as the loop to keep the end of the belt from flapping about.
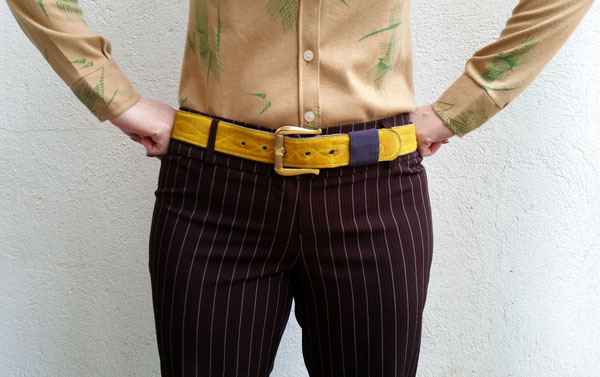
2018 update – the belt is still going strong and looking fabulous:
Grab my no sew bleach dip pizza pocket shirt refashion right here!
Discover all of my upcycling goodies at RefashionistaSheri.com



What a beautiful belt and so worth saving. It turned out amazing.
I’m glad you saved it as a belt and it looks much better with your embellishments 🙂
Thanks very much!
Really beautiful! Your embroidered doodles have made the difference! 🙂
Grazie Mille Anna! 😀