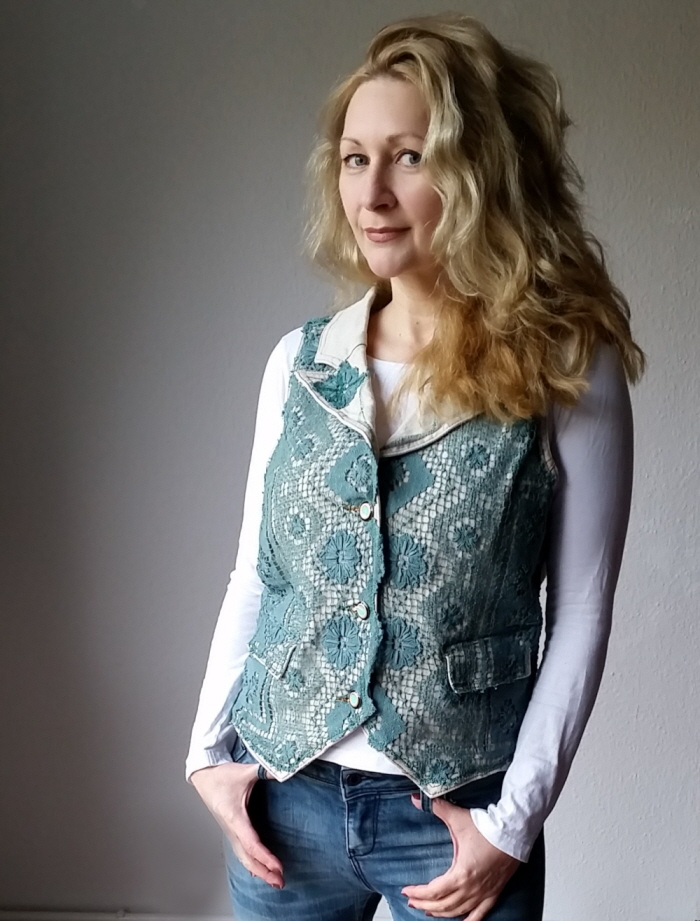
Just like my crochet cheater top this funkified vest required zero crochet knowledge but looks like I could have spent hours with the hook, meticulously looping, turning & chaining (?) the delicate thread – here’s what I really did:

I started with a faded denim vest that had been skulking at the bottom of my stash for way too long.
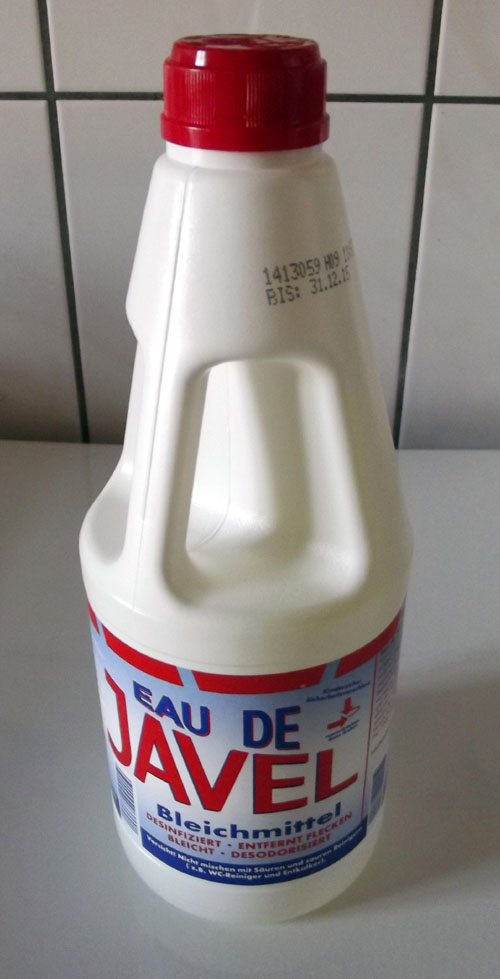
Snagged my trusty bleach.
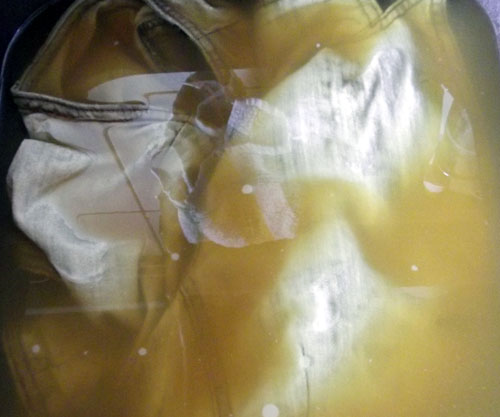
Tossed the vest in a 50/50 bleach & H2O mixture and let it soak overnight.
Get my top tips & techniques for bleaching clothing here.
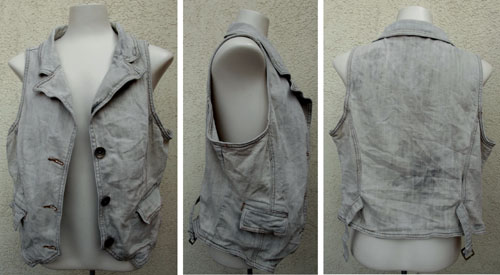
et voila! A no-longer-faded-black vest but still not at all nifty enough to wear.
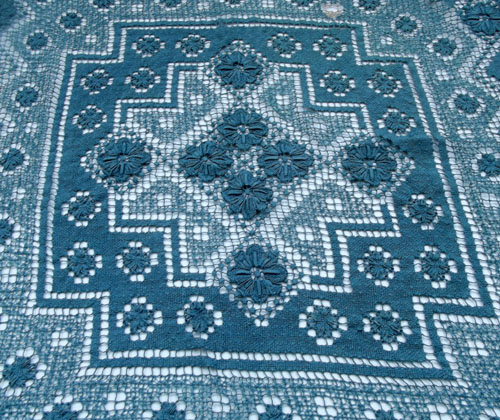
I sifted through my pile of vintage lace and discovered this lurvly little hand-crocheted tablecloth (which I had previously dyed from dingy white to purty turquoise).
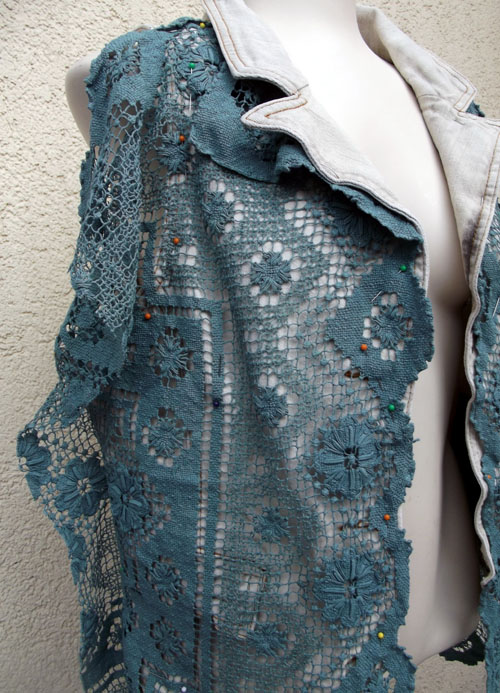
I sliced it in half & pinned a piece to each side of the front of the vest.
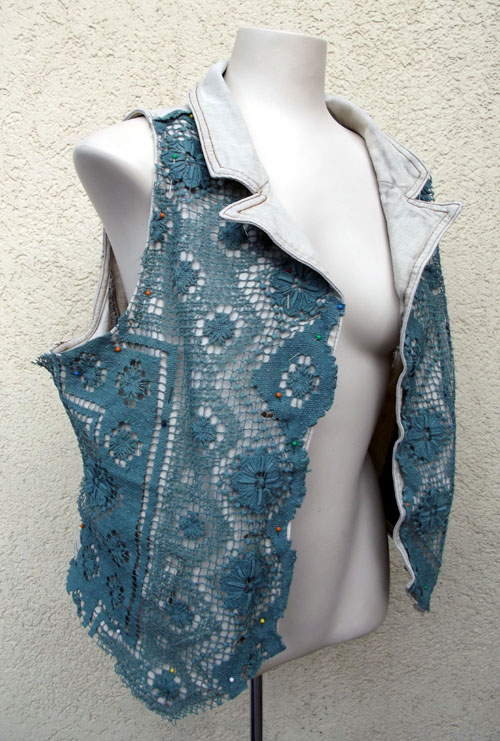
Chopped off the excess.
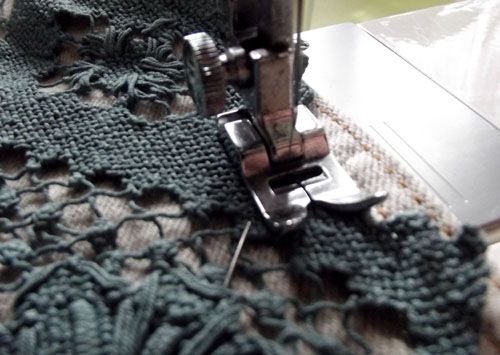
Sewed it on with a tight zigzag stitch.
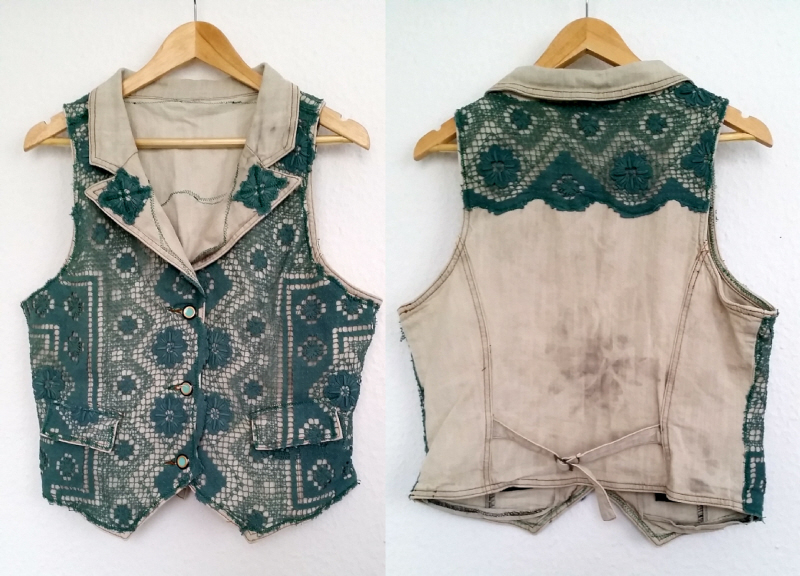
Then I stitched a couple of the remaining crocheted rosette-scraps to the collar, replaced the rivets with some fancy vintage buttons and added a lil’ something to the back too!

Are you diggin’ my fancy new vest?
Want more upcycling tutorials and sustainable style ideas? Take a peek at my fab Refashioning mini e-courses & more right here!
Yay! My books are available on all Amazon platforms worldwide that offer “print on demand,” so you can purchase them with free Prime shipping on your local Amazon site.



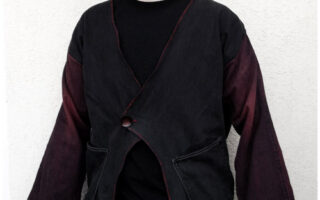
What a cool idea. Your creativity always amazes me. I love the colour and you look gorgeous in this photo.
Thanks Vee – it was definitely time to update the “after” photos on this old tute 😉
Very nice refashion.
Thanks very much 😀 be sure to take a peek at my tutorial index for hundreds of sustainable fashion & upcycling tutorials: http://awesomesauceasshattery.com/tutorial-index-by-photo/
This is one of my favorites you’ve done. Dying something turquoise is always a plus, in my book.
Some of my fave tutorials are the oldies but goodies 😉
Great refashion Sheri. And I love this photo of you and the styling too..
I’ve now shared over 500 tutorials so I thought it was time to re-shoot the “after” photos & update some of my oldie but goodie projects. This one is from April/2013 – a fab refashion that’s still going strong & looking awesome! 😀
That’s really cool! How did you finish the cut edges of the crocheted part?
– Heather R., The Real Leopardstripes
Thanks, it turned out even better than I’d imagined!
…to keep the chopped crochet from fraying apart I just zigzagged over the edges a couple of times using a wide, tight stitch (as usual ;O)
I guess you never show them your finished projects.. don’t! Let them continue to think you’re ‘blim-blim’ while you make off with their crochet stash! Hehe
::bows down to your creativity:: I love this!!
Creativity? Maybe a little…it’s more down to desperation at not being able to crochet anything myself but wanting to fill the wardrobe with funky hippie-fied crocheted items! …seriously I think I have a crochet-addiction…just today at the charity shop I giddily picked up a divine hand embroidered round vintage tablecloth with an absolutely brilliant crocheted edge, held it up to myself & did a twirly lil’ dance (it’ll make a gorgeous skirt!) – the staff thinks I’m completely round-the-bend & even asked my hubs if I was “o.k im Kopf”…hilarious!