I spied this vintage evening gown in the charity shop window and was ecstatic when they sold it to me for only €1!
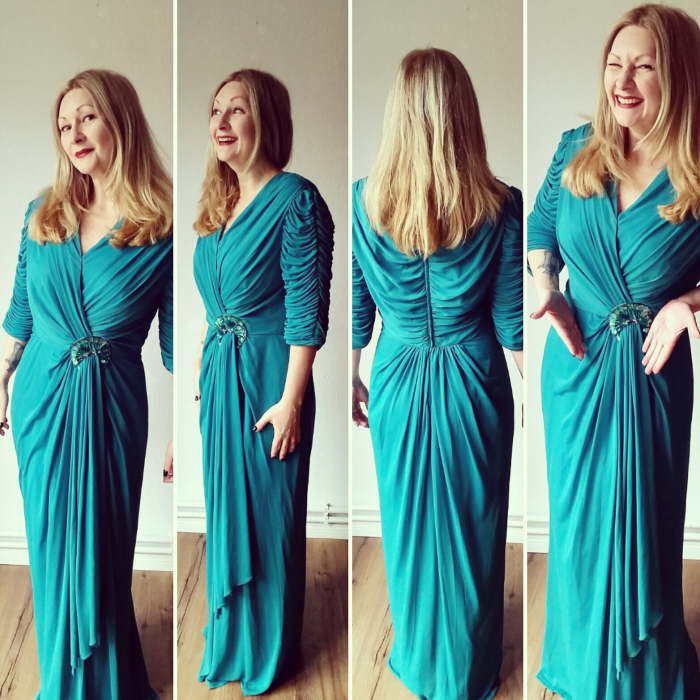
This gorgeously coloured piece of historic glam was gathered and draped at every seam, fit awkwardly and had a gross rubbery lining in the sleeves however it also had a fabulous sequin sash detail that I completely adored.
You guys came up with loads of groovy refashioning ideas to help me transform that bulky dress into this stunning piece of awesomeness:
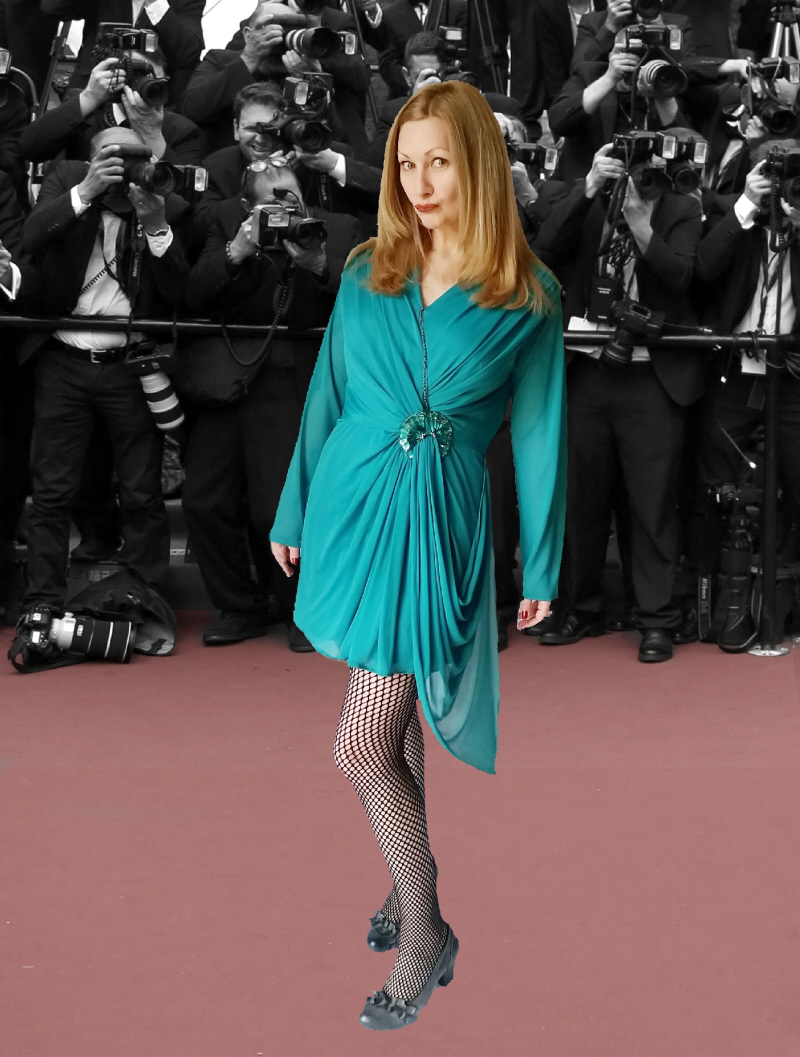
Here’s how I did it:
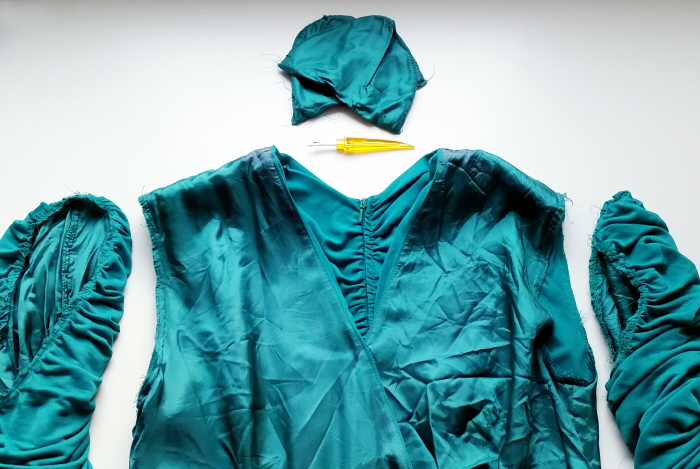
The first step was to carefully remove those rubber lined sleeves.
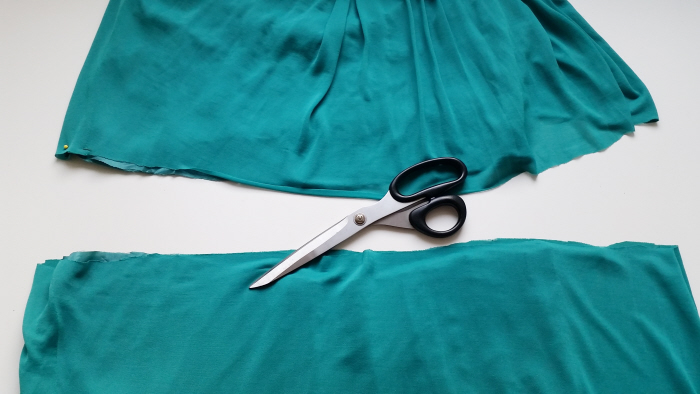
Then I chopped it to my desired length + seam allowance.
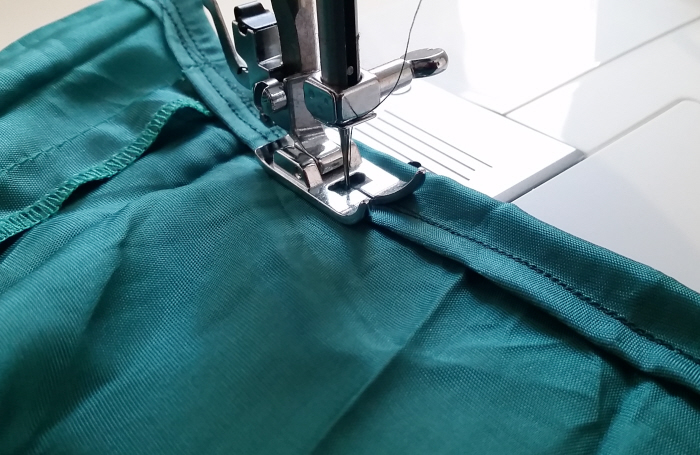
Hemmed up the lining.
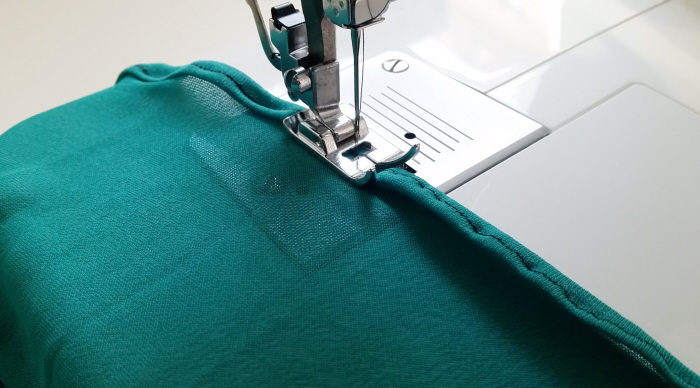
Hemmed up the raw edge of the skirt.
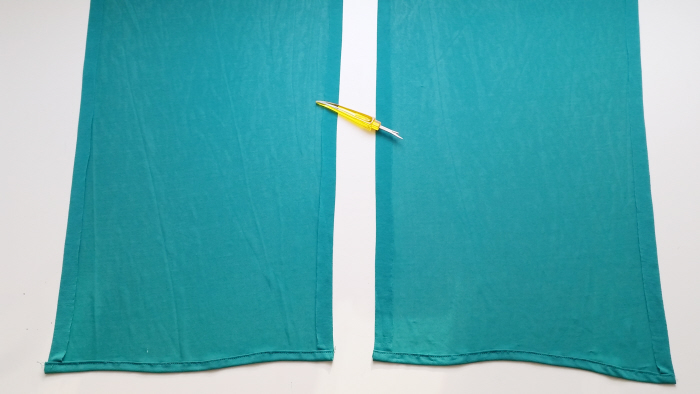
Separated 2 of the panels from the chopped skirt length.
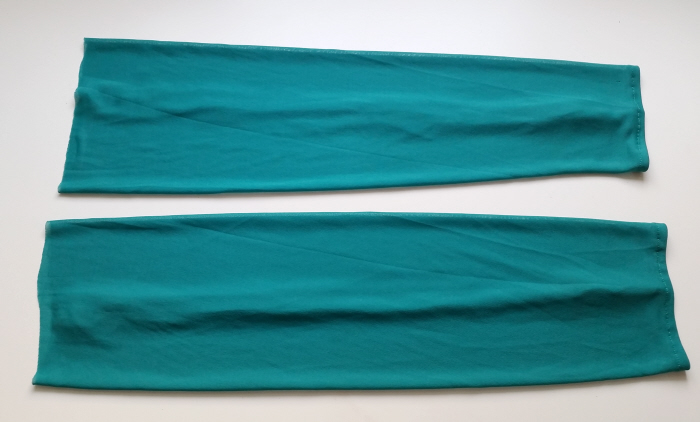
Stitched each one into a tube with right sides facing then flipped them right side out to create a couple of sheer sleeves.
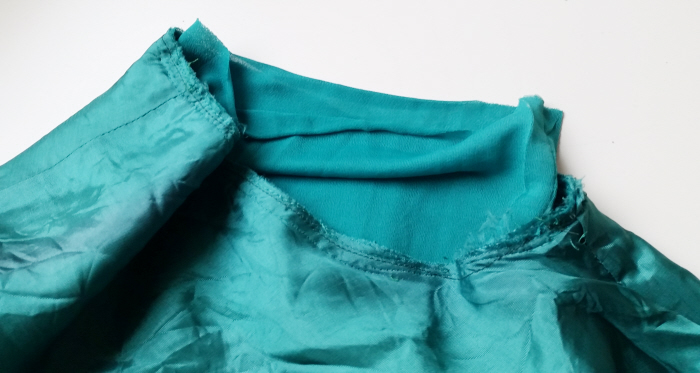
Popped the sleeves into the armholes with right side facing and raw edges lined up.
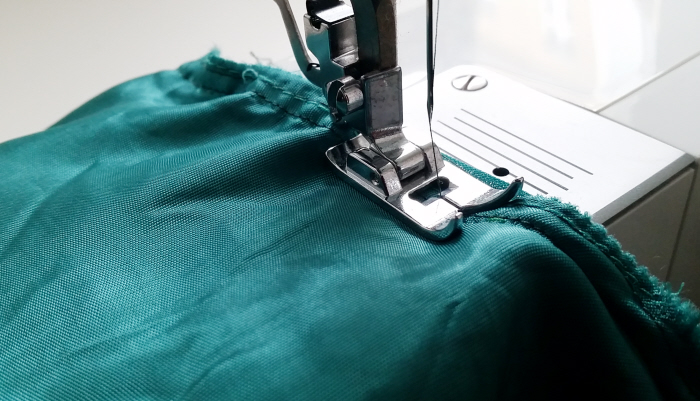
Stitched them together.
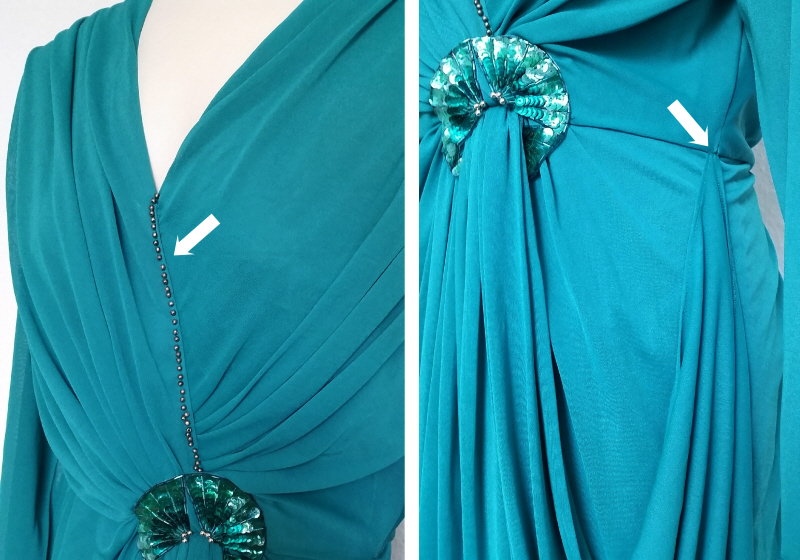
For a fab finishing touch I hand stitched some silver beads along the wrapped bodice fabric and stitched the end of that hanging sash to the side seam.
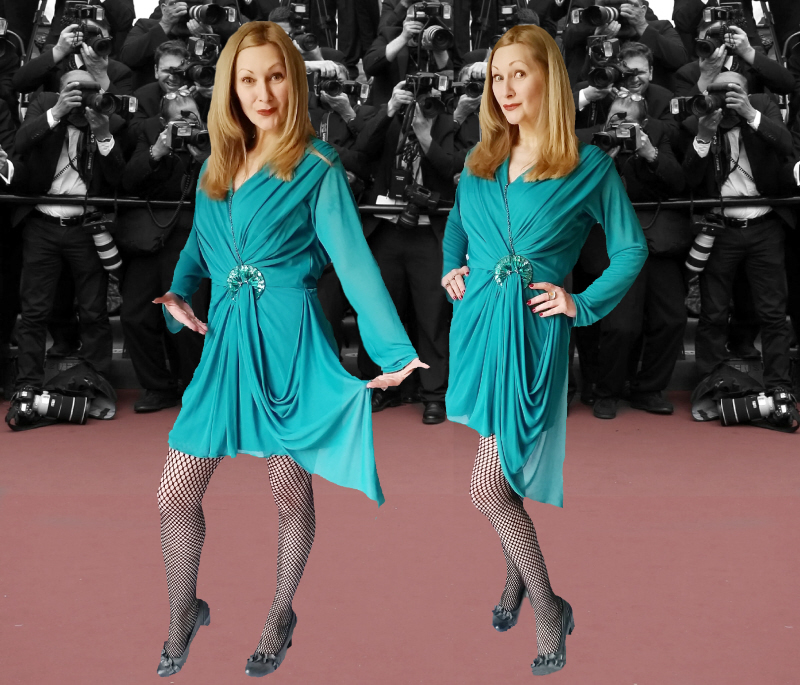
The perfect glam green frock for St.Patrick’s Day!
Discover all of my upcycling goodies at RefashionistaSheri.com




Great refashion – you took it from frumpy mother of the bride look into something to a night on the town look.
Yup, you should never pass up a dowdy vintage garment in the thrift shop, there’s grand refashioning potential in just about everything! 😉
Love the colour +++ Thank you for sharing your tips.
It took awhile to figure out exactly what I wanted to do and I was a bit nervous about working with that delicate sheer fabric to make the new sleeves but it all came together beautifully 😀
That is gorgeous! I love how you made the new sleeves. I’ll have to keep that in mind next time I have a refashion with hideous sleeves and too much material elsewhere.
Cheers my dear 😀 Here’s my oldie but goodie detailed video tute for adding sleeves to any garment: http://awesomesauceasshattery.com/2013/02/18/splendid-sleeves/
Thank you! That makes it so easy to understand and do (I hope!). 🙂
Gorgeous, you must be thrilled with how it turned out!
I absolutely LOVE it! (now I just have to get invited to a fancy function to wear it 😉 )