Lovely lacy doilies are an integral part of any Refashionista’s arsenal. However, one must not simply stitch a doily to a shirt (or anything else) & pronounce it ready-to-wear as all you have then is a shirt with a doily stuck to it, not a good look at all. But, with a teensy bit of creativity (+ an iron & your trusty scissors) you can transform even the most mundane tops into beauteous blouses:
3 days – 3 posts – 3 (simple) techniques
Let’s get started with The Delightful Doily: part one

to create this pretty all-around-collar you’ll need:
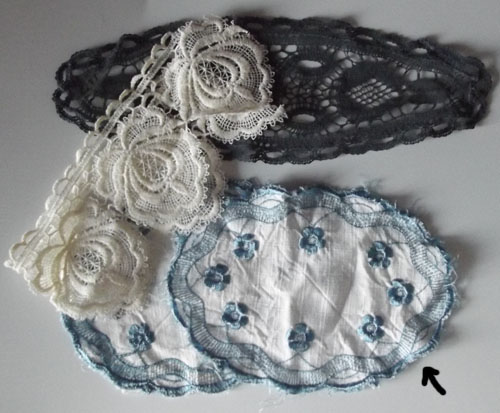
2 identical doilies.
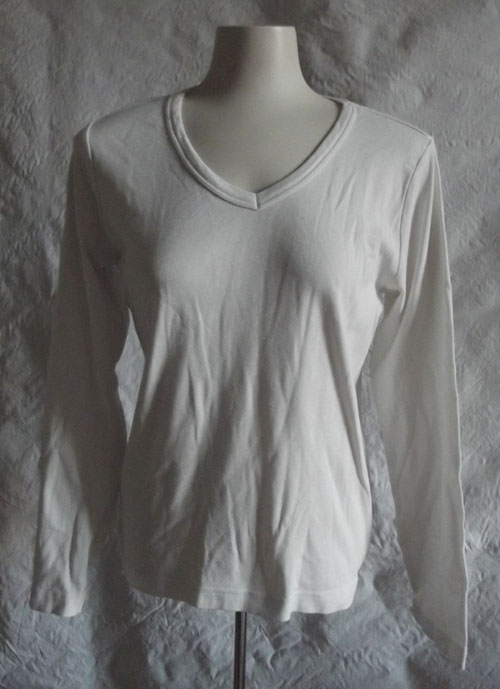
and a boring old top
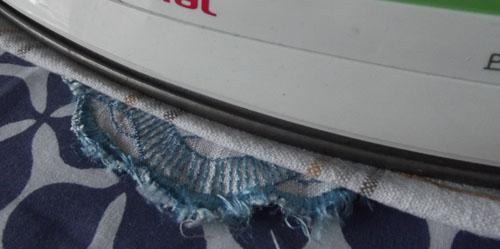
Iron your doilies, if necessary. Quick tip: always place a tea towel over delicate doilies before pressing to avoid catastrophic burns, melts & total destruction
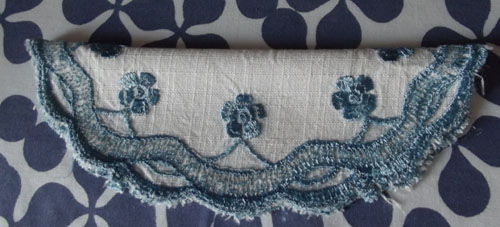
once both of your doilies are pressed flat, fold them in half lengthwise making sure the edges are exactly lined up
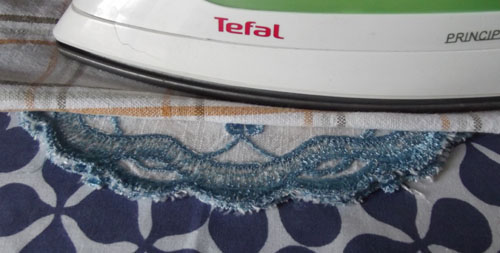
cover with a tea towel & press the folded edges
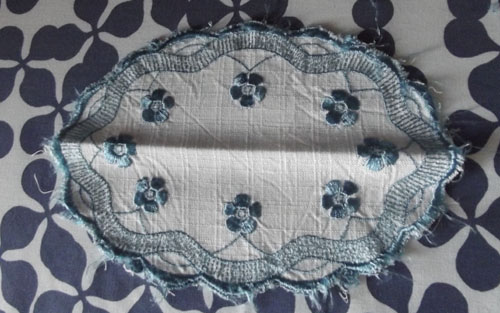
yay! a perfect crease down the middle of your doilies
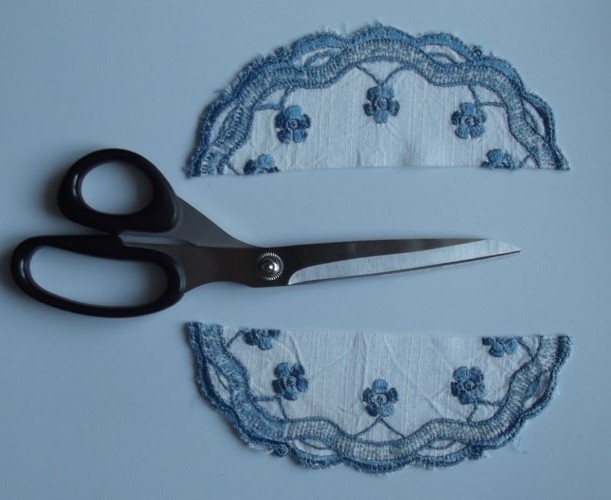
cut along the crease, et voila! equal halves! *you should now have 4 doily pieces
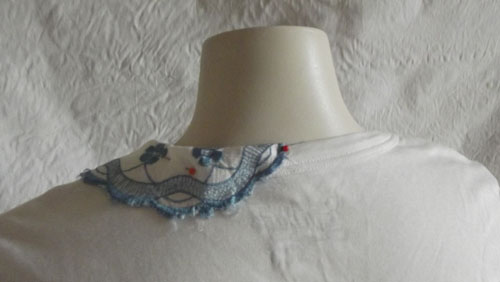
locate the center of the back of your shirt, fold a doily-half over the neckline & pin in place
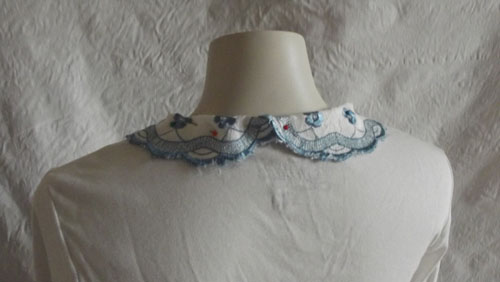
add another half-doily, overlapping the ends a wee bit
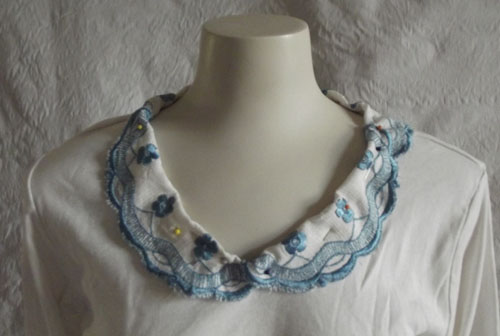
continue adding/overlapping the other doily-halves around the front of the neckline
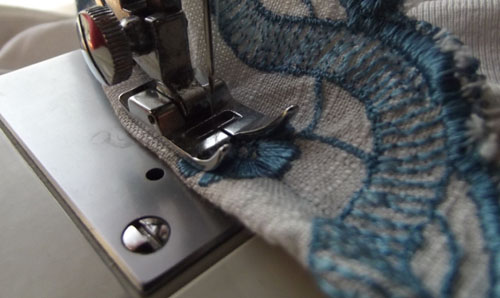
hop over to your machine & stitch it all together
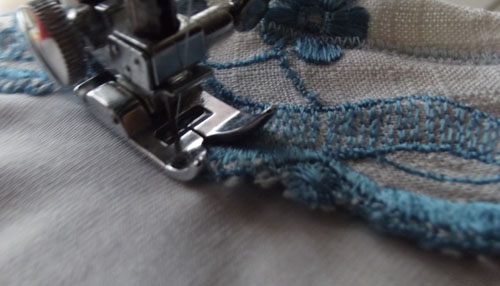
remember to stitch down the outer edges of your fancy new collar as well – follow the line of the doily for a perfect hem

that’s it!
Head over to parts two & three of my wee tribute to doilies!
Want more upcycling goodies? Visit RefashionistaSheri.com


