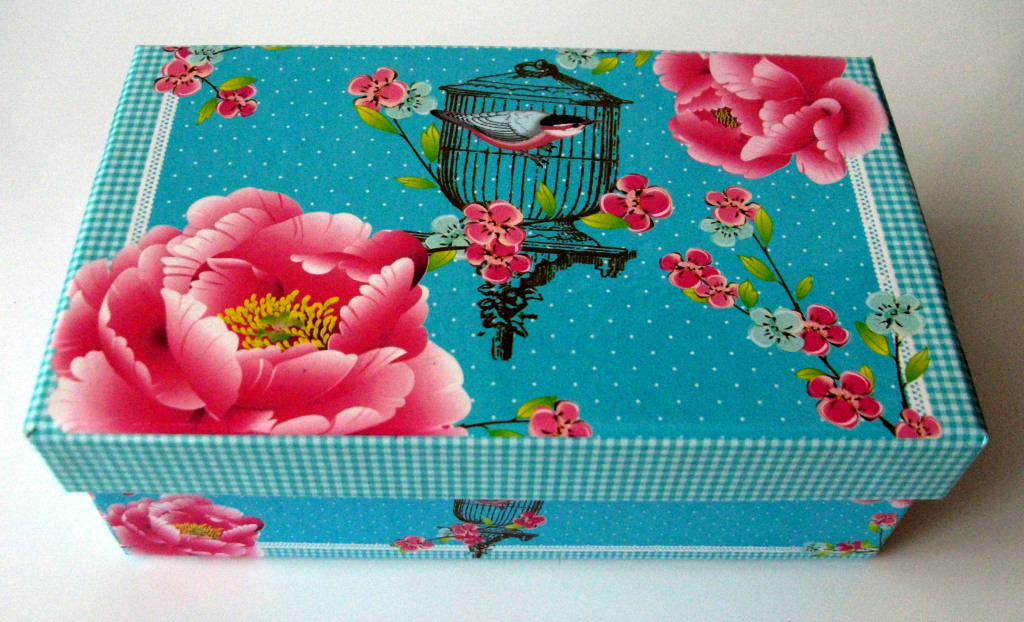
Guests are arriving in just over a week for their first ever European Holiday so I’ve been creating (& buying) a load of welcome-to-Berlin-I-haven’t-seen-you-in-ages gifts to lavish upon them. While wrapping everything up nice & pretty I noticed that I had a rather copious amount jewellery for the teenage visitor & nothing to put it all in…until I found this in my box-of-boxes-to-keep-until-they-are-useful-again
Instead of just chucking all the glittery jewels inside I decided to upgrade this (wannabe) Shabby Chic gift box into a nifty treasure chest…
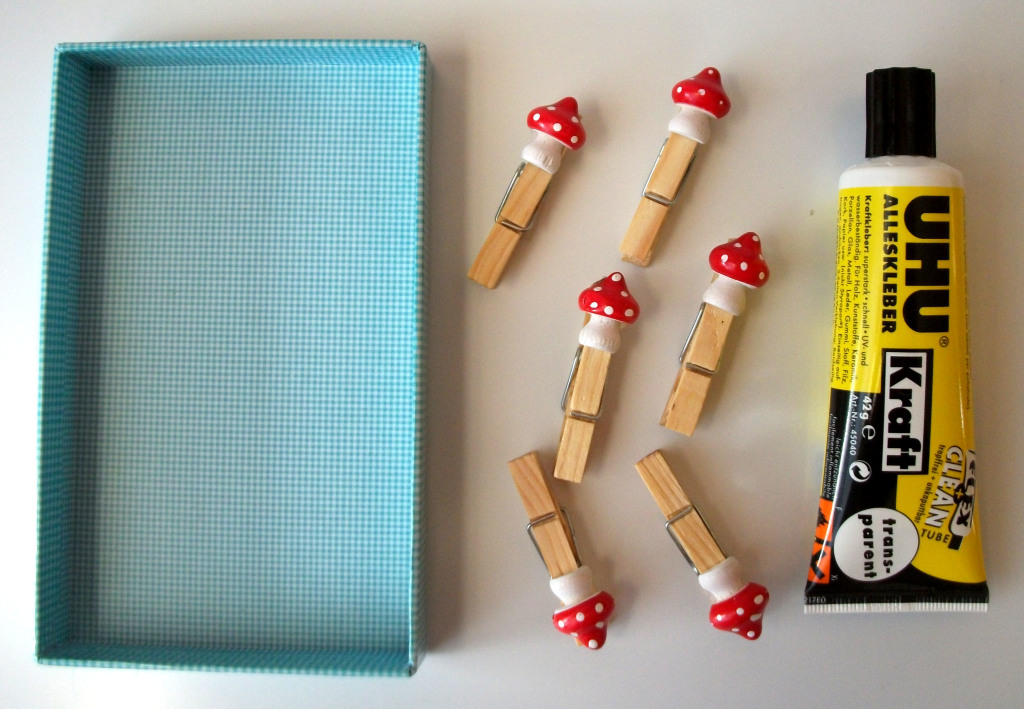
I happened to have some mini clothes pins with cutie mushroom tops (which my husband thought were useless…ha!), grabbed the ultra-strong UHU Alleskleber & stuck them to the underside of the box lid.
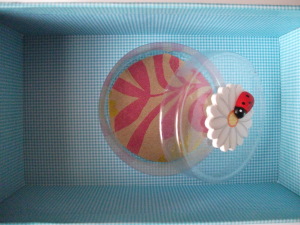
A small plastic (hair elastic) container glued to the bottom of the box, lined with a circle of paper & the lid topped with a perky ladybug-on-a-daisy finished the cool new gift box…
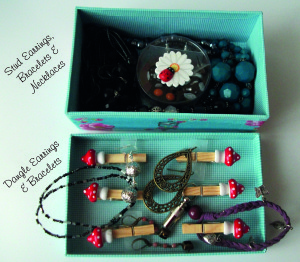
The bottom of the box is home to small stud earrings (in the center plastic container) & chunky beaded necklaces & bracelets. The top of the box houses dangly earrings (on thin squares of plastic clipped to the mushroom pins), small beaded bracelets & a funky leather charmband created by moi.
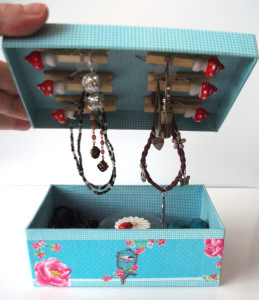
A 13 year old will think it’s awesome….right??
…or am I just a lame 30-(something)-year-old?
Want more upcycling goodies? Visit RefashionistaSheri.com


I will be up grading my jewelry bow to a small armoire this spring. I will absolutely be taking this and the bauble stand ideas into kind for storage! I’ll post them on gone thrifting!
Can’t wait to see what you come up with 🙂