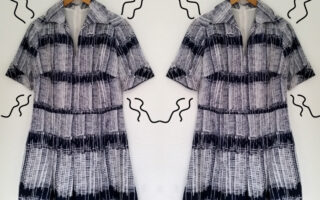
The final chapter of my little doily manual deals with those fancy oblong bits of tatting that once displayed Oma’s ceramic statuette collection:
Onto The Delightful Doily: part three how-to:
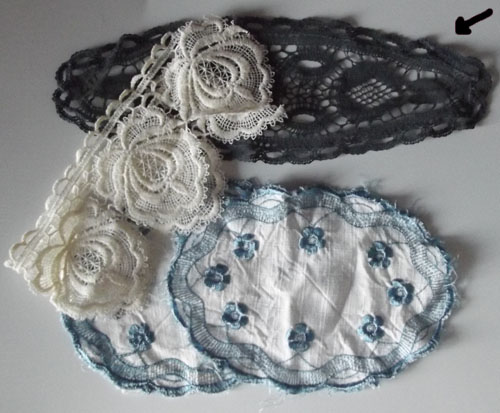
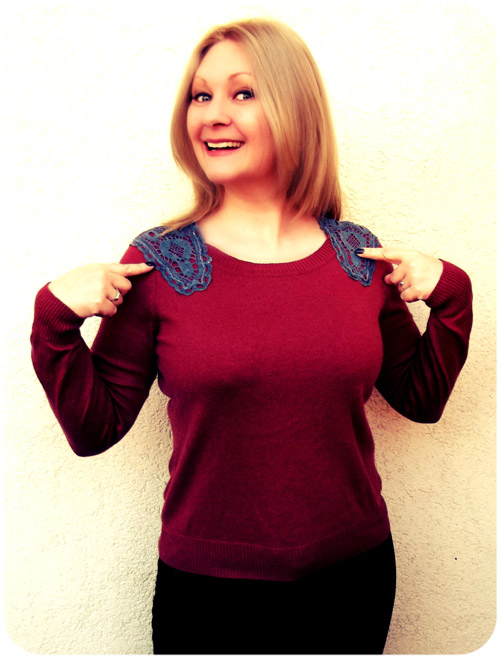
Snag a long doily (this one had years of stains so I simply gave it bath in navy blue dye before getting to work)
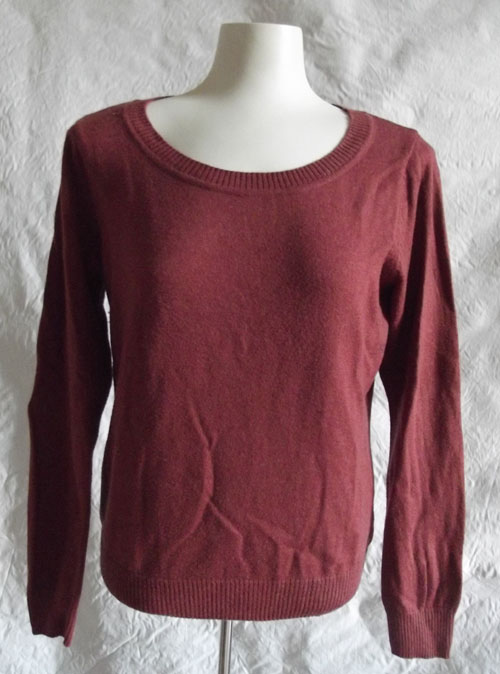
and that sad, long forgotten top from storage
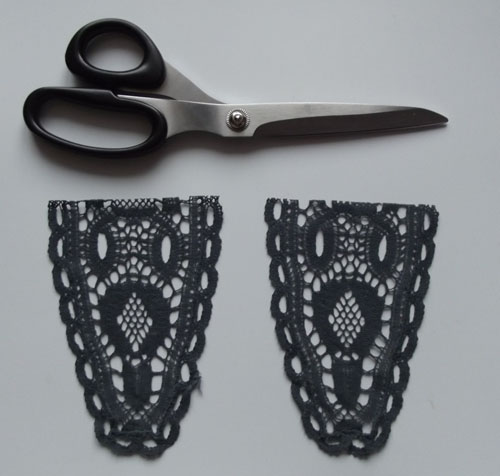
chop it in half (use the ironing method in part one to make ’em exact)

line up the straight edge of a doily-half with the shoulder seam of your top & pin together
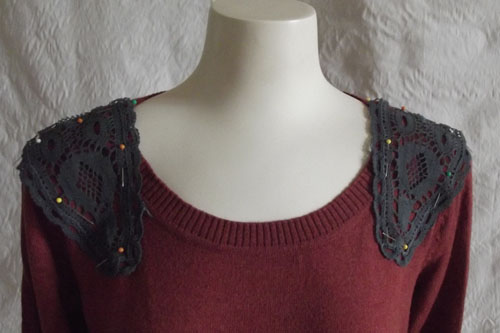
repeat on the other shoulder seam with the remaining half-doily
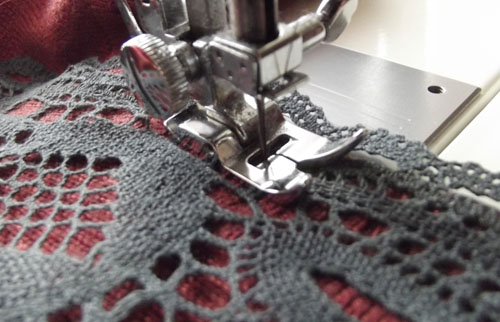
stitch them on

and you’re done!
If you haven’t already, check out parts one & two of my lil’ salute to doilies!
Want more upcycling goodies? Visit RefashionistaSheri.com