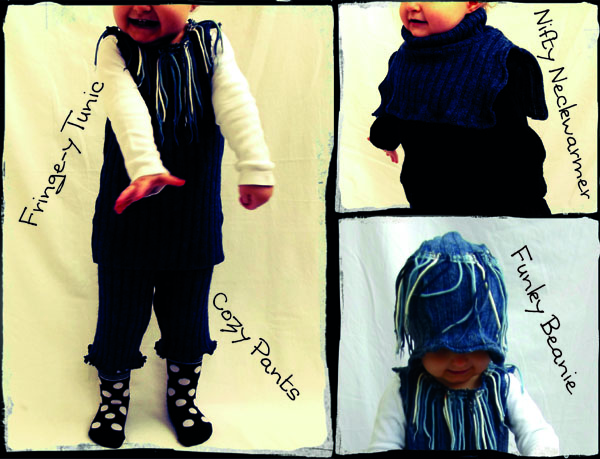
Can ya guess what single item of mine I used to create the four groovy kidlet threads pictured above?
Read on to find out…
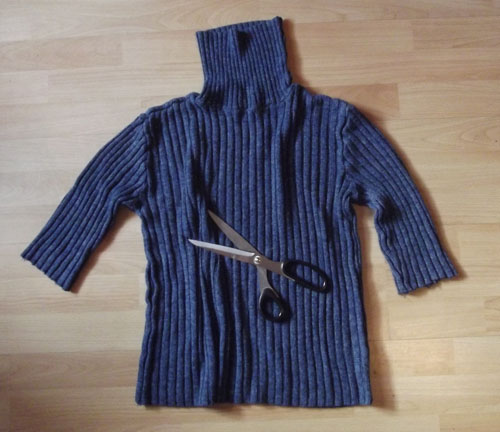
…an old turtleneck sweater…go snag one of your own & let’s get started!

Begin by chopping out a square from the neckline…
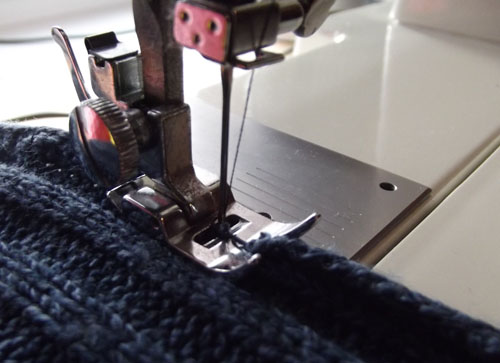
zigzag all around the raw edge to prevent fraying…

and your munchkin has a comfy new neckwarmer that stays in place!
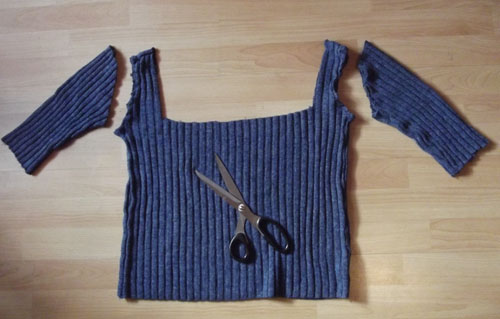
Next, slice off the sleeves at the shoulder following the curve of the seam…
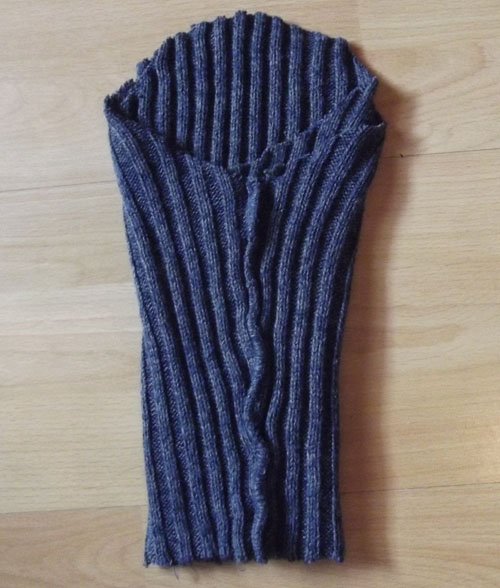
pop one sleeve inside of the other (right sides facing & seams lined up)
zip over to your machine & stitch the V’s together
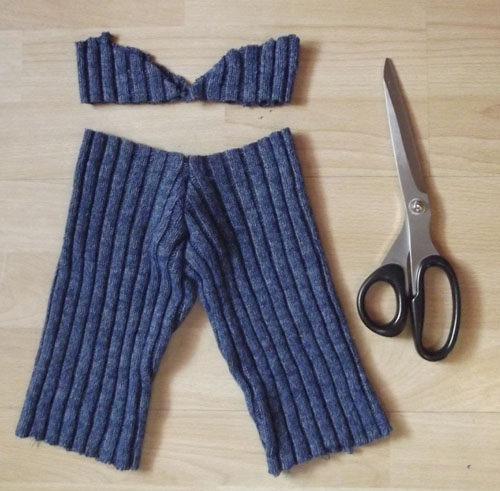
pull one sleeve out of the other et voila…instant pants! *even up the top if necessary
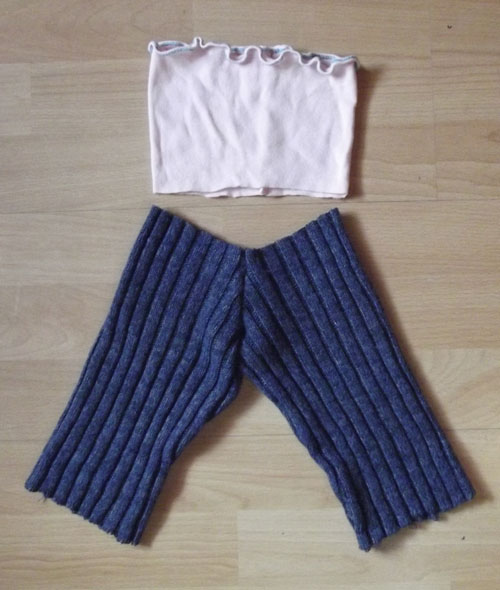
You could simply sew a casing around the top & insert some elastic for a waistband but I prefer to add a wide tube of soft jersey fabric, in this case a chopped off turtleneck, as it’s more comfy around my girlie’s tummy.
simply flip it down over the pants (right sides facing & raw edges lined up)
and stitch together…
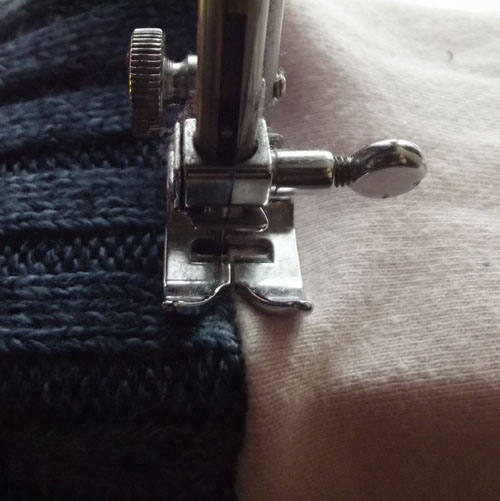
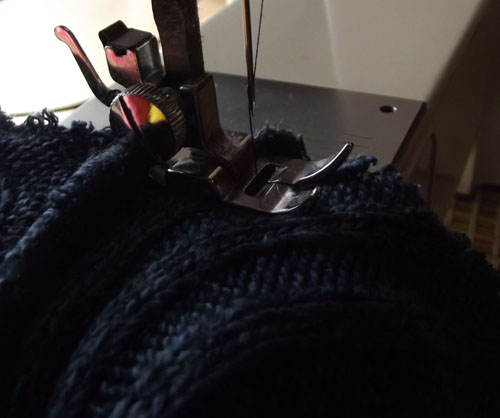
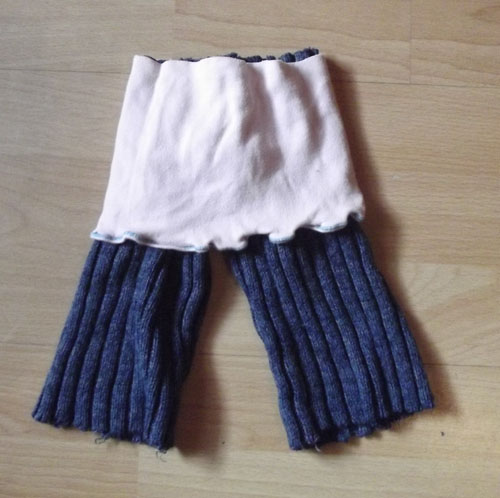
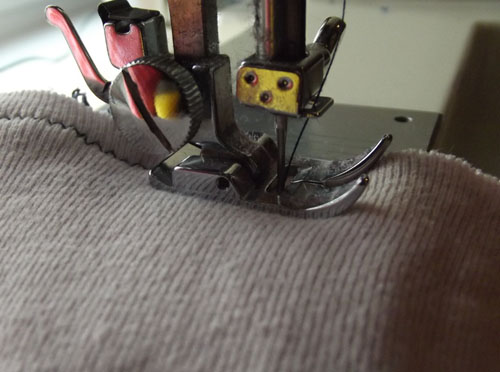
I always turn the waistband up & zigzag over-stitch the outside seam for extra strength
as I had previously chopped off half of the sweater sleeves for a different project I zigzagged twice around the raw edge at the bottom of the pants, stretching as I stitched to create a lovely lettuce hem.
Now that we have some cozy new pants, let’s move on to the funky tunic
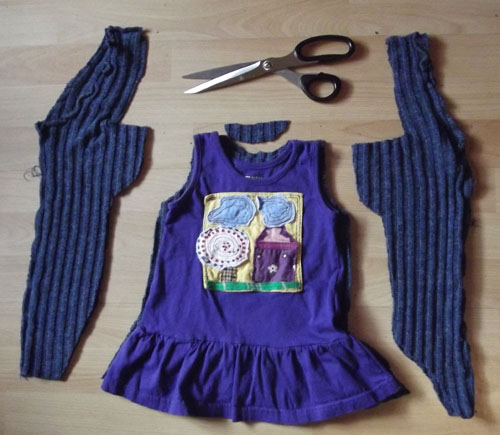
turn the remainder of the sweater inside out, lay one of your tot’s dresses (or sleeveless shirt) on top of it & cut around to create the basic shape of the tunic (the bottom of the sweater will now be the hem of the tunic)
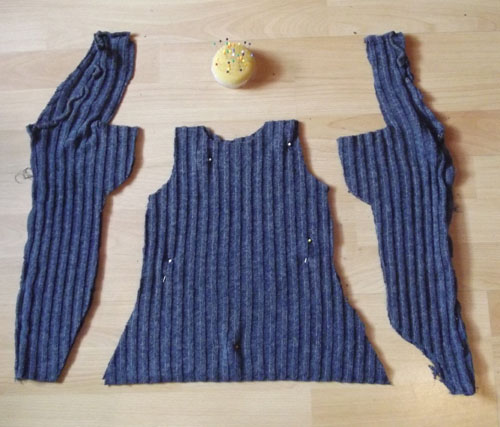
remove the dress & pin the front & back pieces together
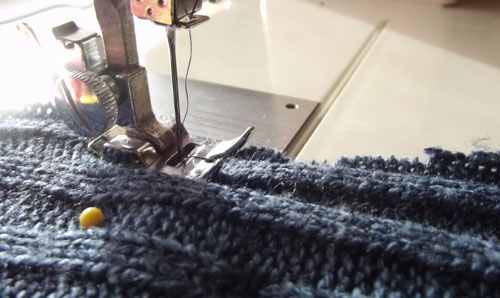
hop over to your machine & sew the sides & shoulders together
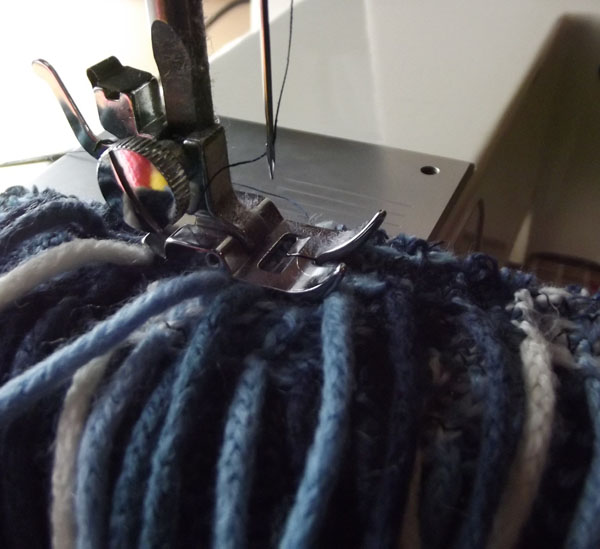
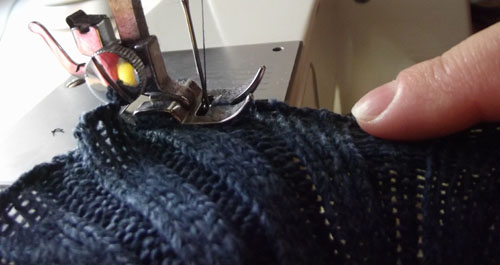
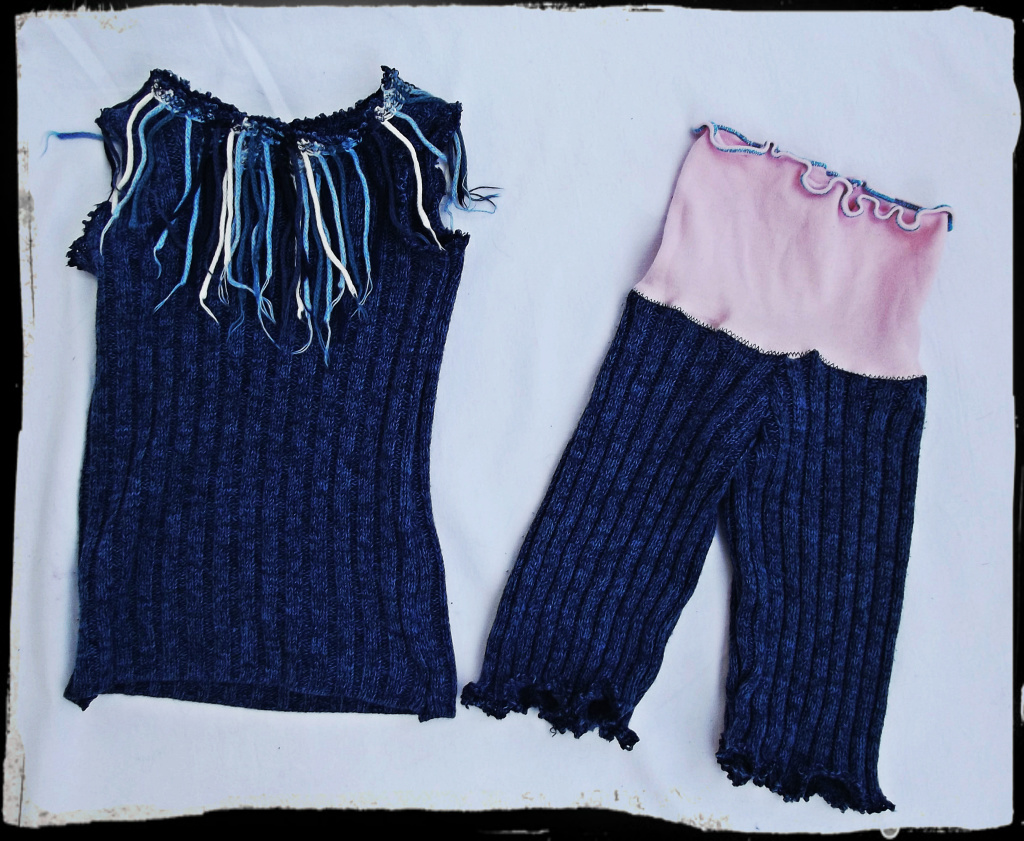
zigzag twice around the arm holes & neckline to prevent fraying & embellish with whatever you have on hand – I stitched the chopped fringe from a scarf all around the neckline
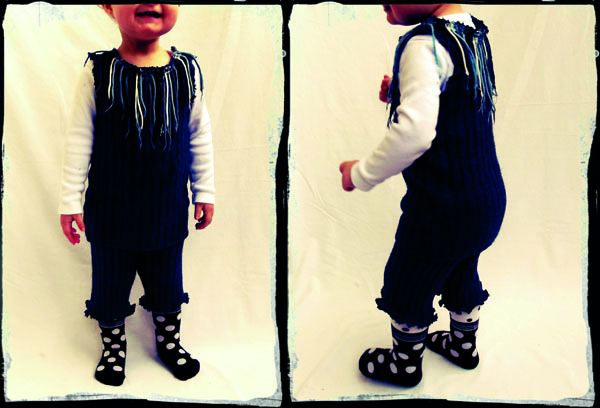
awesomely adorable!
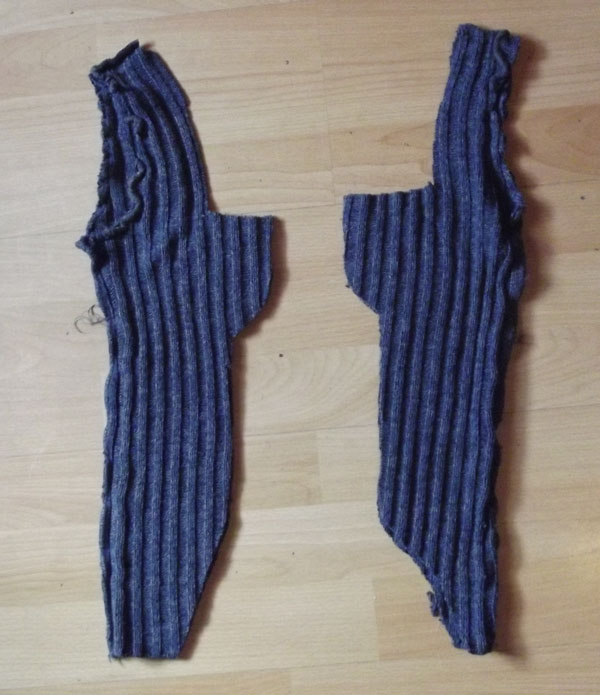
gather the last 2 pieces of sweater…

lay one on top of the other right sides facing & cut out a beanie-ish shape, stitch together, zigzag the raw edge, embellish with some leftover bits and…
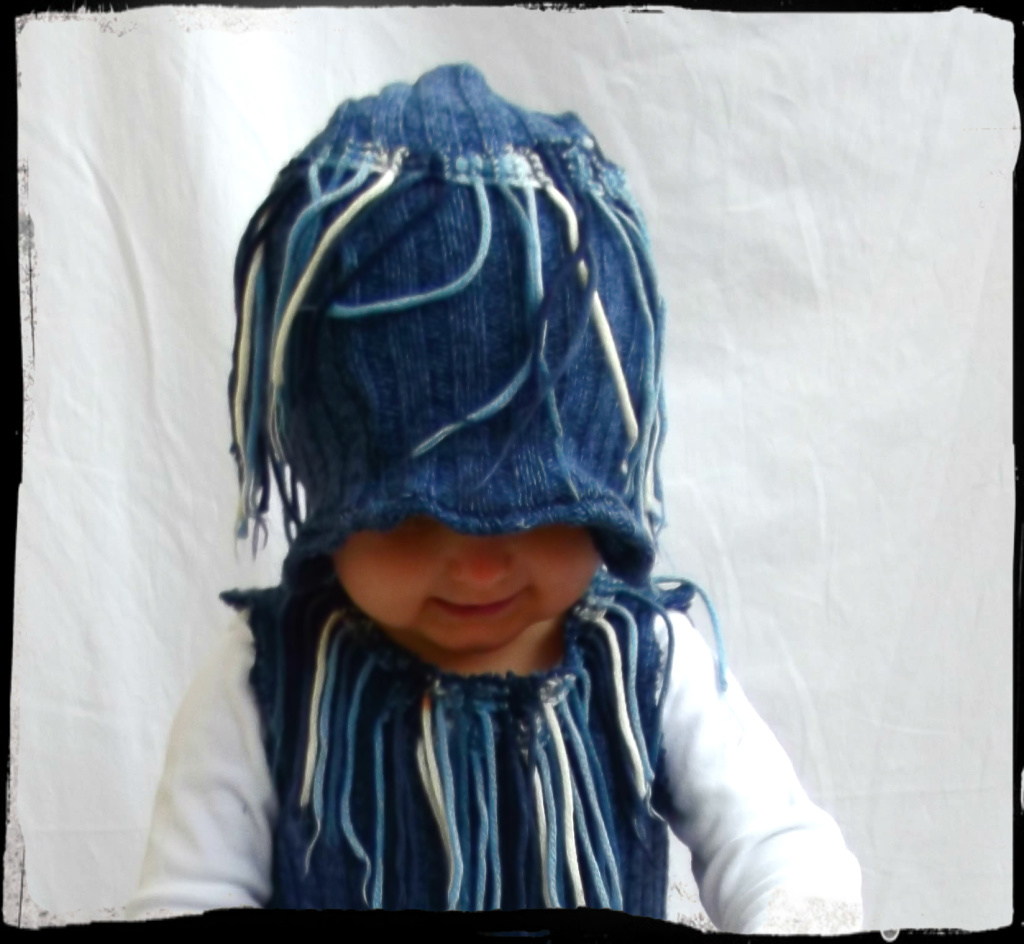
pop on the munchkin…hmmm…it’s a tad big…so
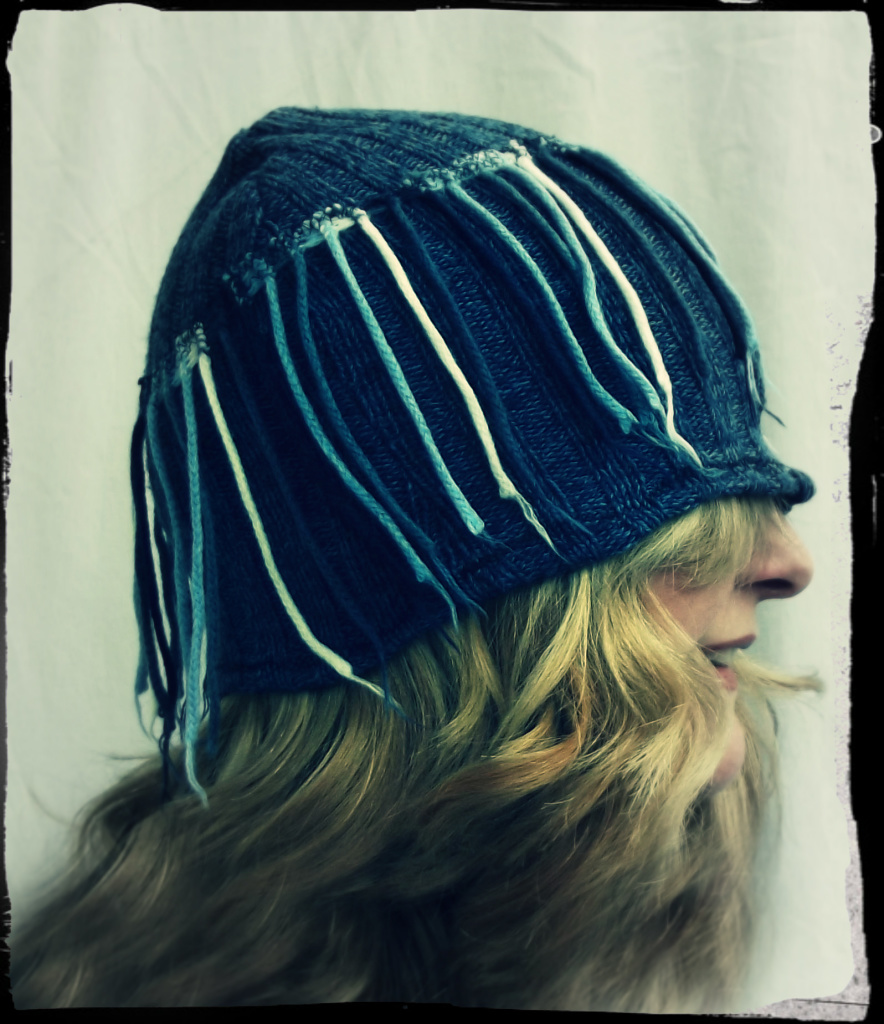
…now mommy has a weird uncommonly fancy new hat!
There you have it! 4 funtastic new items from 1 worn out sweater!
Want more upcycling tutorials and sustainable style ideas?
Take a peek at my fab Refashioning mini courses & more right here!

Yay! My books are available on all Amazon platforms worldwide that offer “print on demand,” so you can purchase them with free Prime shipping on your local Amazon site.