I’d been on the hunt for a funky retro suit for a while so when I saw this checkered beauty in an online vintage shop I just had to snap it up:

Whoa! Those shoulder pads are insane, the fit of the jacket is, erm, questionable and the trousers were in need of a new zipper, whew!
Let’s get started on my thrifted 80s suit refashion + how to replace a trouser zip:
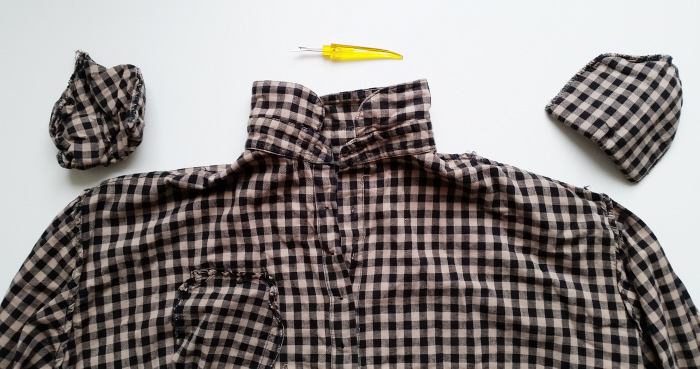
First up, those shoulder pads had to go!
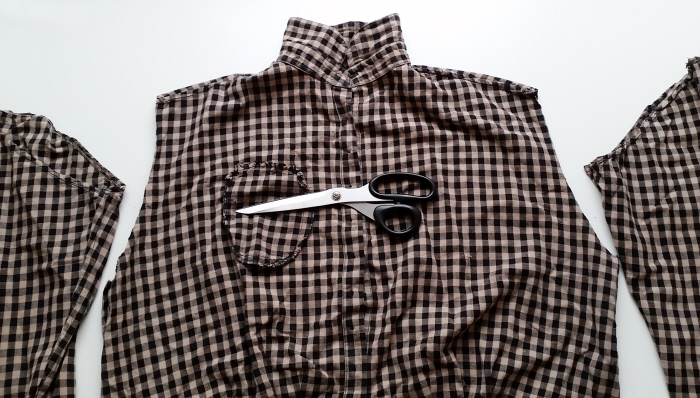
Then the sleeves got the chop too.
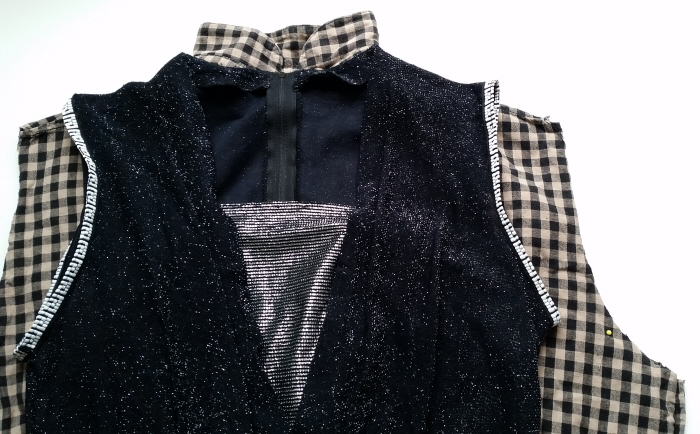
I grabbed a sleeveless top that fits me well, placed it on top of the inside out jacket and used it as a guide to mark and take in the sides and armholes of the jacket.
Get the tute for that groovy glittery top right here.
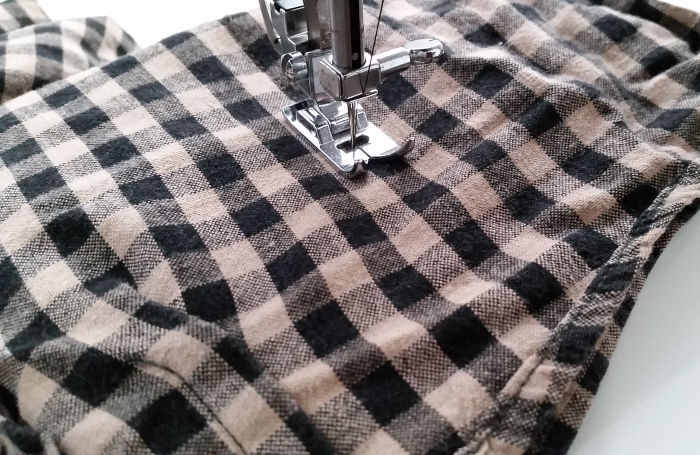
Then I stitched the front and back together following my marks.
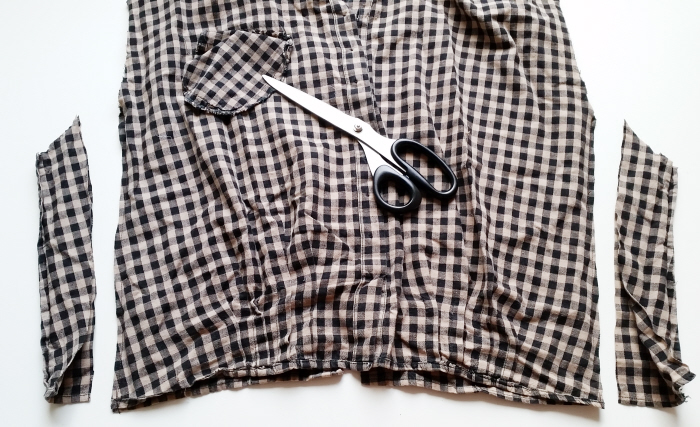
Chopped off the excess fabric and zigzagged the raw edges to help prevent fraying.

I created some bias binding for the armholes by simply chopping a couple of thick strips of fabric from the sleeves, folding in the raw edges and giving them a good press with the iron.
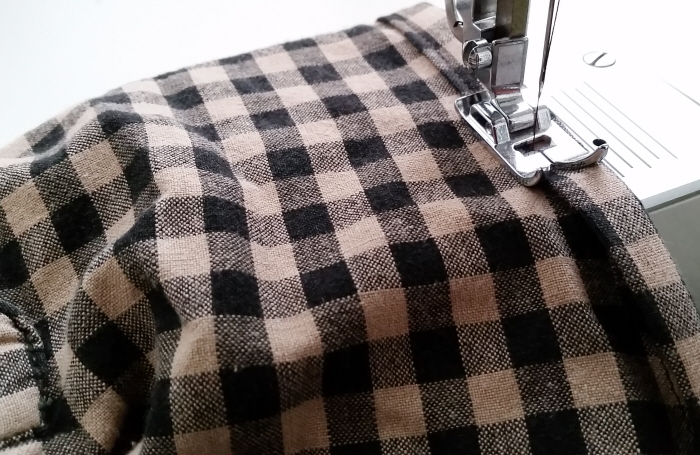
Then stitched each strip around the armholes for a fabulously finished look!
Get my bias binding how to over here.
As I had never attempted to replace a trouser zip before I was a bit nervous about getting started but once I got going was pleasantly surprised by just how easy it was to do!
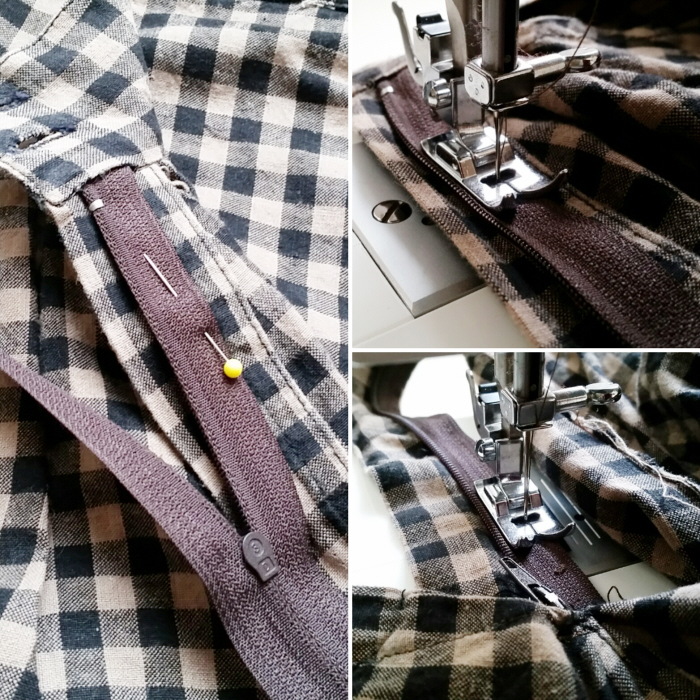
Step 1: carefully remove the damaged zipper with a seam ripper
**remember to keep track of how all of the fabric was originally stitched together on the zipper so you can simply reverse the process when you add the new zip**
Step 2: slip the top of the new zipper in position in between the waistband pieces, pin in place and start carefully stitching it on.
Step 3: sew the remaining fabric back on top of the new zip exactly the same way it was originally.
So Simple!
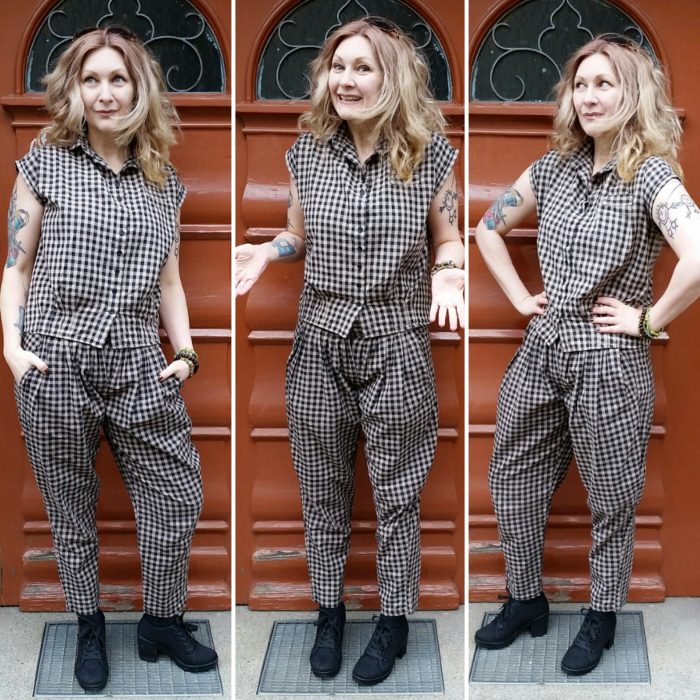
Love it!
2020Update:
The suit is still going strong & looking awesome for my Drew Barrymore copycat look:
My awesome e-courses are right over here!
Discover all of my upcycling goodies at RefashionistaSheri.com


This is my favorite refashion I have seen you do! Where did you find that suit?
Cheers Mary, it’s one of my faves too 😀 I got the suit from an online vintage shop.