If you follow me on social media you’ll have already seen my latest thrift score:
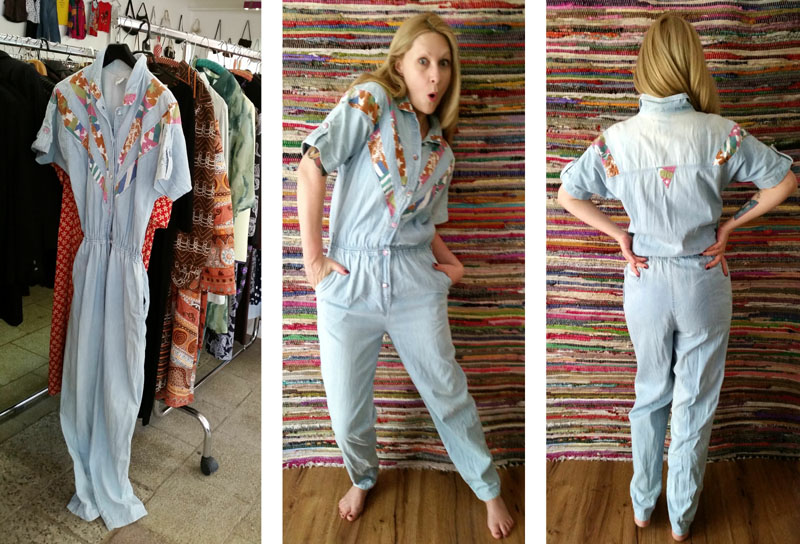
The charity shop staff had quite a giggle when I excitedly photographed it on the rack and were overcome with hilarity when I actually bought it (for only €1 – seriously get to know your charity shop staff, a smile & friendly chat about thrifting can most definitely bring you some awesome deals + a peek through the back room treasure trove!)
That incredible example of 80’s nostalgia was in desperate need of an overhaul:
Here’s what I did + my simple bias binding technique:
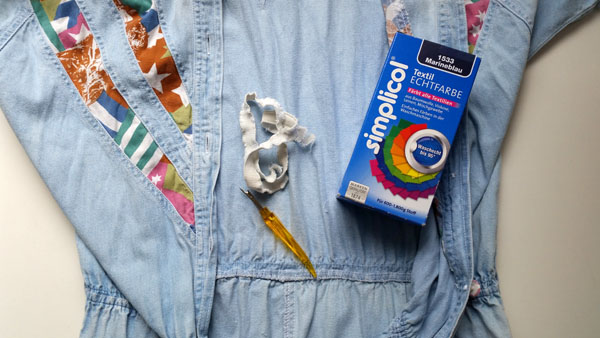
I removed the weird waist elastic and grabbed some navy blue dye.
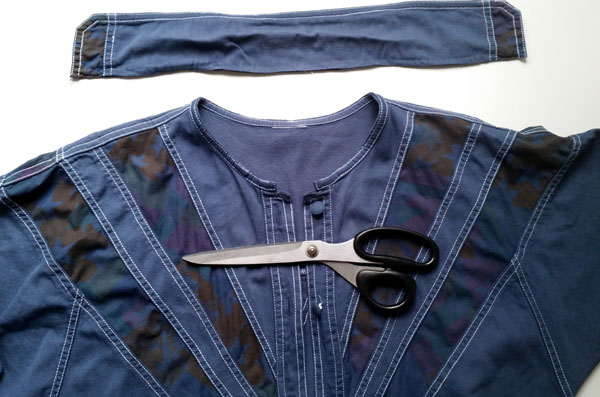
Once the jumpsuit was dyed, I removed the collar.
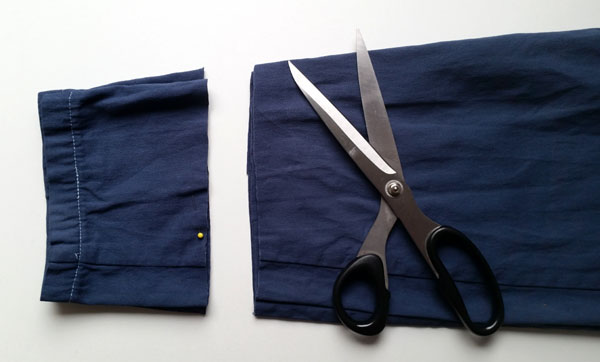
Then chopped the legs to my desired length + a few centimeters extra for seam allowance.
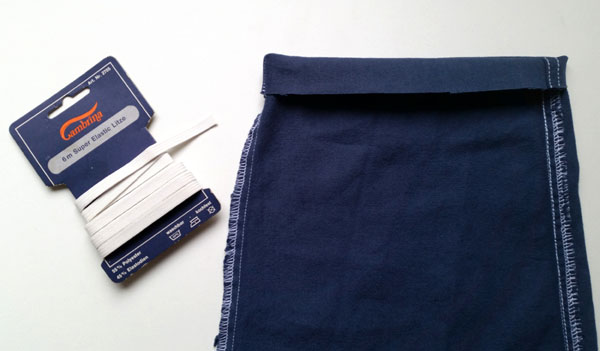
I folded up the raw edge of the pant legs to hem and grabbed some elastic.
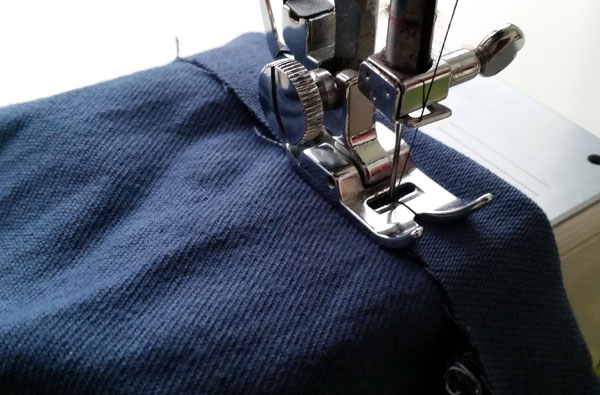
Stitched the hem leaving a small opening for adding the elastic.
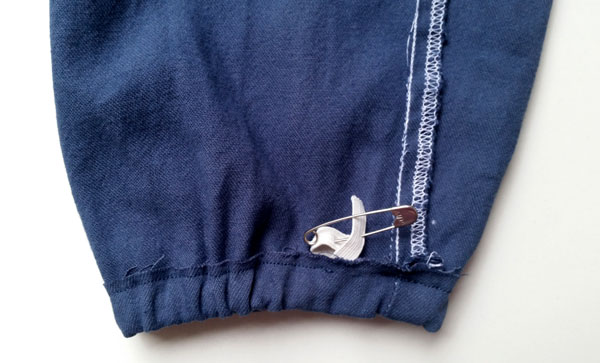
Measured out some elastic to fit snugly but comfortably around my calves, popped a safety pin onto a piece and fed it through the hem opening, stitched the ends together and repeated with the other jumpsuit leg.
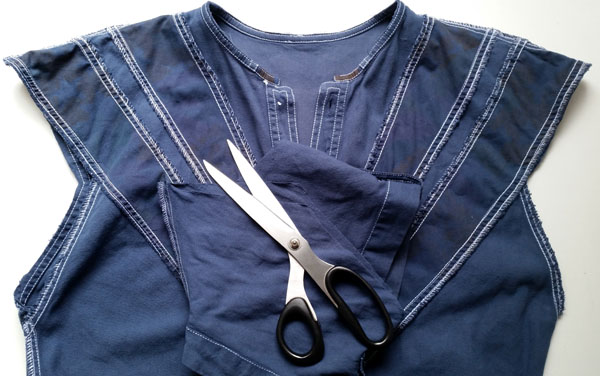
I wasn’t quite sure what I wanted to do with the sleeves but they most certainly had to go so first I tried simply chopping them off following the line of the seam. Blech!
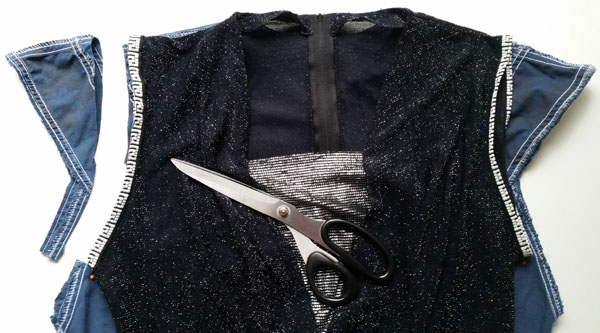
Next, I snagged a shirt with my desired armhole size, placed it on top of the jumpsuit and used it as a template to mark and chop the huge sleeve holes.
(if you’re digging that glitzy top get the tutorial here)
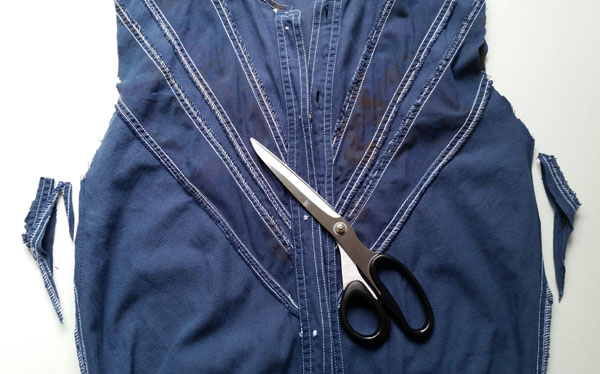
Then I stitched down from my underarm pin marks angling towards the side seam until I reached it, chopped off the excess fabric & repeated on the other side.
As requested on my facebook page, here’s my quick & simple (totally non-expert) bias binding technique:
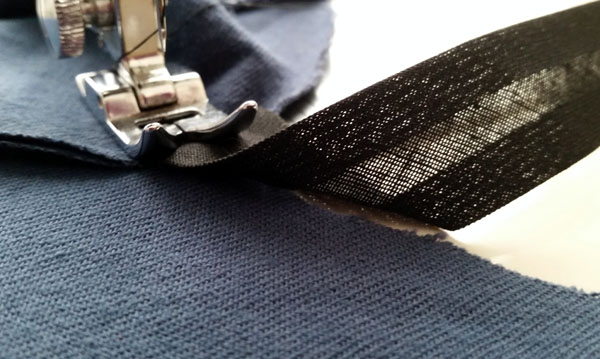
Place the bias binding on top of the fabric with wrong sides facing and the raw edge of the fabric centered in the middle of the bias binding. To make life easier I always use bias binding with a finished or folded edge & don’t measure and cut it to size but instead unroll it as I sew it on.
(As I was binding my armholes I lined up the end of the bias binding with the underarm seam)
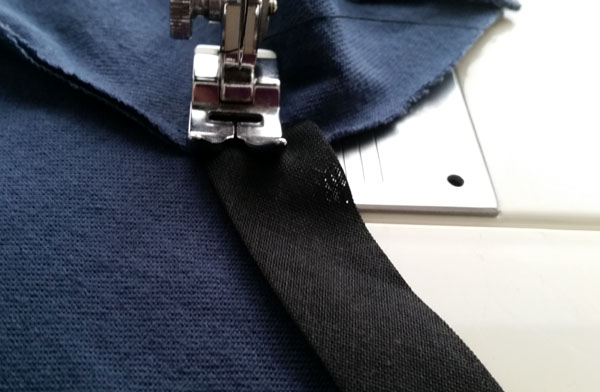
Stitch it on slowly.
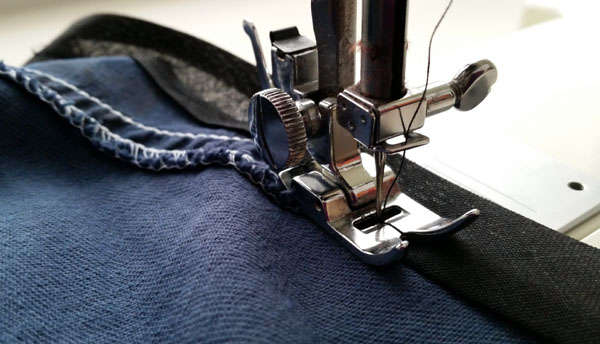
Pay close attention to the bias binding position at all times.
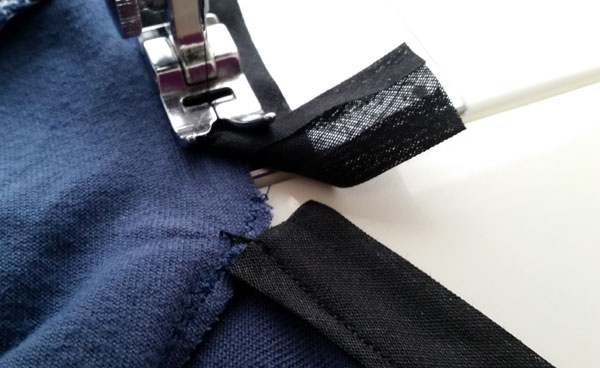
As you near the starting point chop the bias binding to size + a centimeter or 2 extra for folding…
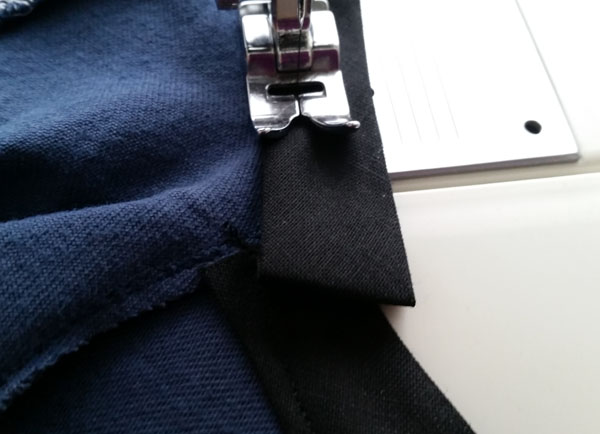
fold under the raw edge and finish stitching it on.
Hooray, one side is done!
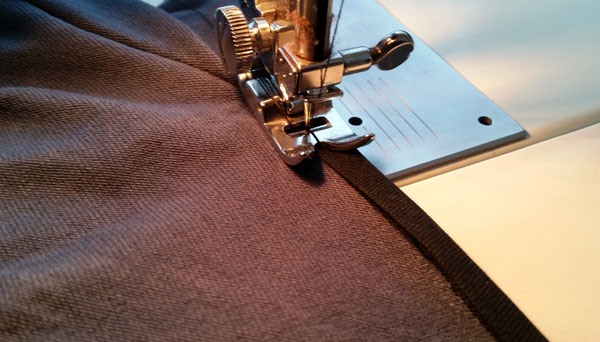
Flip the garment right side out and fold the bias binding over the fabric edge to the front and stitch together!
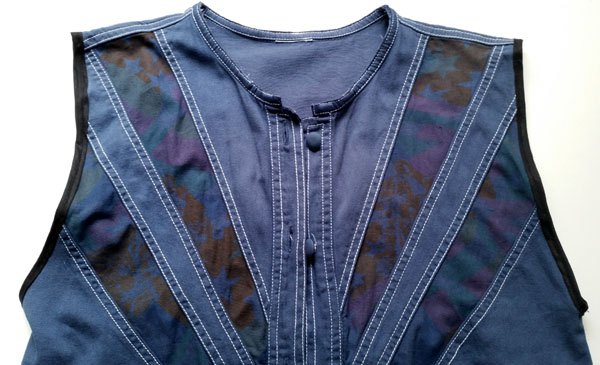
et voila! Perfectly bound armholes!
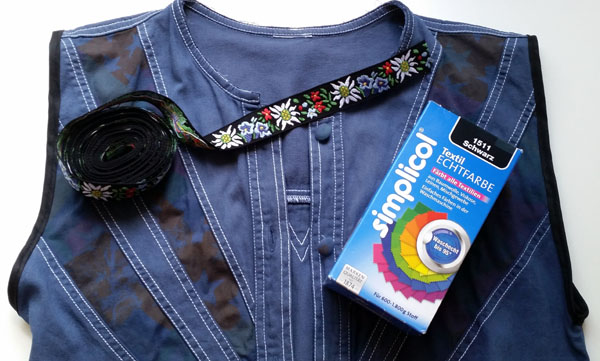
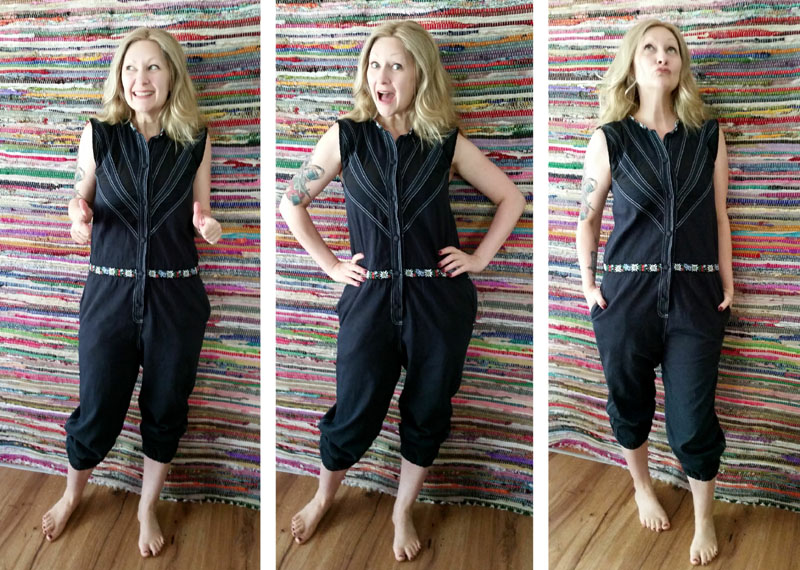
I wanted to add some of my vintage trim & wasn’t thrilled with how it coordinated with the navy blue colour result so I snagged a package of black dye…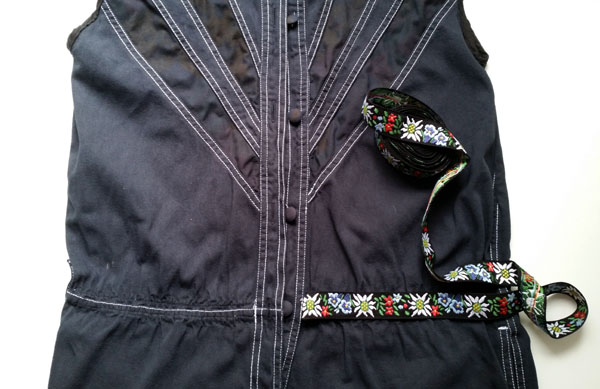
much better!
(unfortunately, in my experience, black fabric dye rarely gives a true black result unless it is colouring a very dark item to begin with)
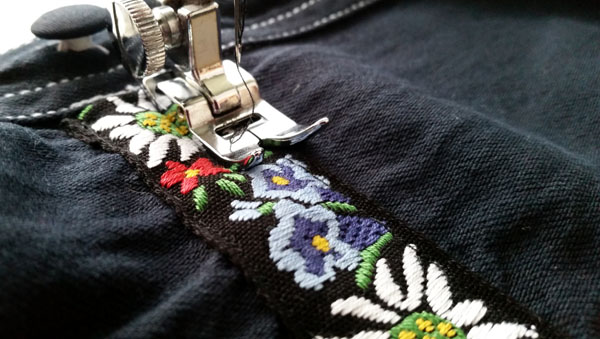
I stitched some of that lovely embroidered trim around the waist of the jumpsuit effectively covering those ugly seams.
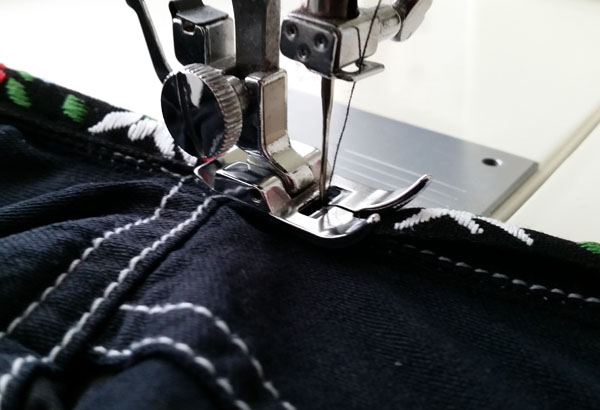
And then bound the neckline as well!
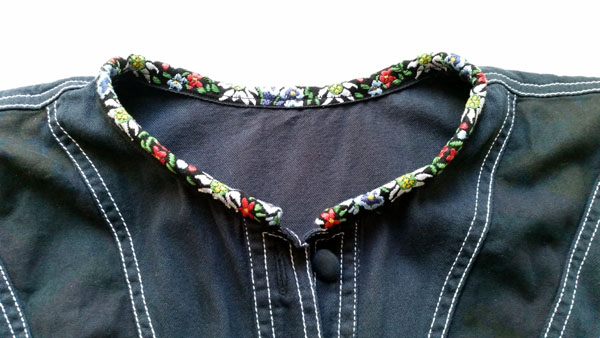
Love it!
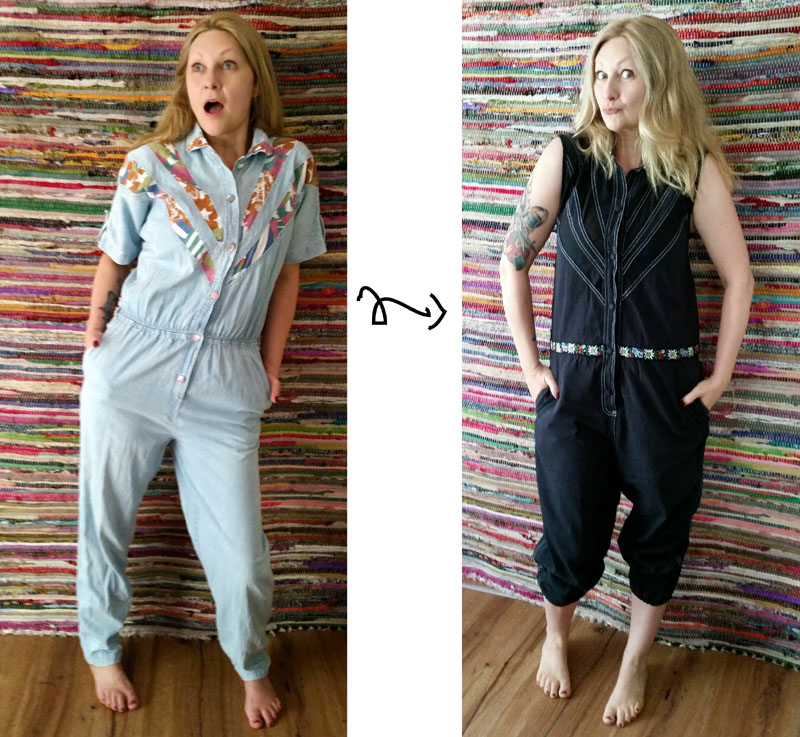
A W E S O M E !
Continue your passion for upcycling and refashion at RefashionistaSheri.com!



I absolutely adore this piece/refashion!!!
Me too! 😀 I’ve actually just pulled it out of winter storage to get it back in wardrobe rotation for the Spring & Summer
So cute! Your creativity is amazing.
Thanks Angie, I have soooooo many ideas fighting for space in my brain but unfortunately not enough hours in the day to get them all created! 😉
Oh my god! This jumpsuit is gorgeous! It fits you perfectly!!! I better like the light blue, but I love the embroided trim. *wanna have*
Greeting from Hamburg <3
Lieben Dank 😀 ich mag es auch sehr! das hellblau war viel zu sehr “80ziger” für mich 😉
I started reading your post and I was distracted and thought you bought two jumpsuits and then i realized it was the same piece. What a difference! Thanks for your posts-I’m having a rough week and they really make me smile. Hope everything in your world is getting better.
I love a dramatic refashion! Fingers crossed your week improves soon, I guarantee my post scheduled for tomorrow (24/07/2015) will brighten your day! 😀
Love the dark color so much more! Great job!
Thanks Brandy, light blue denim is a style choice I never got into and those crazy coloured fabric panels definitely needed to be covered up!
I have accepted I am absolutely not build to wear a jumpsuit – sadly, as I think you’ve made a cool look! I have done a similar thing with binding armholes though, and once I even managed to thrift the bias-binding (I feel fabulous every time I wear that dress, just for that fact!)
All of my bias binding and fancy embroidered fabric trims are thrifted (or re-used from other garments), it’s amazing what can be found at the bottom of boxes at the thrift store and thrifted online 😉
Such a great transformation! Thanks for sharing!
It definitely looks and fits waaaaay better now!
The neckline bound with embroidered trim – BRILLIANT.
hahaha! Thanks Meg, it’s my go to lazy fix for a fraying neckline! 😉
This Overall is awesome and you are too!!! 🙂 I love your page and your Ideas! They are all great and your Tipps for thrifting and DIY are “SPITZE”. Please keep on blogin and share your thoughts, I love to follow!
Have a happy summer, Manu…
Vielen Lieben Dank Manuela & herzlich willkommen! Mach dir keine Sorgen Blogging ist mein Job und das Teilen meiner sparsamen Tipps und Refashions/DIYs ist mein Vergnügen. 😀
I love how you transform items. In this case I, myself woul have left it navy blue adding some contrasting or other shade of blue lace over those printed frames.
Looking forward to your other projects 🙂
Cheers Nataliya 🙂 Yup, that’s the beauty of refashioning, you can transform just about anything to your specific taste and style and make everything extra unique and one of a kind! You can check out my hundreds of tutorials right here: http://awesomesauceasshattery.com/tutorial-index-by-photo/