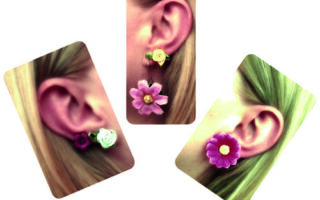
Create your own Rockin’ Vintage Necktie Wristlets below:
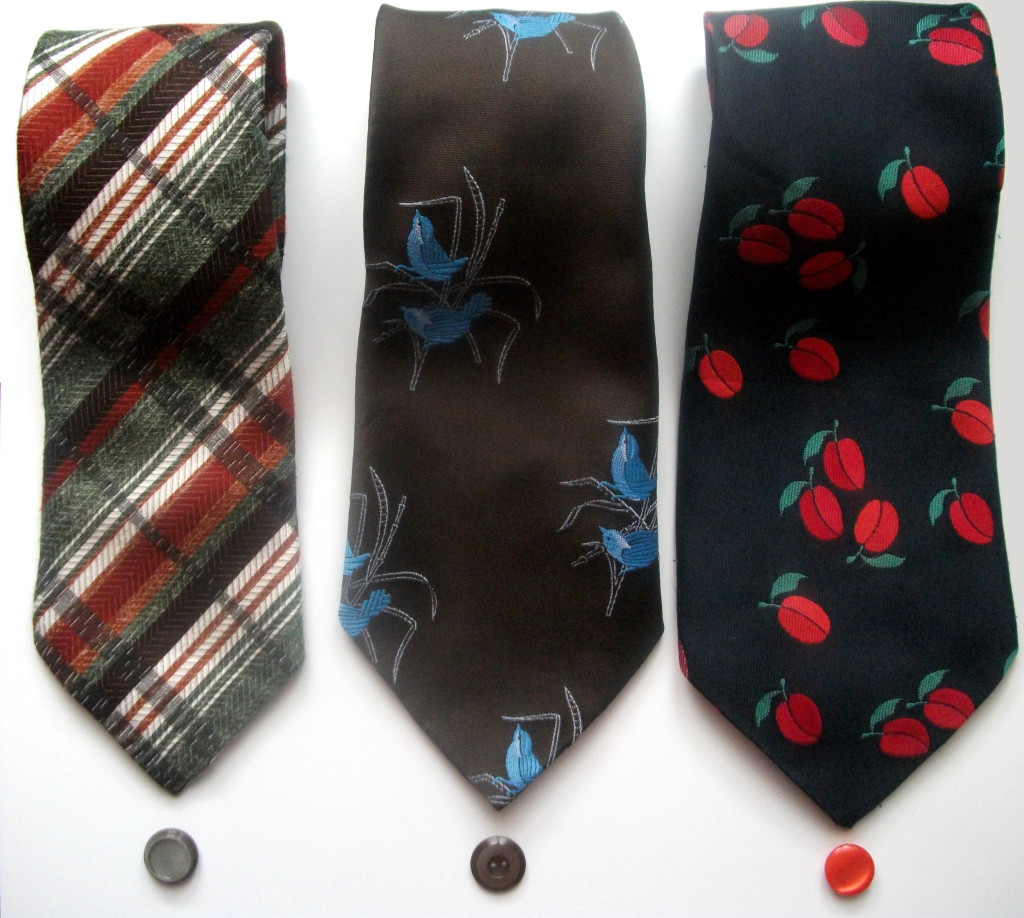
Grab some funky vintage neckties & a lurvly coordinating button for each.
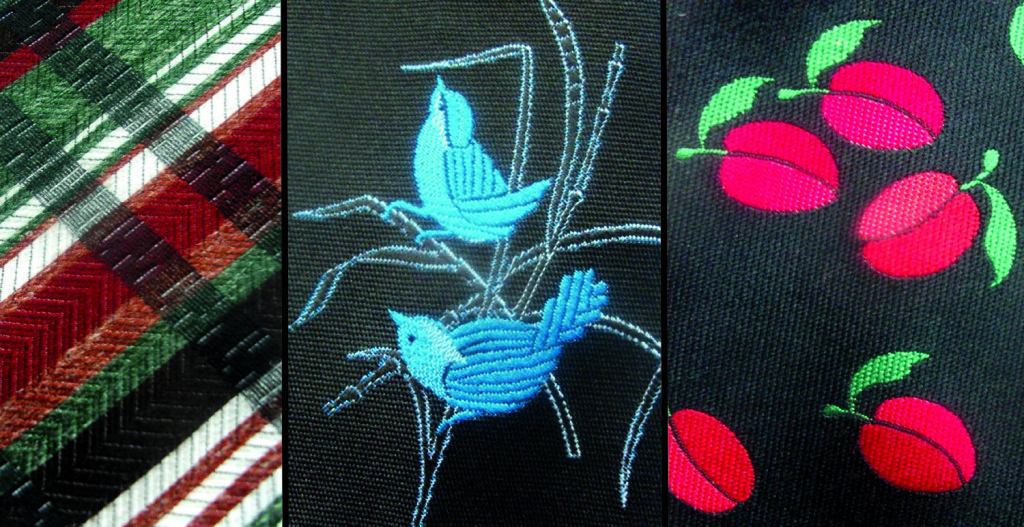
I got these beauties for a mere €0.20 each at our local charity shop.
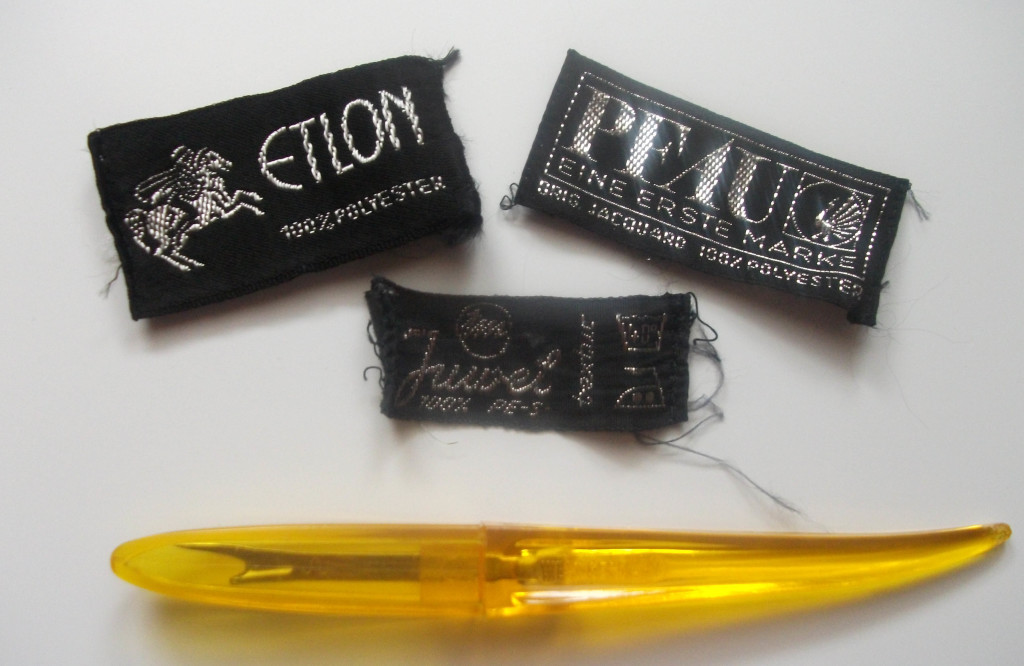
Remove the tags & add them to your vintage-tag-collection-that-will-eventually-be-stitched-together-and-turned-into-something-cool.
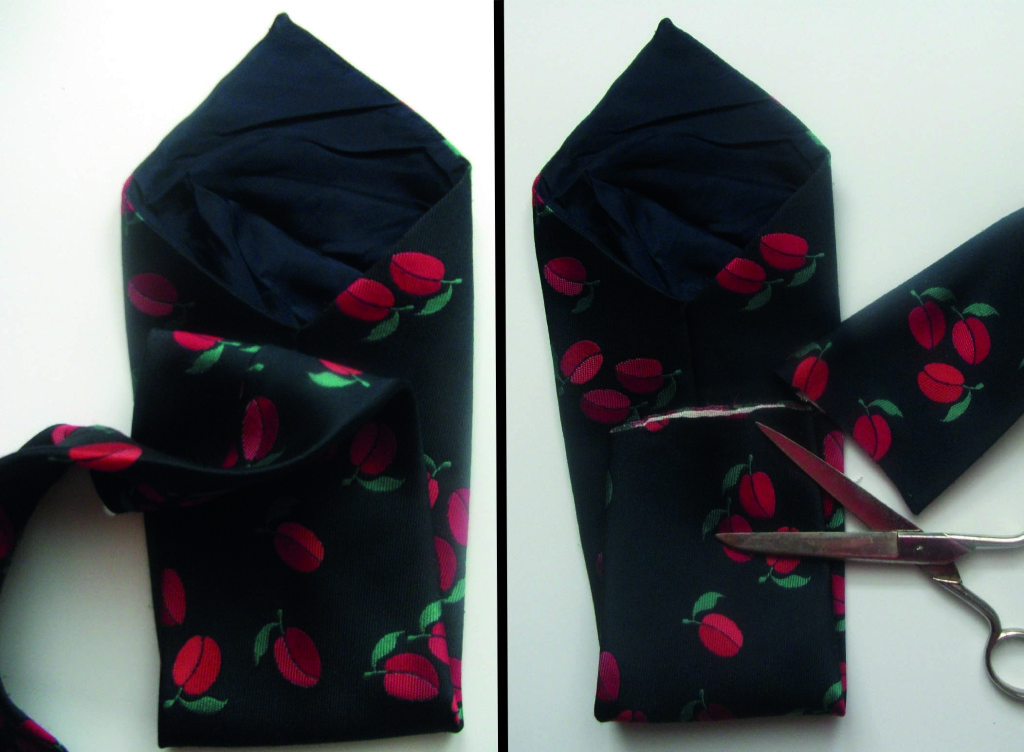
Decide how long you’d like your wristlet to be & chop it up.
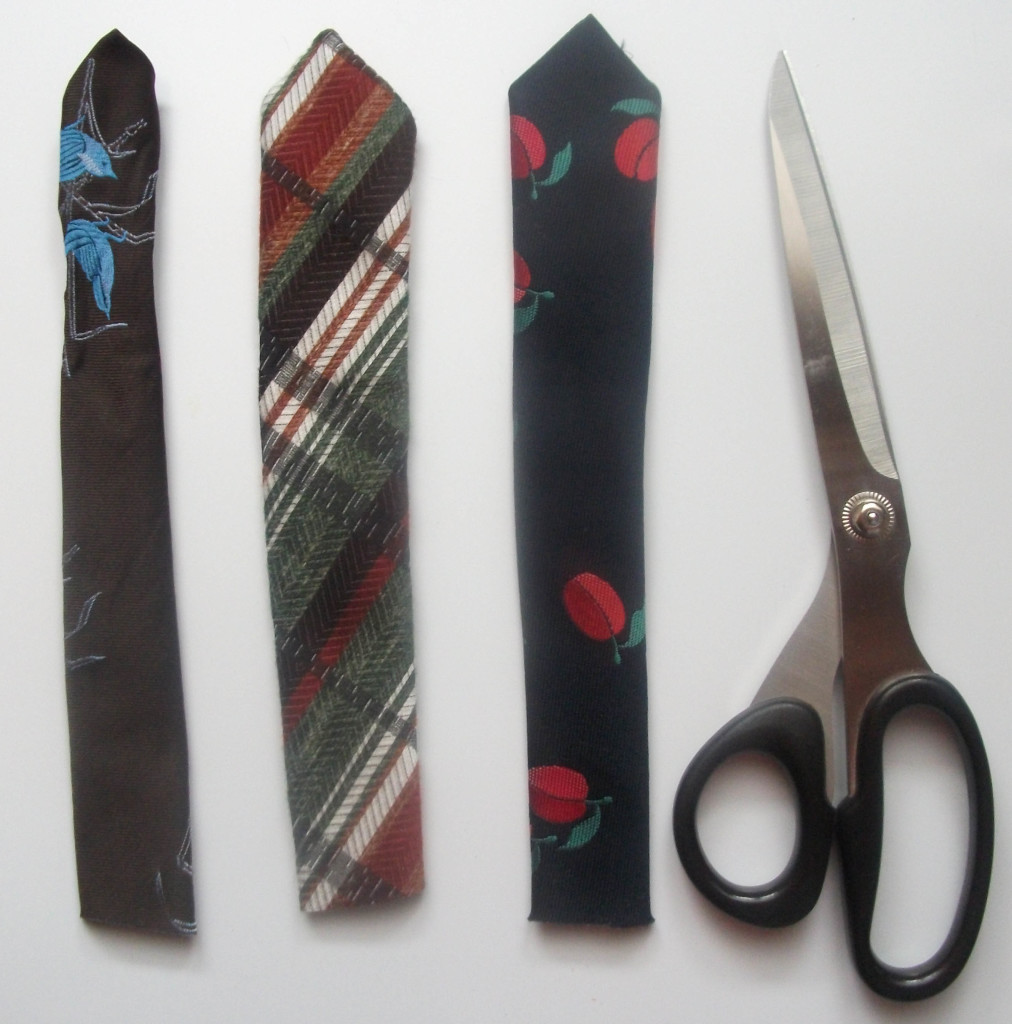
Cut 25cms from the skinny end of the tie.
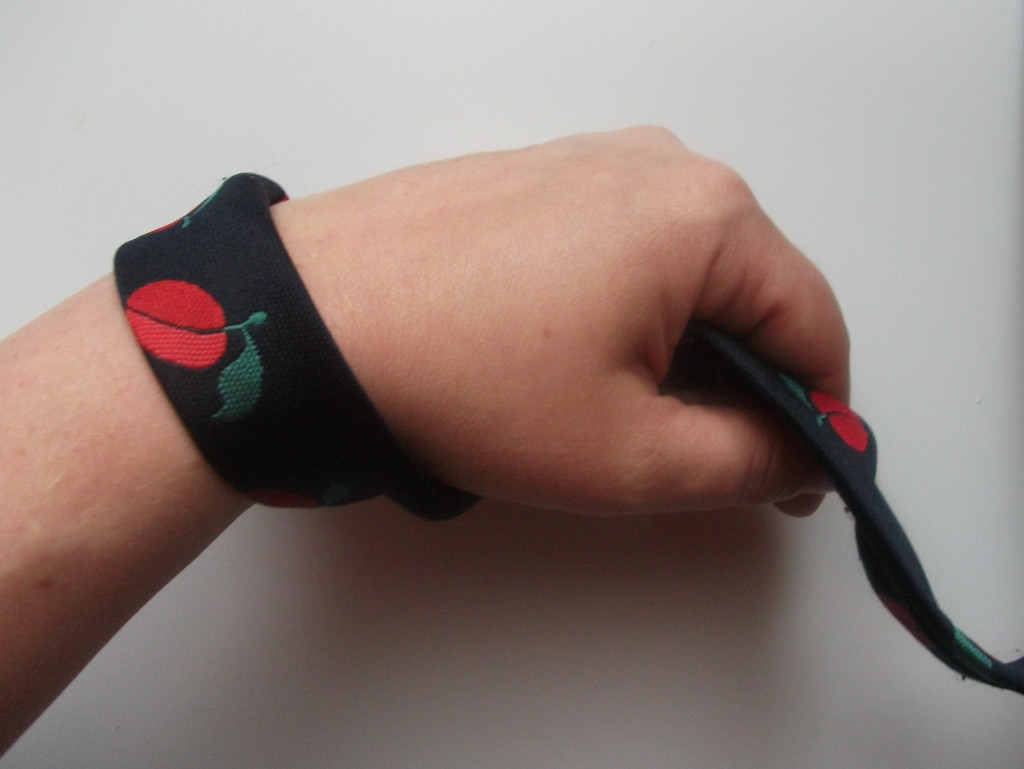
Wrap the remaining ‘skinny’ of the tie around your wrist to get a visual of your desired strap length and chop it off.
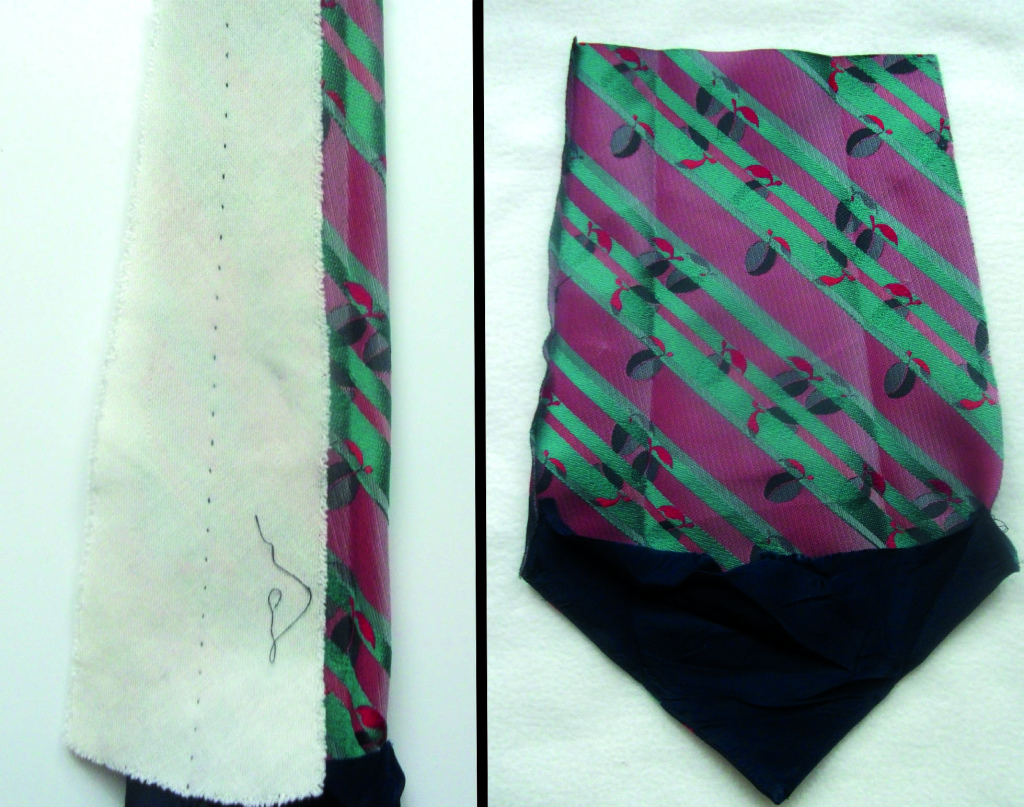
Turn the wide part of the tie inside-out, unpick the stitches, remove the lining & open it up.

Using the first tie as a template, repeat the above steps with all of your vintage victims.
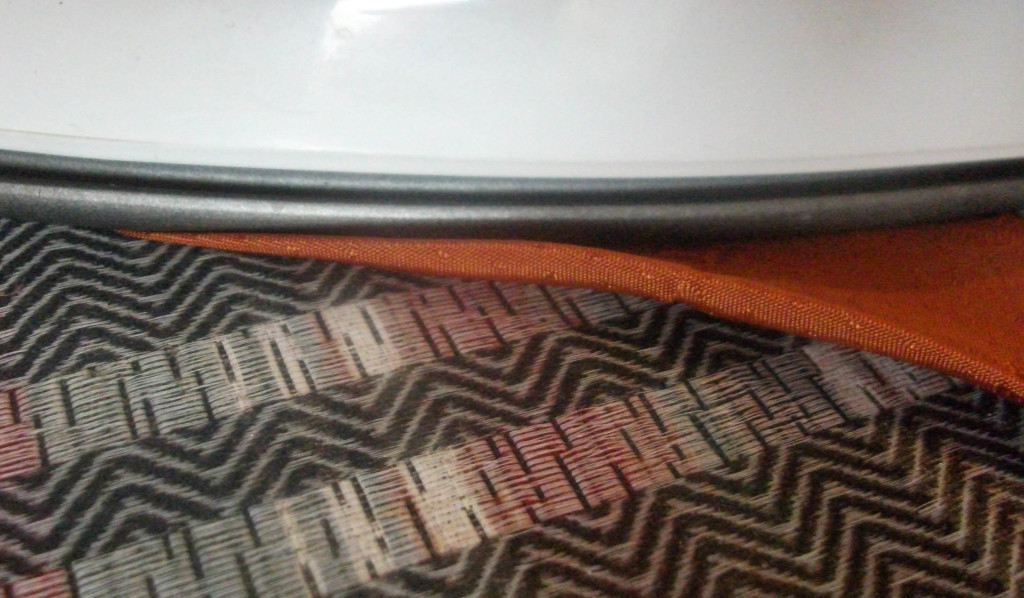
As much as I loathe ironing I highly recommend busting out the hausfrau torture device & pressing your ties. If necessary, fold under the lining at the point & flatten it – it’ll make sewing the seam oh-so-much-easier.
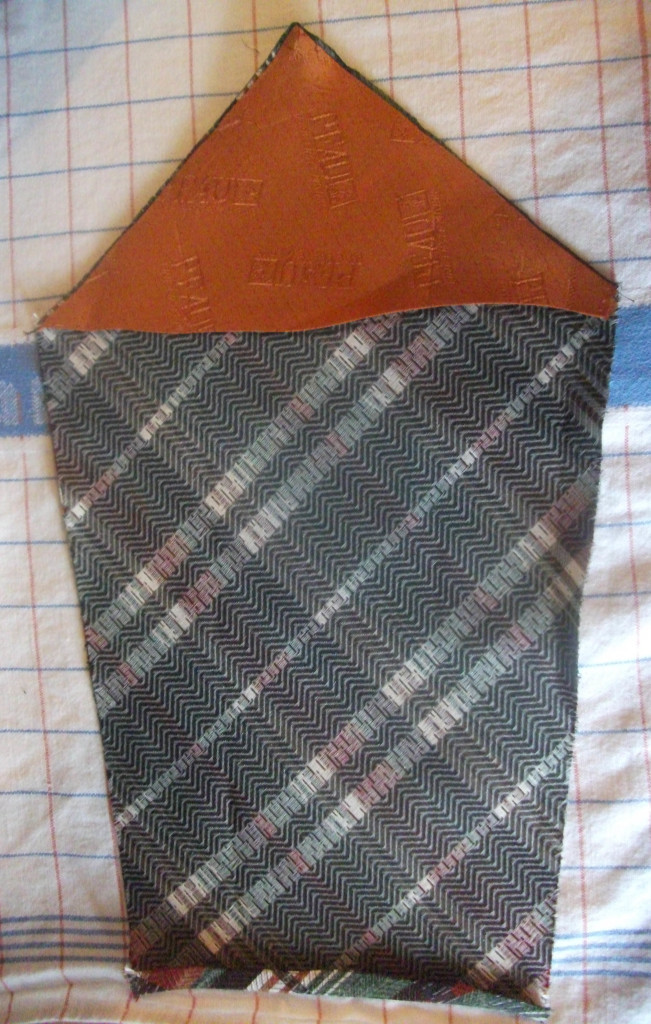
Double fold the bottom of the tie & iron the crap out of it – this can be a fab’ arm workout depending on the age of your ties.
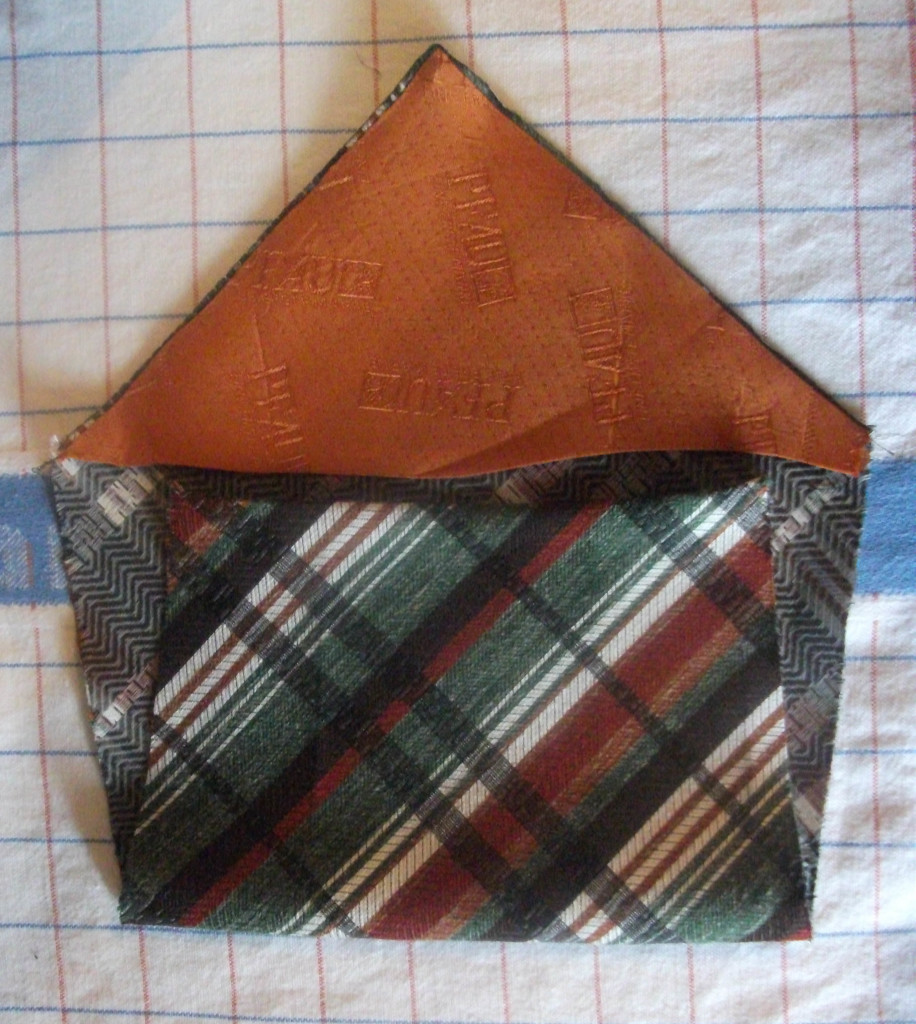
Fold the bottom of the tie up to the start of the point-lining & press.
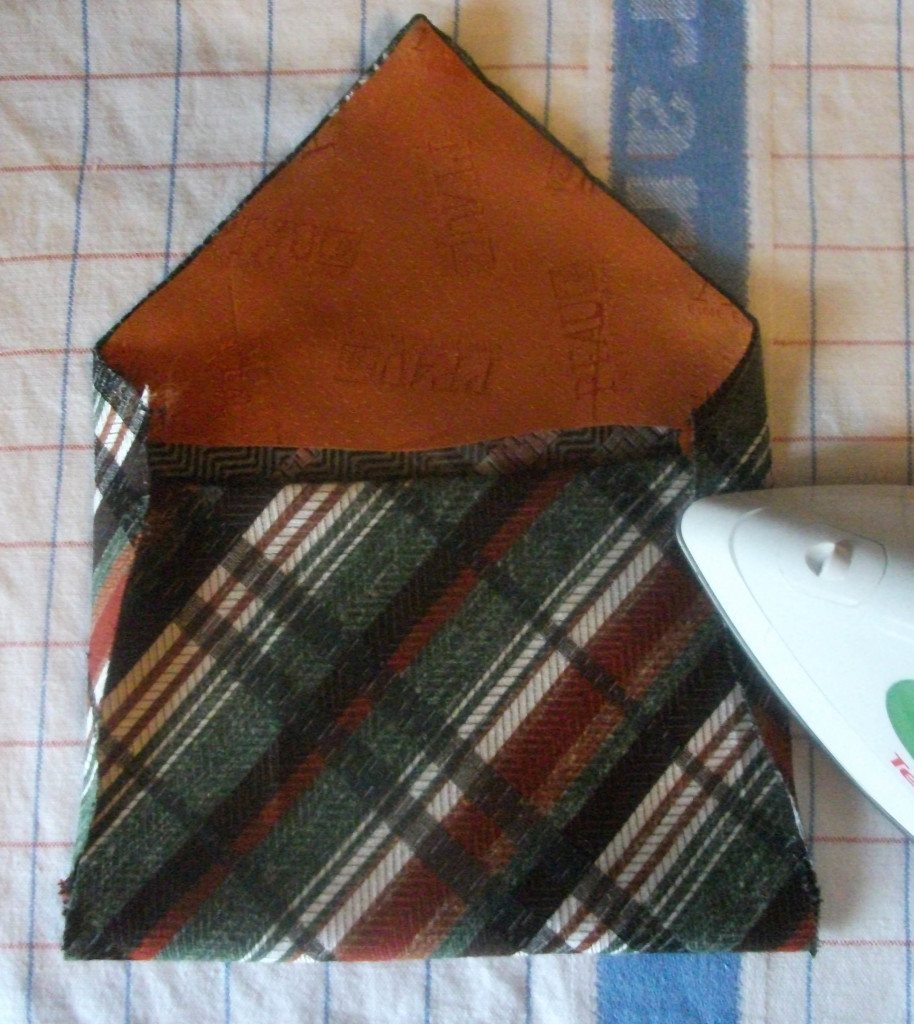
Fold in the sides & press *you can also skip this step & just cut off the excess triangle bits at the sides.
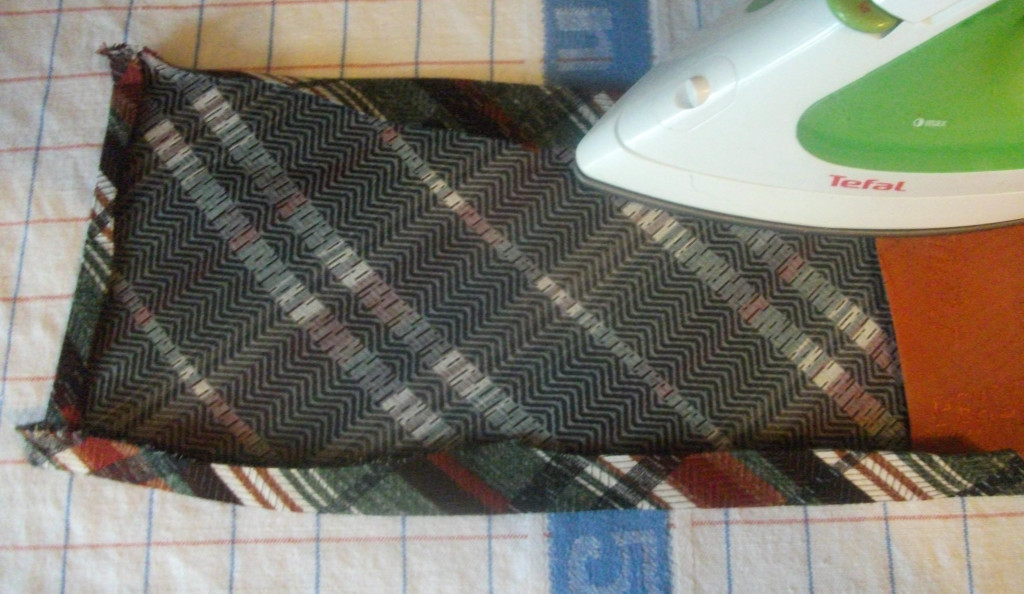
Open up the tie, fold in any remaining possible-fray areas & press.
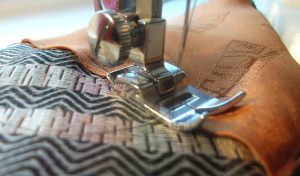
Pop over to the machine & stitch your seams.
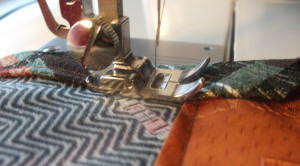
+ all the way around the outside.
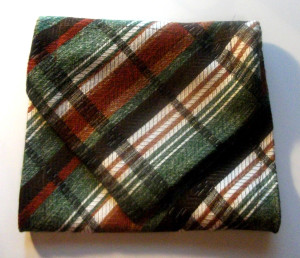
Once hemmed, fold your almost-a-wristlet into it’s final shape.
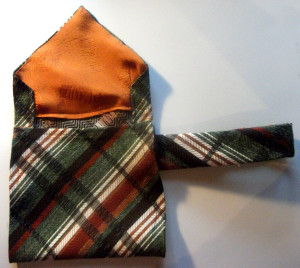
Lift the top flap, grab the strap, snip out a bit of the lining on the ends and insert it into the side of the wristlet.
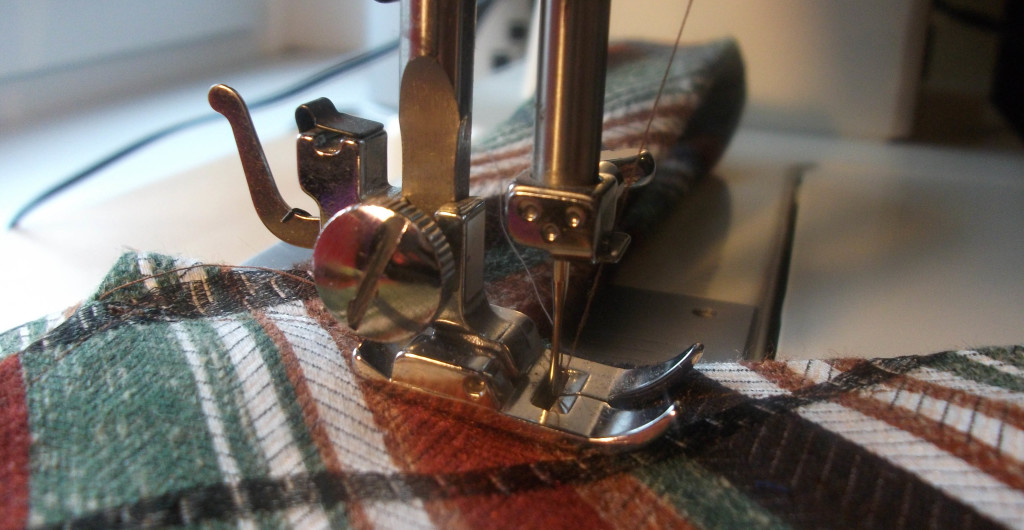
Stitch together.
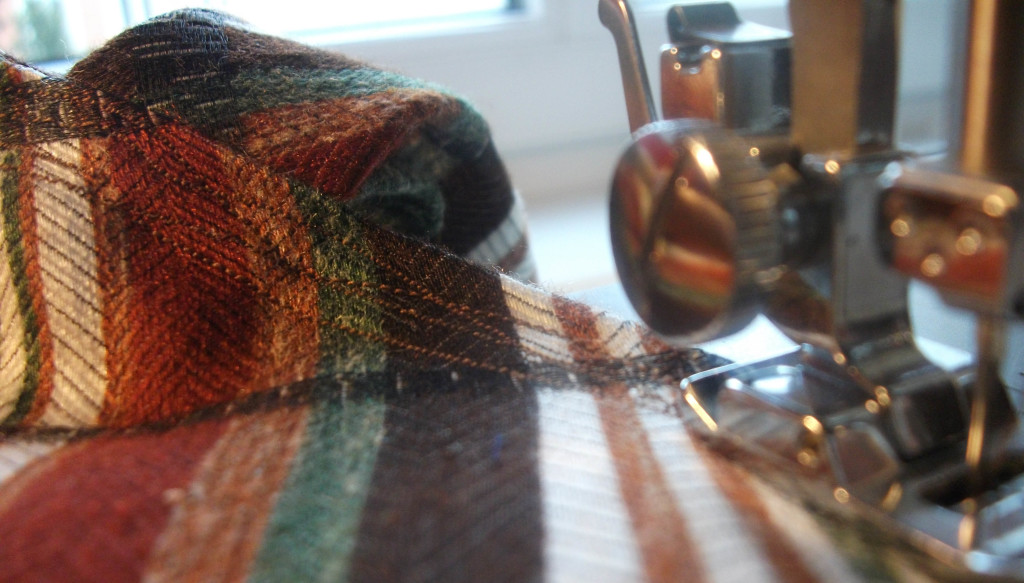
For extra strength & a bit o’ detail, I like to doodle stitch back & forth and up & down the sides.
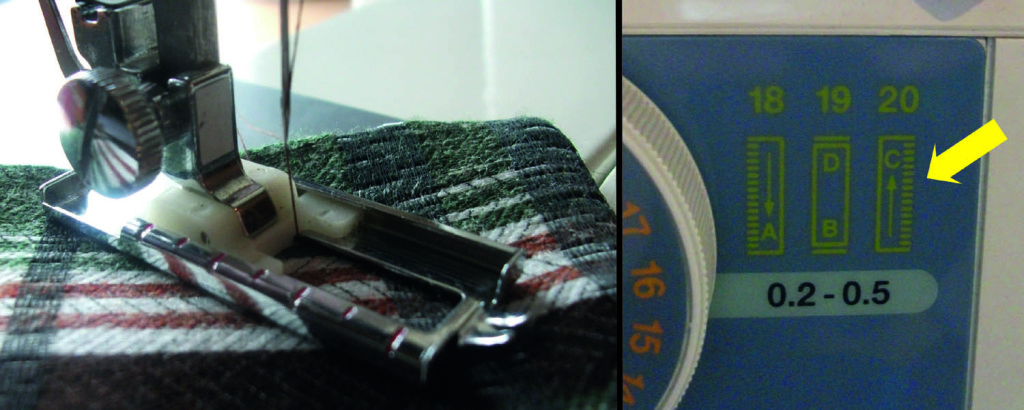
Time to add the button-hole to the flap…I’ve always been a bit wary of all of the weirdly shaped shiny metal attachments that came with my machine & this was my first experience with a button-hole-foot. I was shocked at how easy it was to use! My charity-shop-bought 20 year old machine even helpfully provided the exact settings so all I had to do was insert the fabric & step on the pedal!
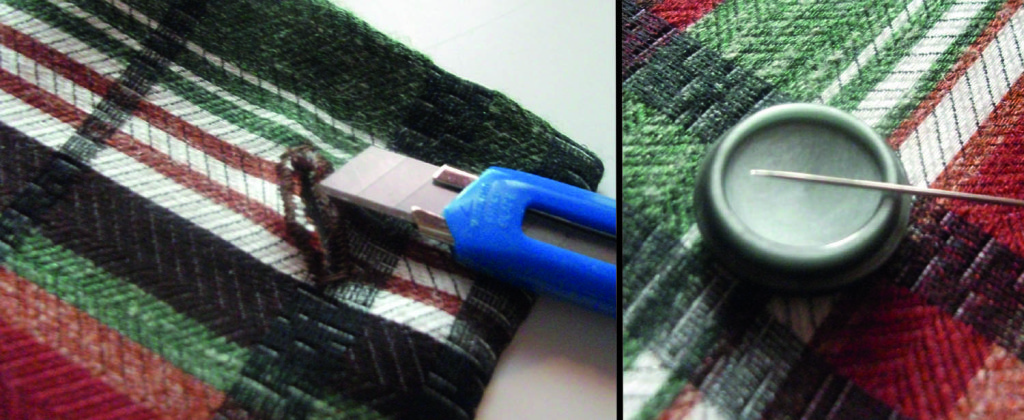
Carefully slice through the centre of the perfect new button-hole & stitch the lurvly button onto the pouch.
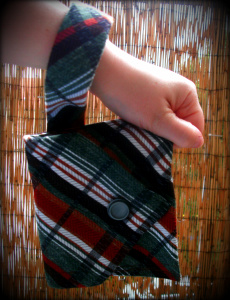
I thought I’d give my ‘birdie’ wristlet a lining…here’s what I did:
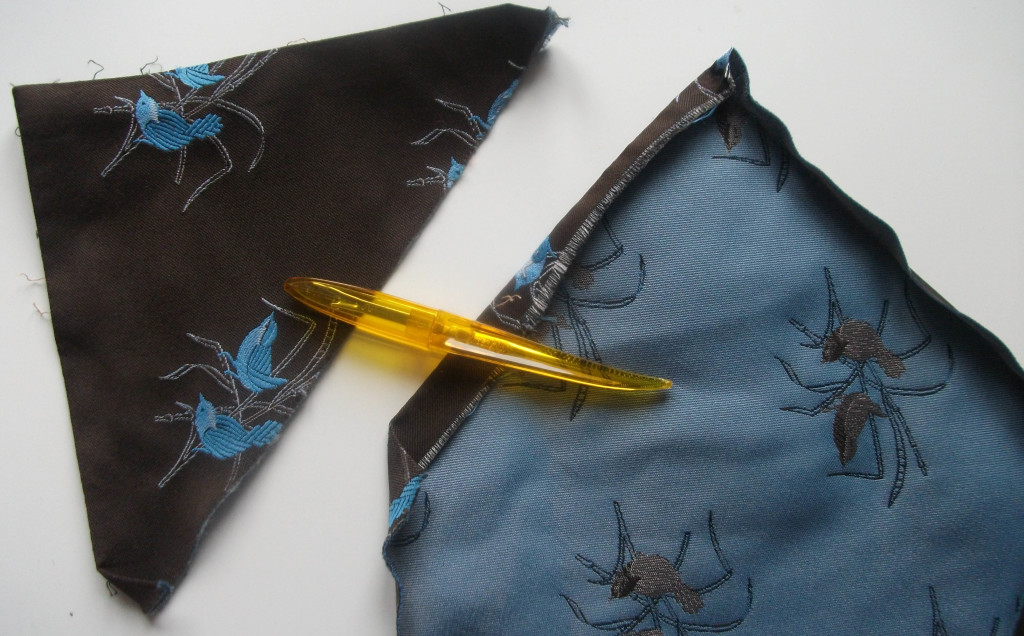
Removed the point lining.
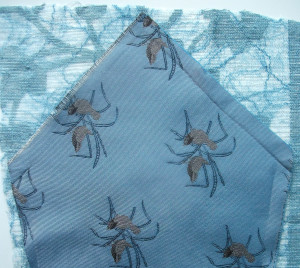
Grabbed a piece of lace & put them together right-sides-facing.
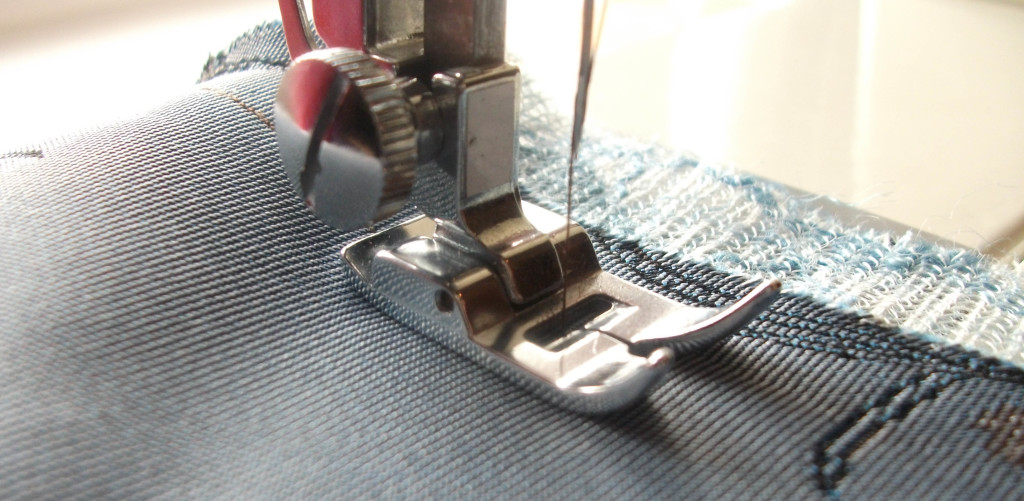
Zipped over to the machine & stitched them together.
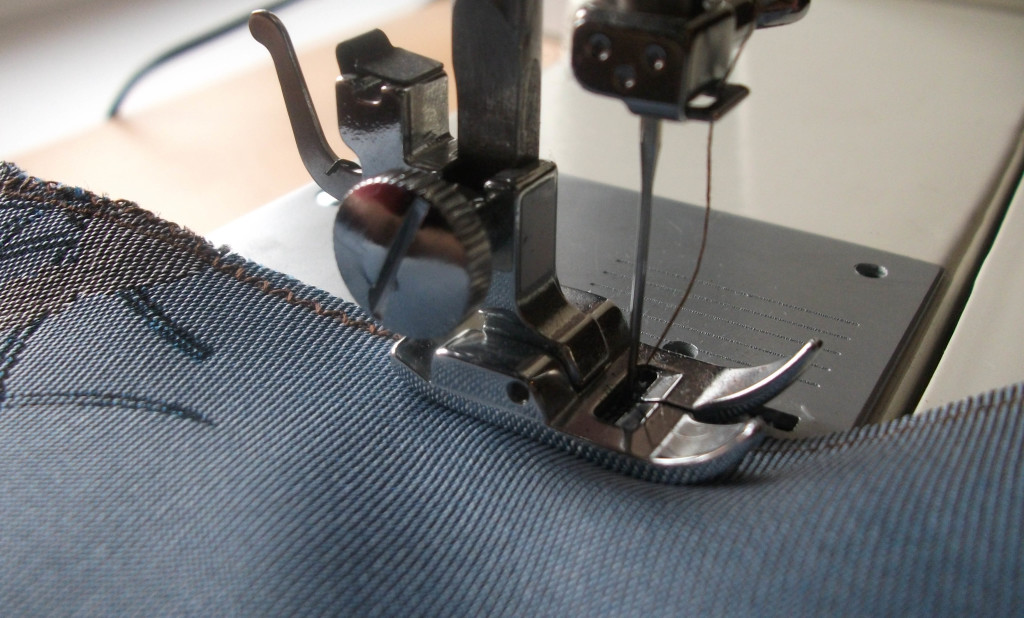
Trimmed off the excess fabric & zigzagged around the edges to prevent fraying.
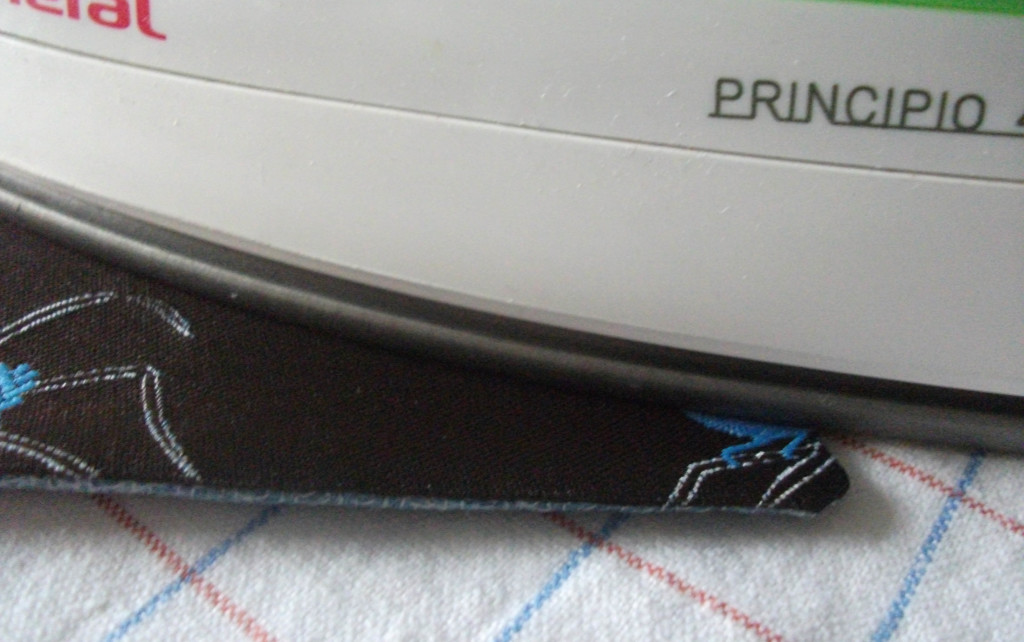
Turned right-side-out & pressed flat.
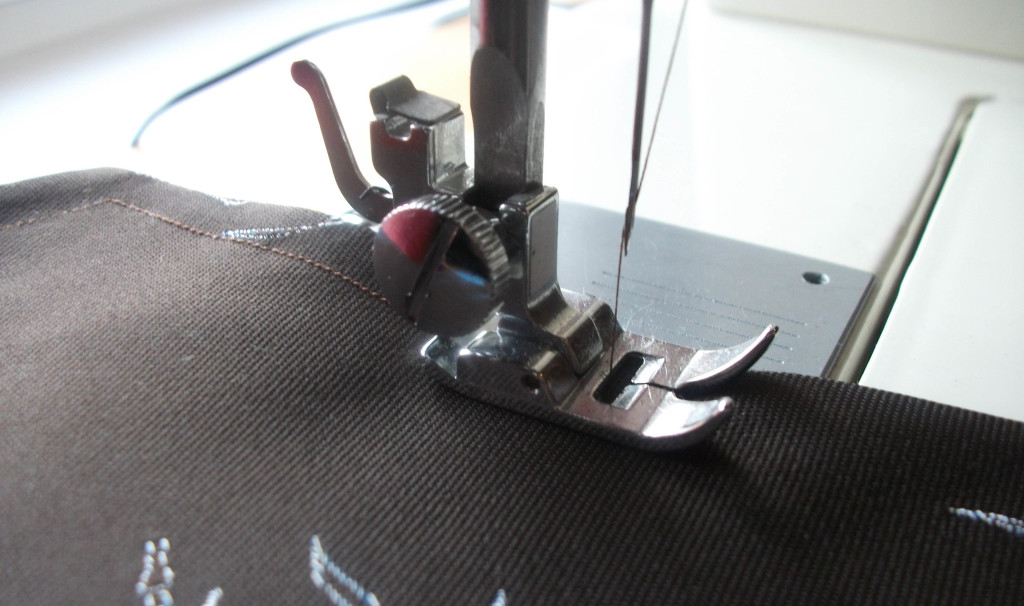
Back to the machine for an all-around top-stitch & then simply sewed it all together like the others.
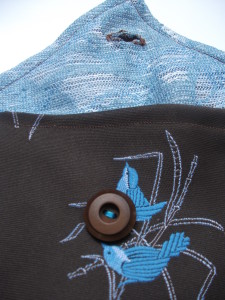
Lovely blue birdies & lovelier blue lace lining.
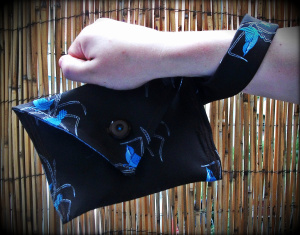
Pretty, pretty!
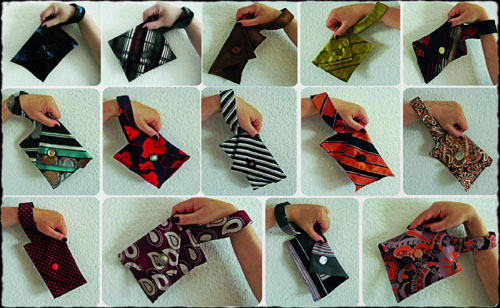
They’re so quick to create I’ve made a few more:

and here’s a clever use for those scrappy leftover ends.
Want more upcycling goodies? Visit RefashionistaSheri.com
