I am constantly shocked at what people so casually toss out on garbage collection day in Toronto. From furniture sets to working electronics to bags full of textiles there is a wealth of freebies waiting by the side of the road – sadly this refashionista can’t upcycle all of it and most of that unwanted gear will end up in the landfill.
The items I do manage to cart home are given groovy makeovers and a new life in my home:
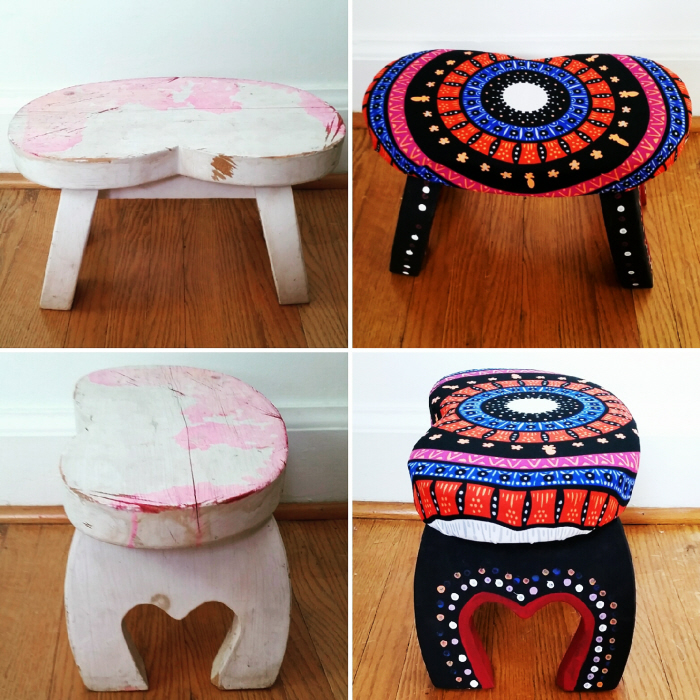
Check out the transformation of my latest roadside finds and how to update a vintage stool below:

This sad little stool had definitely seen better days but had so much potential I couldn’t believe it was in the trash!
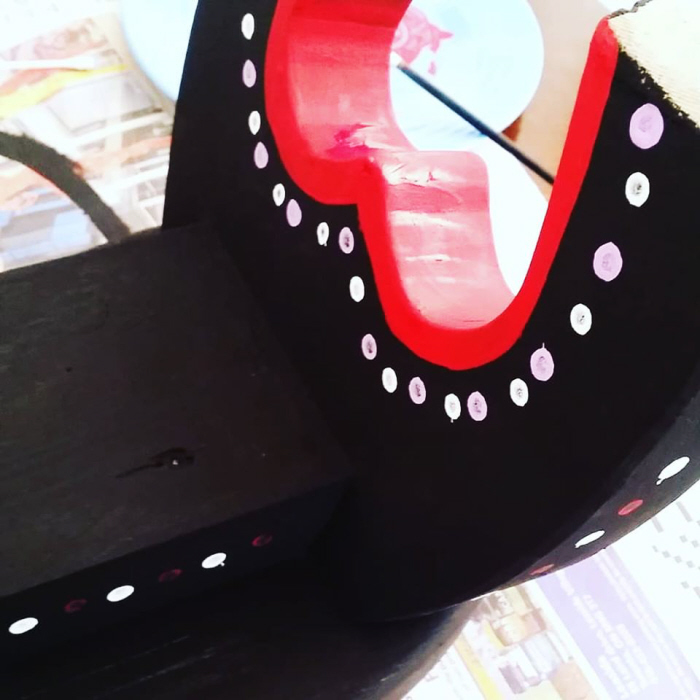
After cleaning the stool, I gave it a few coats of midnight black then added some colourful details.
Quick tip: q-tips dipped in paint create perfect dots!
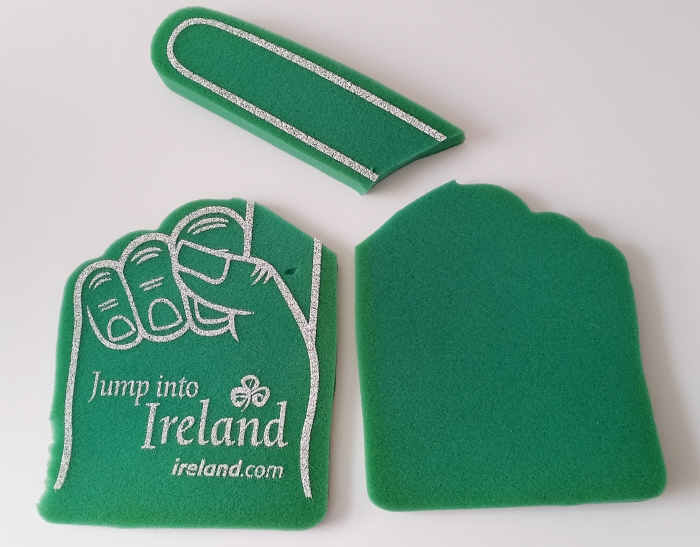
Once the stool was painted I grabbed some foam I had on hand and trimmed it create a padded top for the stool.
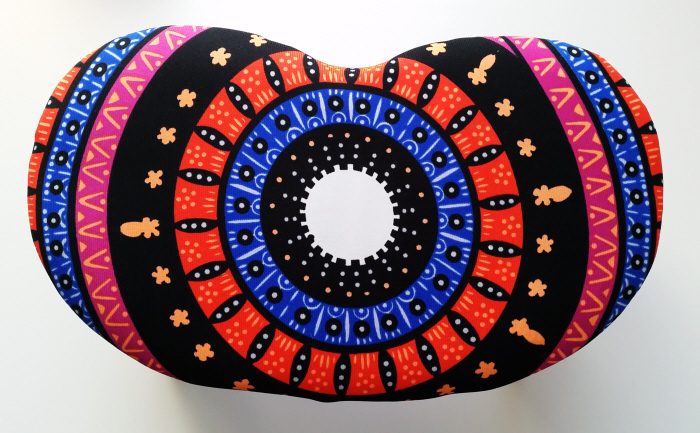
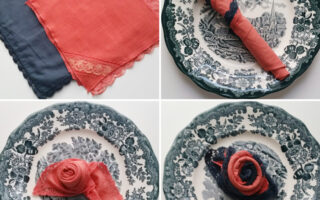
Then I glued the foam to the top of the stool and covered it with the leftovers from this dress refashion using this easy technique.
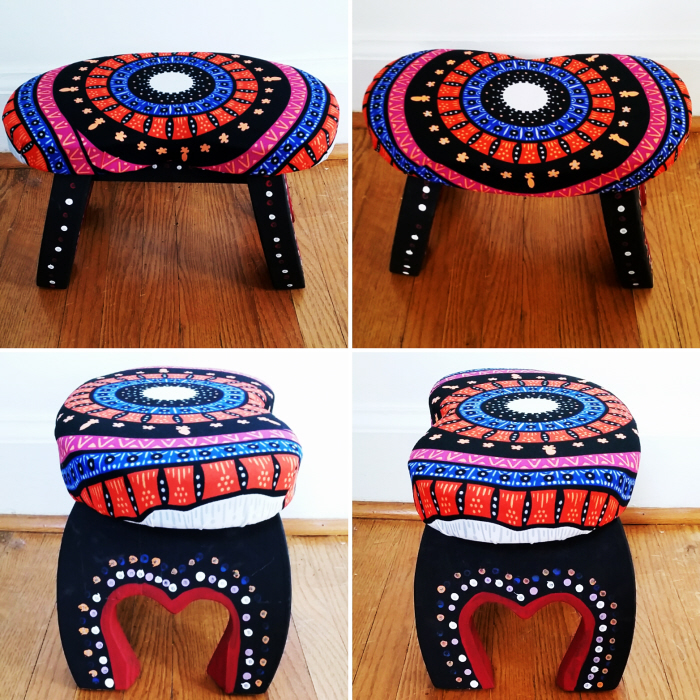
How fab is that sad little stool now?!
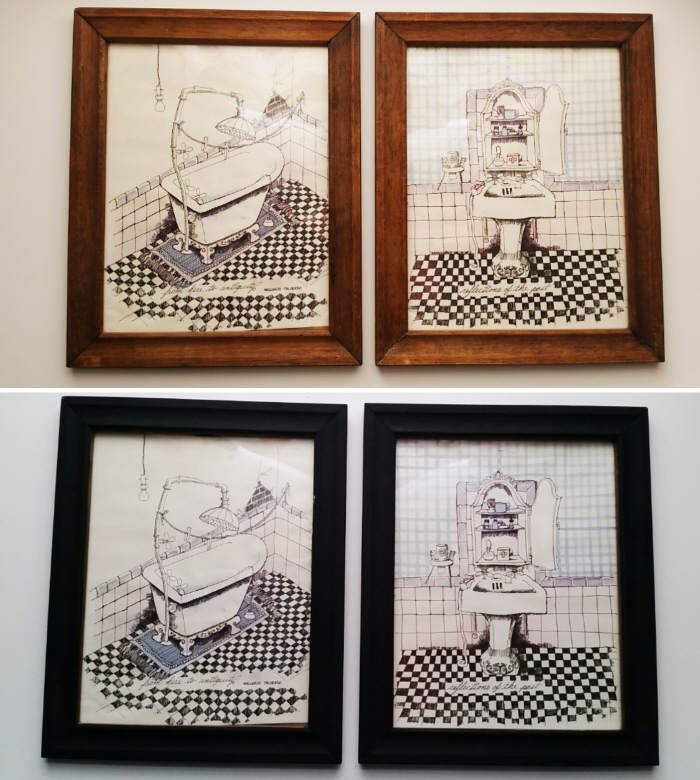
The fun bathroom art I found in the trash was a cinch to update too! All it needed was a good cleaning + a coat of paint on the frames!
Grab all of my tutorials for the nest right here and always remember new to you is still new!
Continue your passion for refashion with my Confessions of a Refashionista e-book series:


Amazing job on both items!
It’s pretty awesome how simple it is to refurbish trash to treasure 😀