Remember that groovy 1970’s purse that needed some upcycled zipper love?
That awesome but plain bag has now been fancied up with the simple yet absolutely perfect design from one of my fave bits of vintage kitchen decor:
![]()
Grab my simple technique and discover how to embellish a vintage bag with an easy DIY image transfer:
![]()
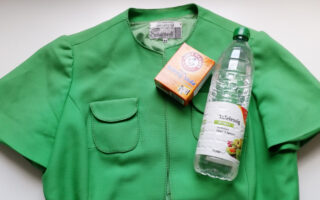
Snag a plain bag and your design inspiration.
![]()
Raid your wrapping stash and grab a some tissue paper + a piece of chalk.
![]()
Place the tissue paper over the design and carefully but firmly trace over it with the chalk.
![]()
Press the tissue paper chalk-side-down onto the bag and gently rub over the area of the design. Remove the tissue paper and your groovy design template will be transferred to the bag!
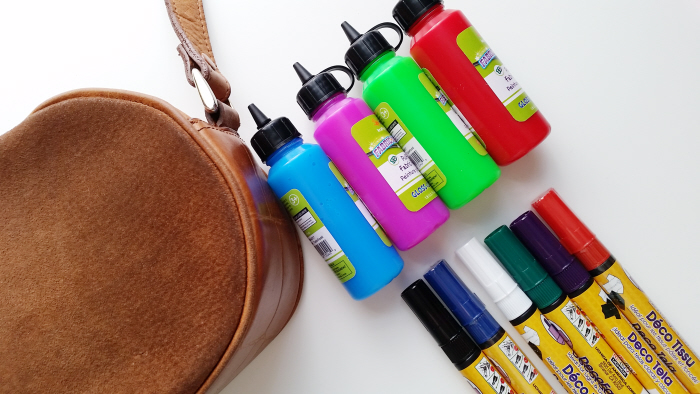
Grab a few fabric paints or markers too!
(depending on the material your bag is made from you may even be able to use regular acrylic/oil paints or permanent markers)
![]()
Using the chalk lines as a guide, go ahead and (re)create the design onto the bag! Easy Peasy!
![]()
Fabulous with my dyed vintage dress, upcycled denim bracelet and ring!
![]()
I’m thinking this super simple transfer technique would work on just about any kind of fabric, hooray!
Here’s my oldie but goodie vid for those quirky denim hem rings:
Want to transform your wardrobe for pennies? Grab all of my groovy CoaR tutorial collections right here:


Totally groovy!
Cheers my dear! 😀