Extend the life of your kiddo’s prized frock (or your own) and create a truly unique wardrobe fave with my simple how to DIY a bodice and upsize a dress tutorial:
Discover just how easy it is to create a new dress bodice + sleeves from fabric you already have!
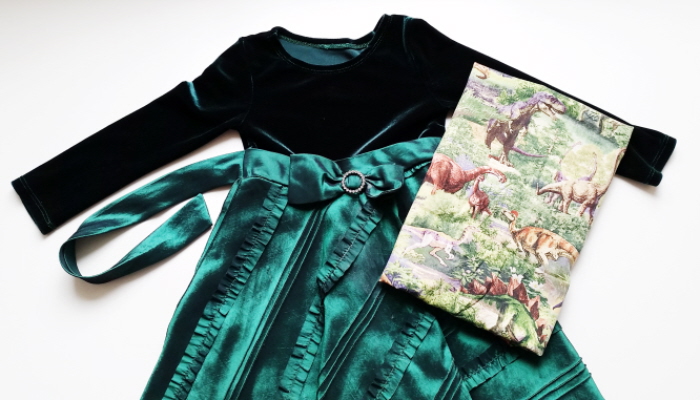
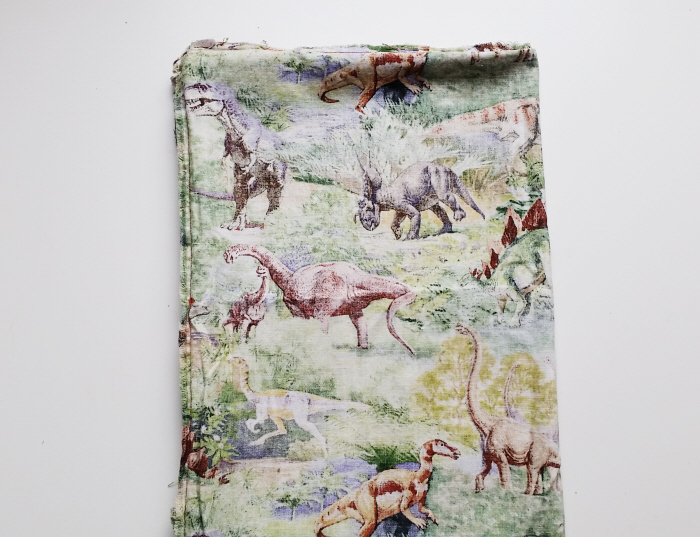
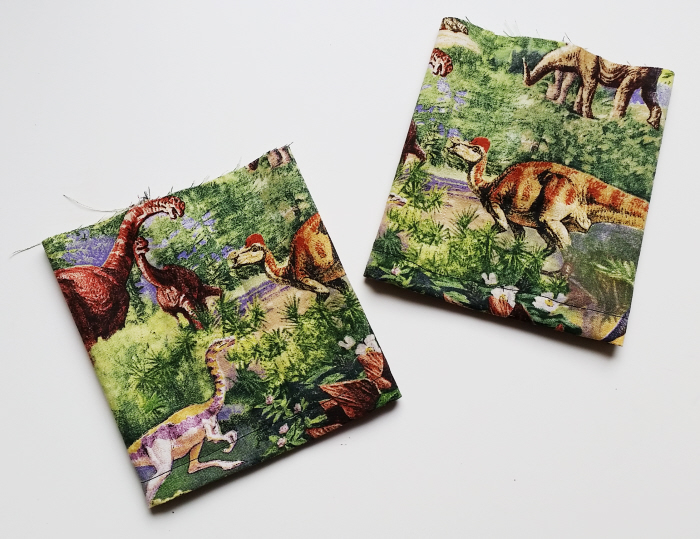
Grab that too-tight-in-the-chest dress + enough funky coordinating fabric to create the new bodice.
(my munchkin was desperate for a dino dress so I snagged a super soft preloved cotton dinosaur print pillow case)
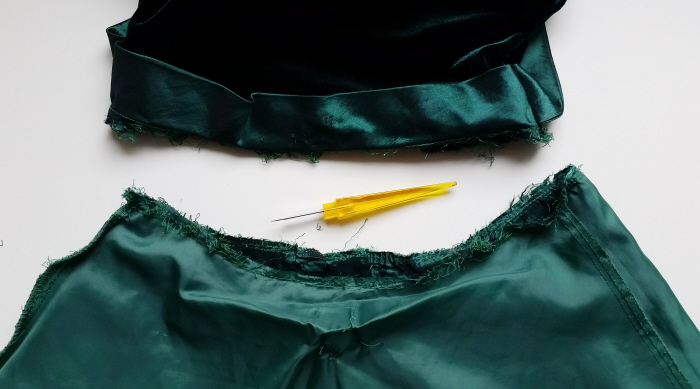
Carefully remove the existing too-small bodice from the dress.
Double the fabric and fold it in half with right sides facing.
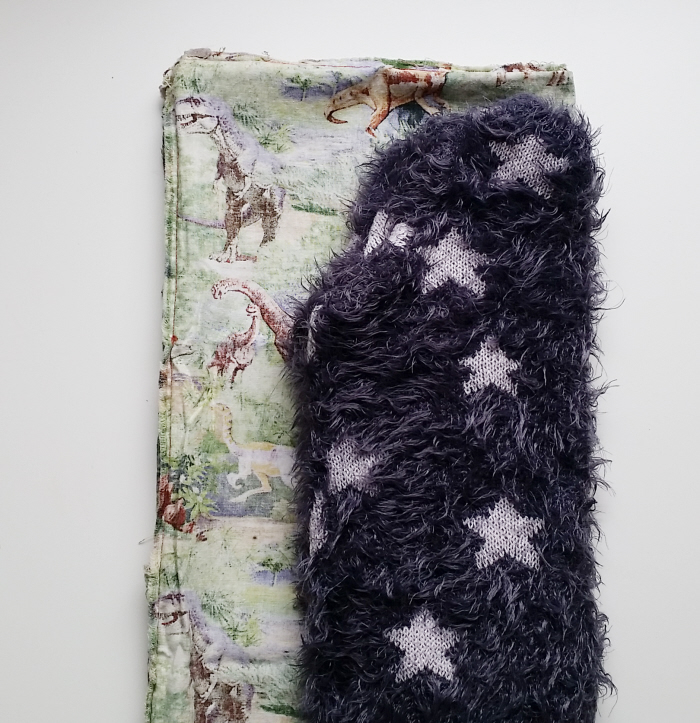
Snag a loose fitting top, pop the sleeves inside, fold it in half and place it on top of the fabric with the folded edges lined up.
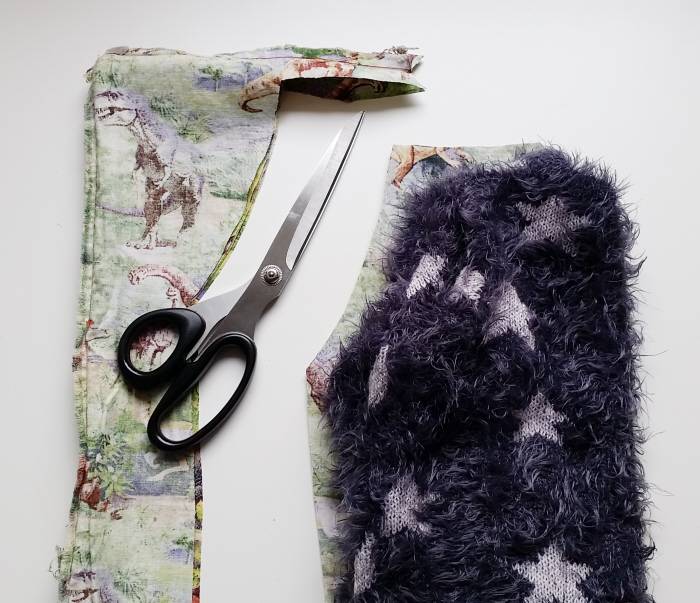
Using the top as a guide chop out the basic shape + seam allowance from the folded fabric.
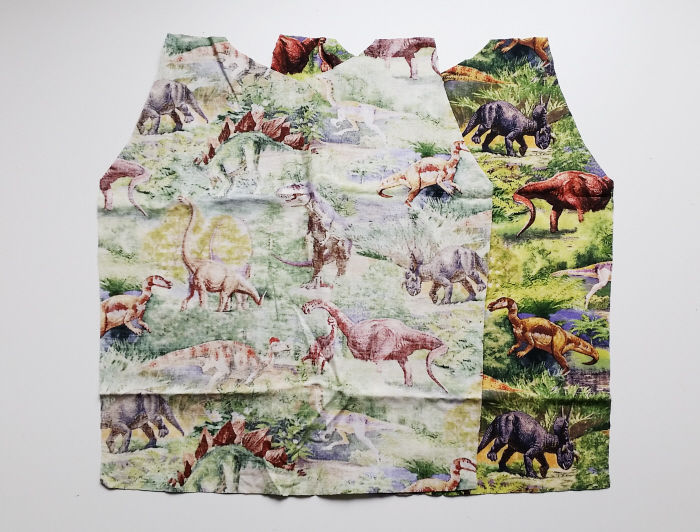
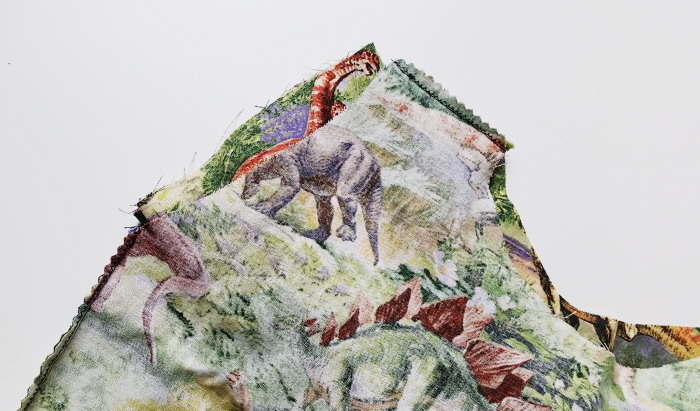
Yay! The front and back of the new dress bodice are taking shape!
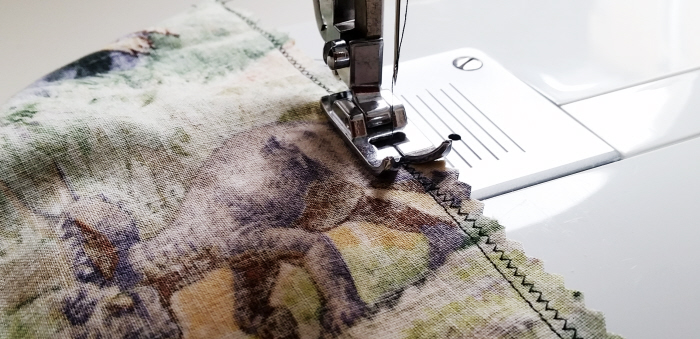
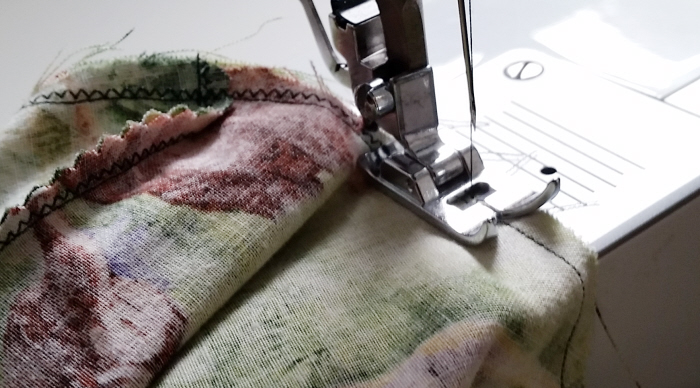
With right sides facing, stitch the shoulders and sides of the bodice pieces together. Zigzag over the seams for extra strength and to help prevent fraying.
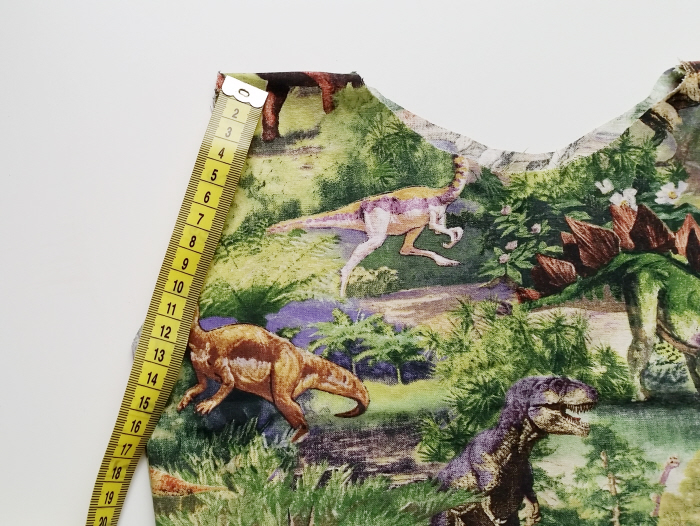
Flip the new bodice right side out and check the fit. If all is well then measure the width of the sleeve holes.
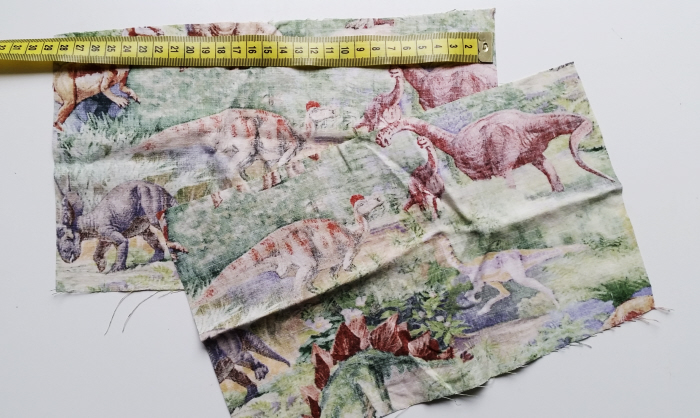
Double the width measurement and use it and your desired sleeve length to chop out 2 rectangles from the fabric.
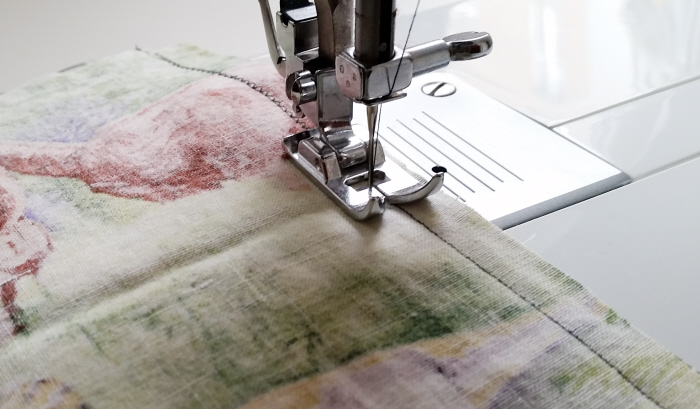
Fold each rectangle in half and stitch the open ends together to create instant sleeves.
Hem up the bottom of each sleeve and flip right side out.
Pop a sleeve into the bodice with right side facing and raw edges lined up.
Stitch together and repeat with the other sleeve.
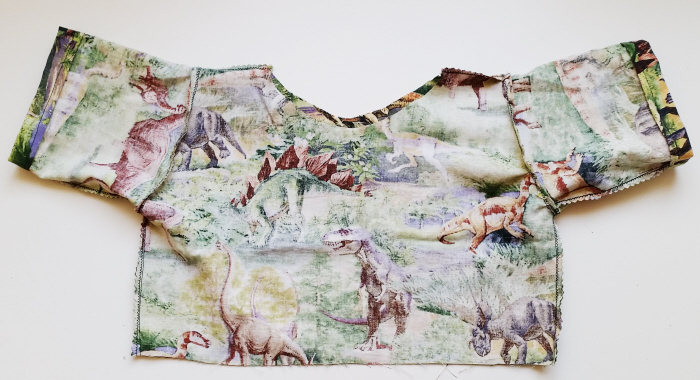
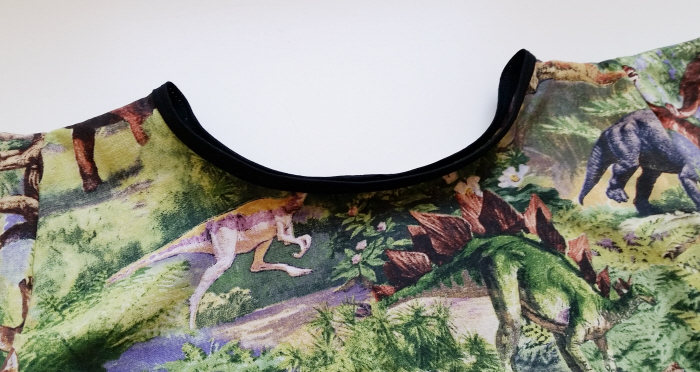
Hooray! The fancy new bodice is nearly complete!
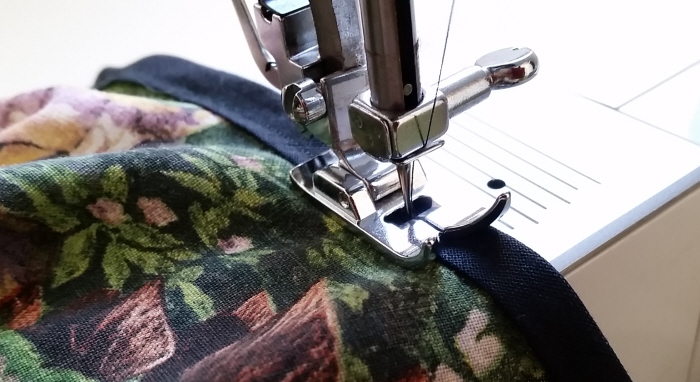
Grab some bias binding, lace, ribbon or a strip of fabric and bind the neckline.
my easy bias binding method is here
Lovely!
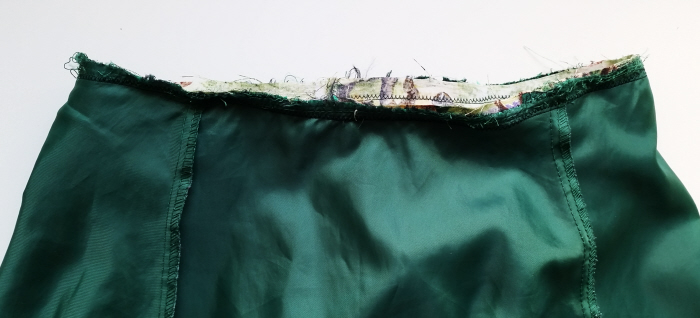
Pop that fab new bodice into the dress skirt with right sides facing and raw edges lined up then stitch together.
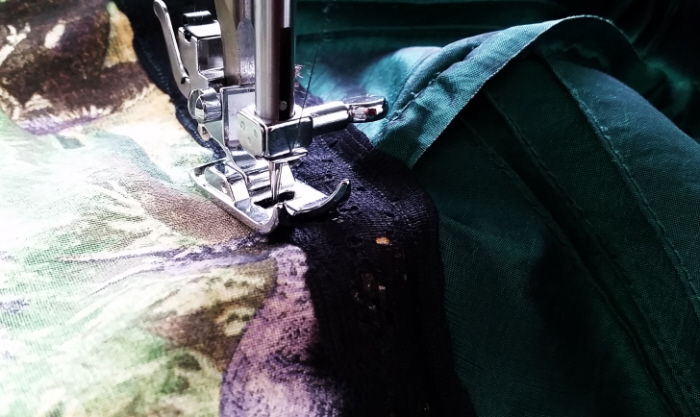
Stitch a length of lace or trim over the outside seam for a bit of extra fanciness and your fab upsized frock is complete!
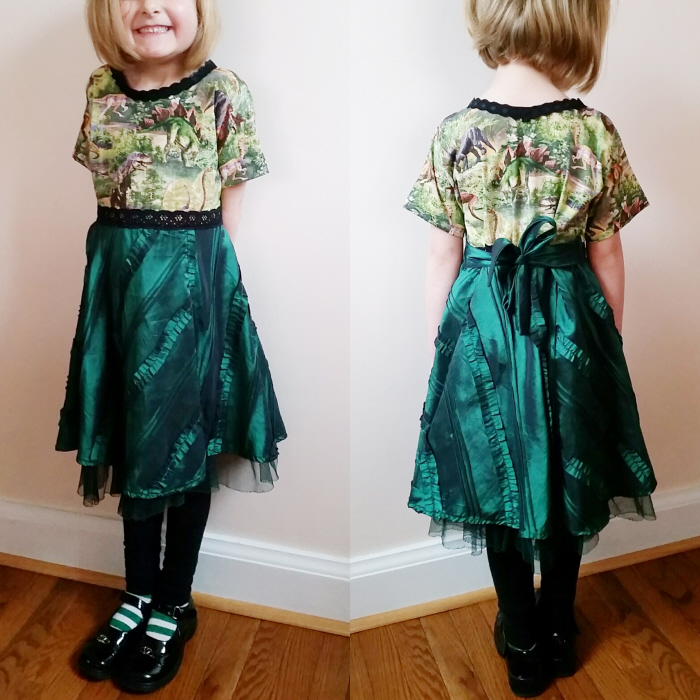
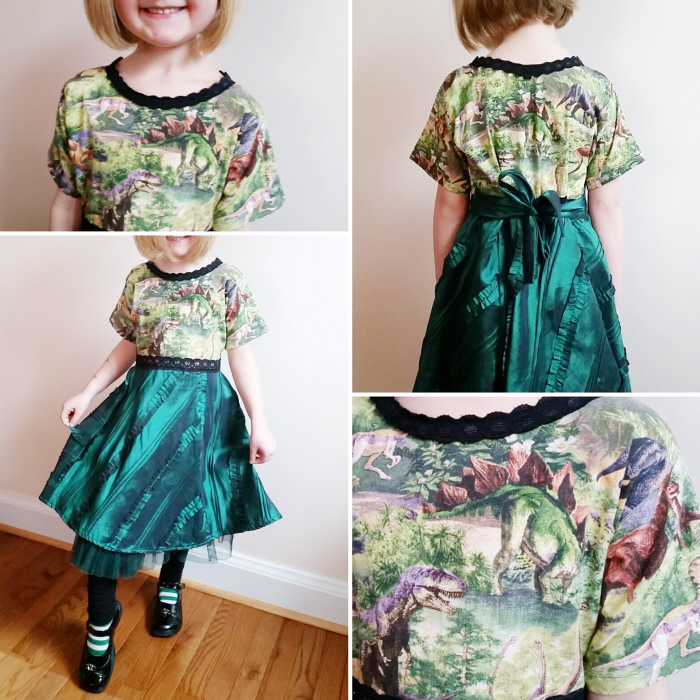
Success! Someone is absolutely in love with her new (upsized) dino dress!
Here’s a closer look at that quirktastic bodice:
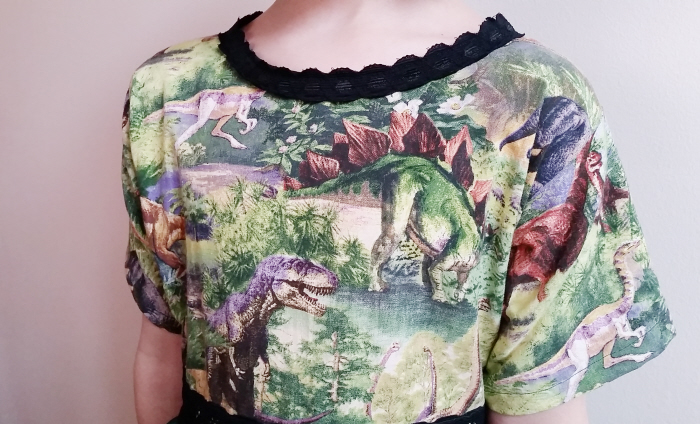
– the kiddo thought the bias binding on the neckline was too boring so I added a layer of vintage trim.
Be sure to check out my all new upsizing tutorial category for more groovy fixes & my tutorials for the munkchin for loads of kid-friendly upcycles!
Continue your passion for refashion with my Refashioning 101!
Packed with over 100 tutorials + loads of thrifty tips & tricks, Refashioning 101 has absolutely everything you need to create your own unique, sustainable wardrobe!
The techniques and tutorials in this book can easily be tweaked and used for tons of other projects! As every combination of materials will have a unique result there’s no mistakes in refashioning and upcycling, if a refashion doesn’t turn out as intended simply transform it into something else!
You’re only limited by your own imagination.
For more sustainable DIY style goodness check out my Confessions of a Refashionista e-book series!


Adorable! She looks so happy!
She’s thrilled with her twirly new dino dress 😀