My second (and third) vintage handkerchief projects are complete and ready to share!
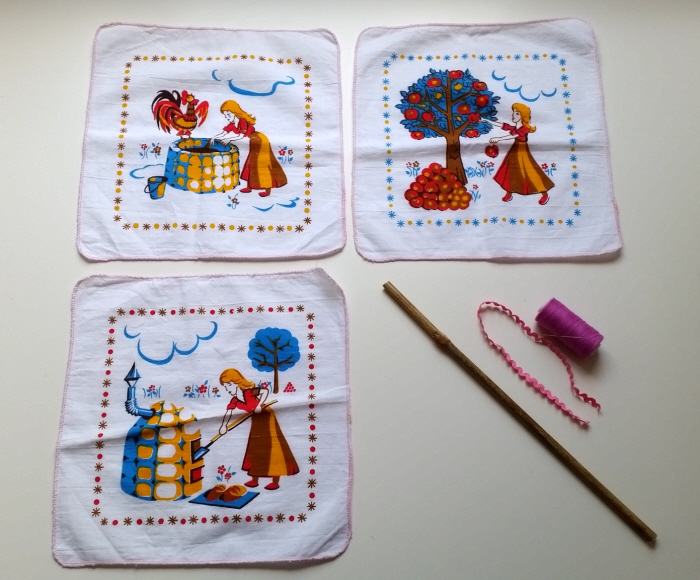
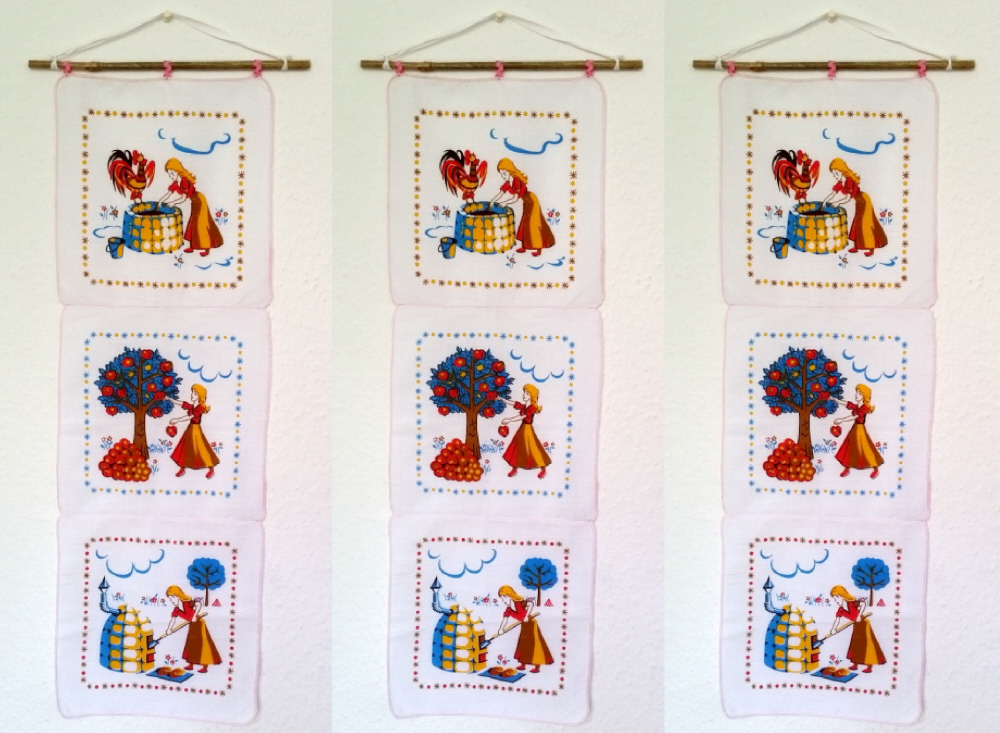
First, I grabbed the three Gold Marie kiddo hankies, a small piece of bamboo, a bit of rick-rack trim & a needle and thread.
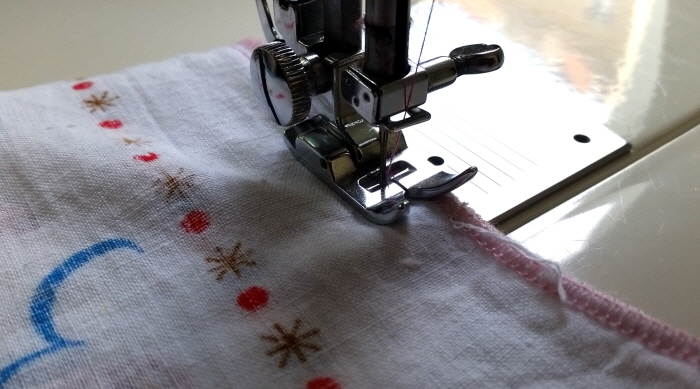
Stitched the hankies together in the correct order of the fairy tale.
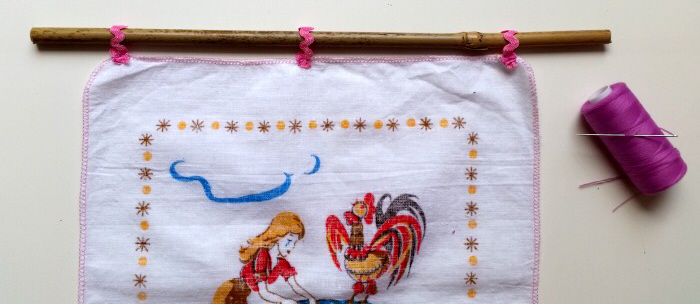
Hand stitched 3 loops of rick-rack to the top hankie and slipped the bamboo through them.

Tied a piece of ribbon around each end of the bamboo and hung it up in the kiddo’s room next to the fabric marker kitty cat “art” created by 4 year old me!
On to wall hanging number two:
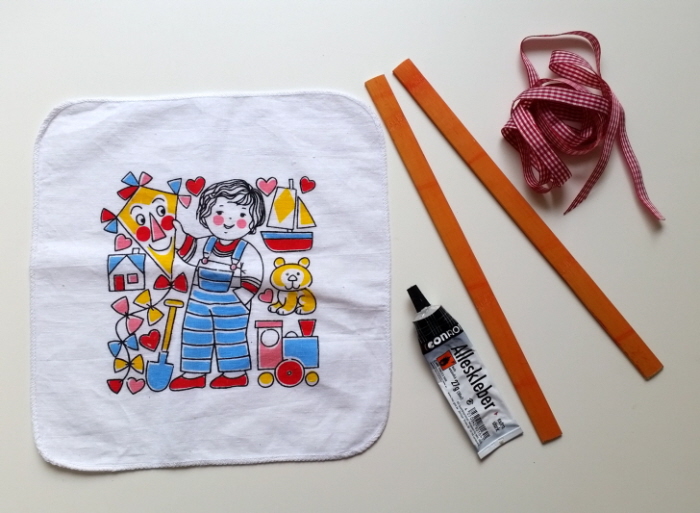
I snagged another munchkin-themed hankie, all-purpose glue, a ribbon and two pieces of thin wood from my stash.
*the wood pieces are leftovers from this groovy decor project
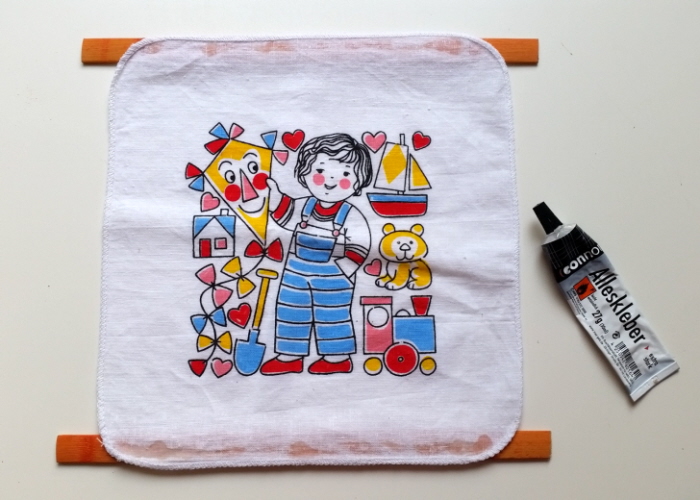
I glued the wood to the top and bottom of the hankie.
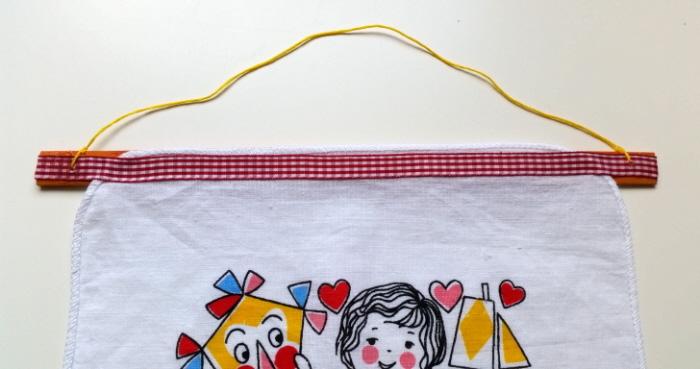
Stuck a piece of ribbon over the hankie & wood then, once completely dry, drilled a small hole on each end of the top piece and added a piece of yarn for hanging.
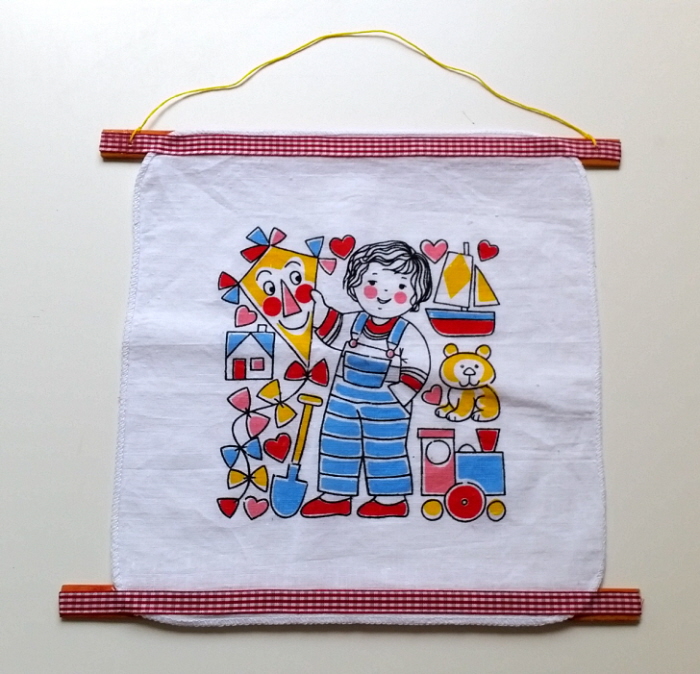
And my second adorable vintage wall hanging was complete and ready to send off to a cheeky little gal in Florida!
Get the how-to for my first vintage hankie stash-busting project right here!


Such a cute and simple idea. Wish I had some cute hankies.
The thrift and charity shops here (in Berlin) are chock full of vintage hankies so I have quite a few more DIYs coming up 😉