
Having a love for all things vintage means my wardrobe has (more than) its fair share of brightly patterned polyester beauties and I have a hard time passing by the groovy granny frocks at the charity shop without snagging a few vintage delights to add to my collection.
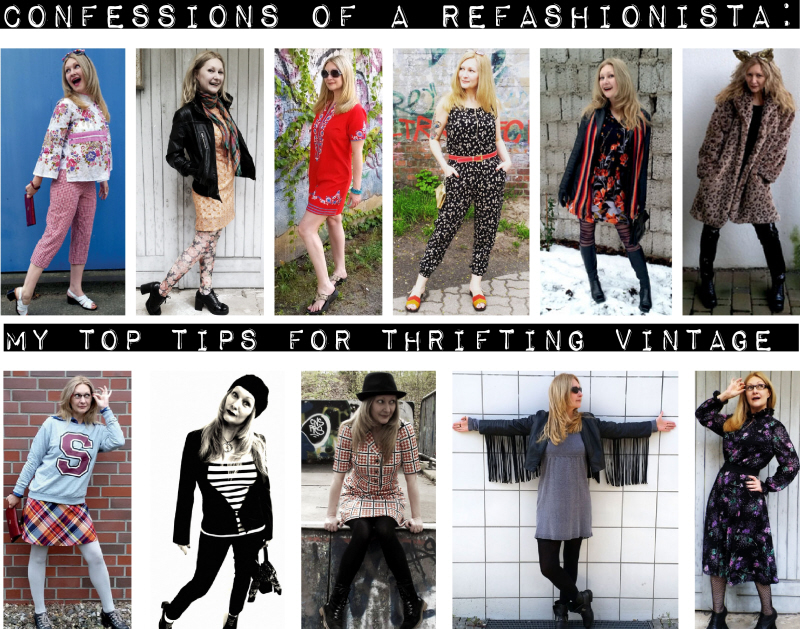
My personal definition of vintage are items from the 1970’s and older (does anyone else find that their version of “vintage” begins in the decade they were born?) however, according to experts, items can be classified as “true vintage” if they are more than 20 years old so with that in mind I present my Top Tips for Thrifting Vintage:
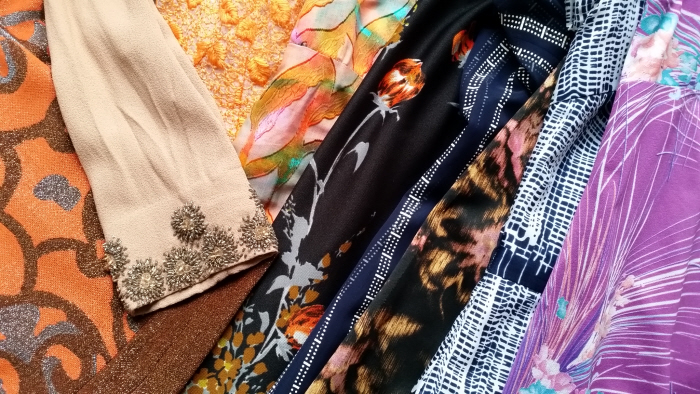
1. In my experience, fabrics older than the 1980’s tend to either be heavy and thick or light and airy in nature-inspired neutral colours or bright, bold prints.
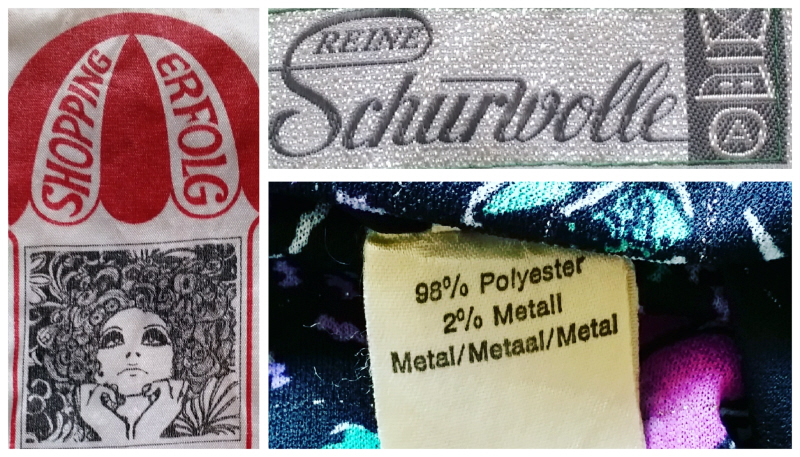
2. Tags and labels are always a great place to check for the approximate decade a garment was made:
– Tags were not regularly added to clothing until the 1940’s/1950’s and rarely stated anything other than the designer logo or manufacturer name.
– From the 1970’s labels started to include the basic fabric content and garment size.
– In the 1980’s clothing tags began labeling not only the brand and size but also the detailed fabric content, care instructions and country of manufacture.
– By the 1990’s tags contained all of the information we see on modern garment labels and were commonly multi-lingual.
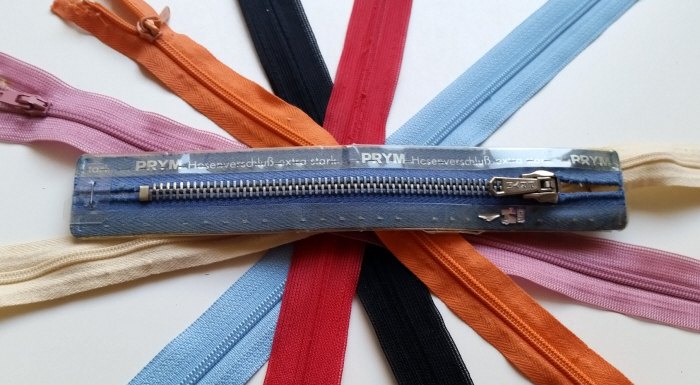
3. Taking a peek at interior seams and how the garment was actually put together is another tell-tale sign of its age:
– Zippers were not introduced until the 1930’s and were made of metal until their plastic counterpart was invented in the 1970’s.
– The majority of clothing was created using a mixture of hand and (straight) machine stitches until the late 1800’s.
– Although the zigzag stitch machine was patented in the late 1800’s it wasn’t commonly used for everyday clothing until a home version was made available in the mid-1900’s.
– Until the early 1970’s the interior seams of many garments were finished by clipping the excess fabric with pinking shears (scissors with zigzag teeth) to help minimizes the damage from fabric fraying.
4. Never believe the size label. Just like modern clothing sizes vary drastically from brand to brand so do vintage sizes vary from decade to decade. If you like it, try it on.
5. It’s nearly impossible to find a perfect fitting vintage garment so make friends with your local tailor, or better yet, grab my sewing basics e-book then thrift a sewing machine and learn the basics to get started refashioning those amazing vintage finds into fancy wardrobe favourites!
Want to transform your entire wardrobe for pennies? Grab all of my groovy CoaR tutorial collections right here:


Thanks for all the great tips! I’m always browsing the vintage section in my local thrift store and I’m always a little bit lost in regards to size and labels; this will really help. I’m also glad I’m not the only one who has had problems with the fit of vintage items. Thank you for all your lovely tutorials as well 🙂
You’re very welcome Emily 😀 Unfortunately finding proper fitting garments is always a challenge as every single brand has their own idea of what the “ideal” measurements for each size are and the variations can be quite extreme. I often find that handmade vintage items fit pretty well, probably because they were created for a specific person with a “real” body 😉